Ripped Leather Sofas, Chairs and Booths
Leather that was carrying load and gave way. Ripped leather sofa repair is only half about closing the opening — keeping it closed means dealing with whatever pulled it apart.
A tear and a rip are not the same damage
People use both words for the same photo. The two openings need different work, so ripped leather sofa repair starts by deciding which one you actually have. The trade keeps them apart too — tear load and tensile strength are separate tests in the IUP leather test methods.
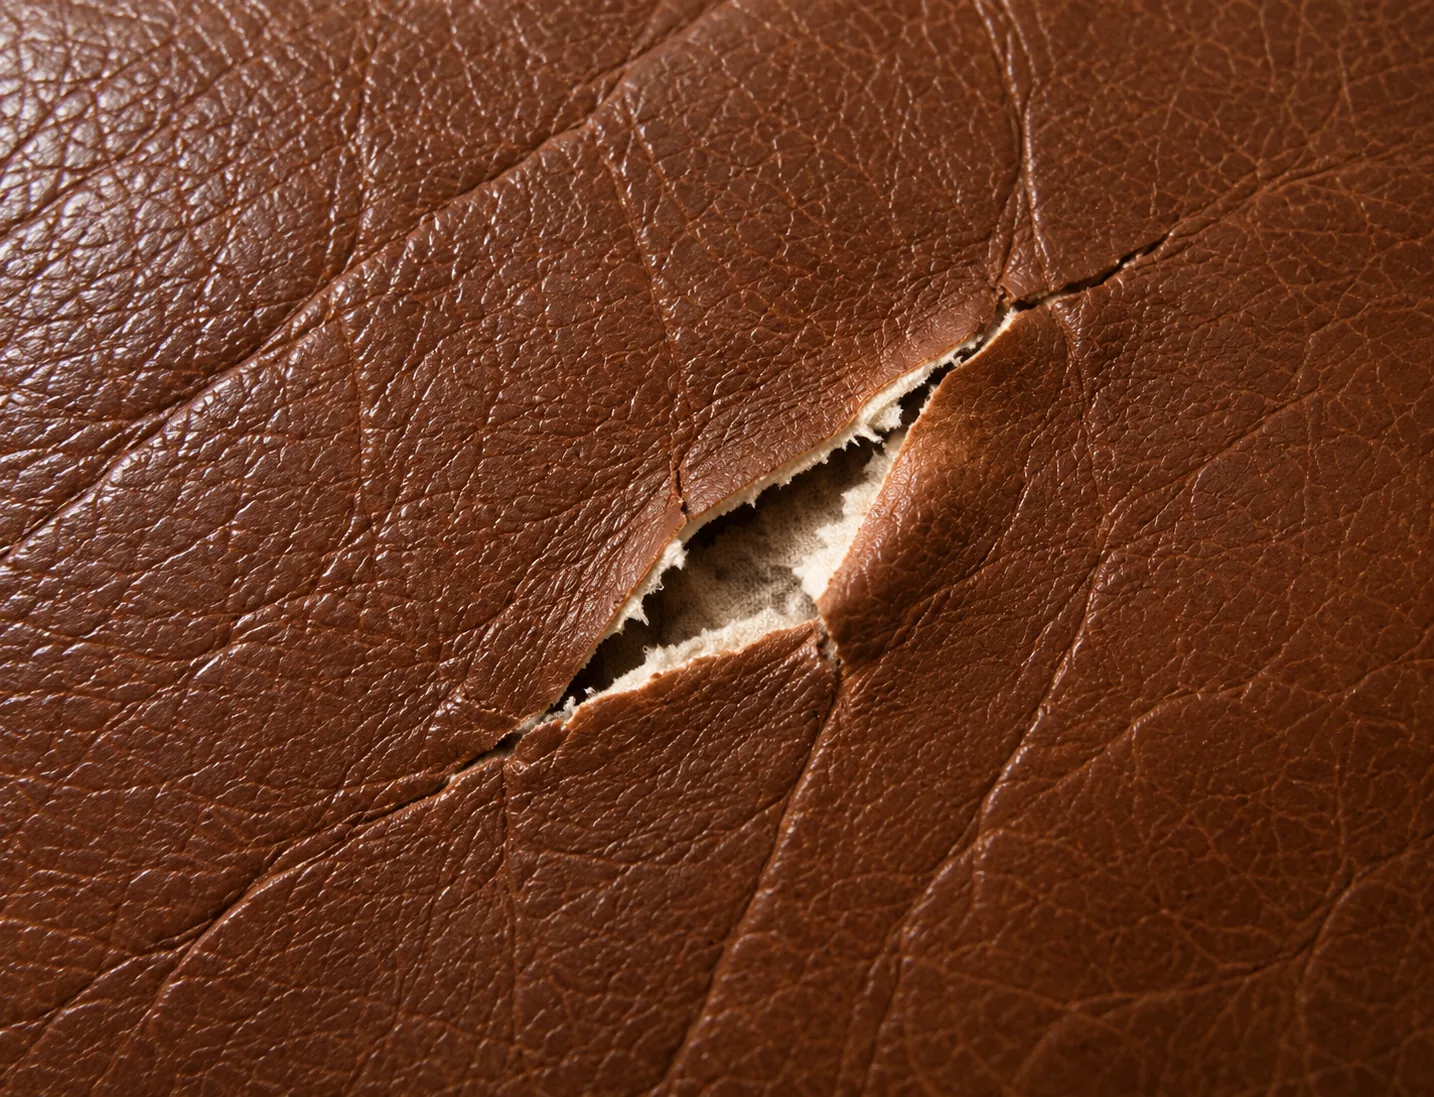
What is a leather tear?
Something went through the hide — a key, a claw, a corner of something being carried past. The leather is cut rather than stretched, so the two edges are still full length and still line up.
- Edges meet when you press them together
- Usually one straight or curved line
- The leather around it is still supple
- Closes without touching the frame
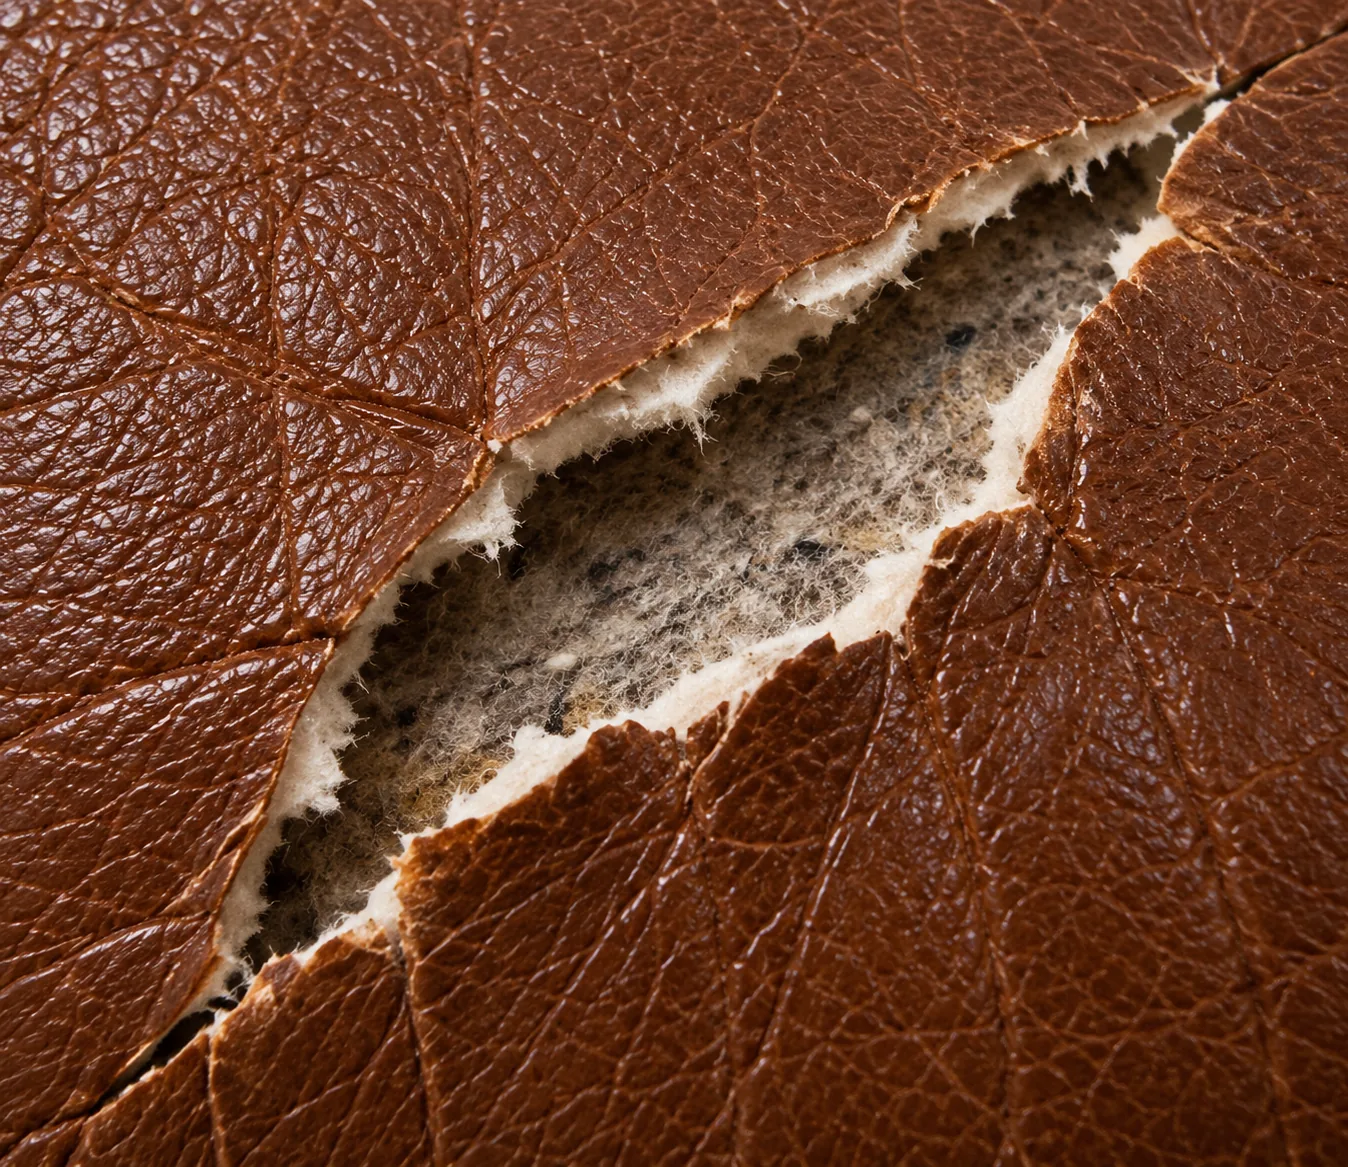
What is a leather rip?
The hide was under tension and gave way. Nothing cut it, so nothing is missing — but the edges have drawn back and no longer reach each other. That gap is load, and the load is still there.
- Edges will not meet, however hard you press
- Backing or foam visible through the gap
- Ragged, often branching into the panel
- The cover has to be re-tensioned first
A tear becomes a rip on its own
The same cushion, four months apart, and the reason ripped leather sofa repair gets cheaper the sooner it is booked. Once the surface is broken, every sit works the ends of it — which is why the earlier ripped leather sofa repair happens, the less of the panel it touches.
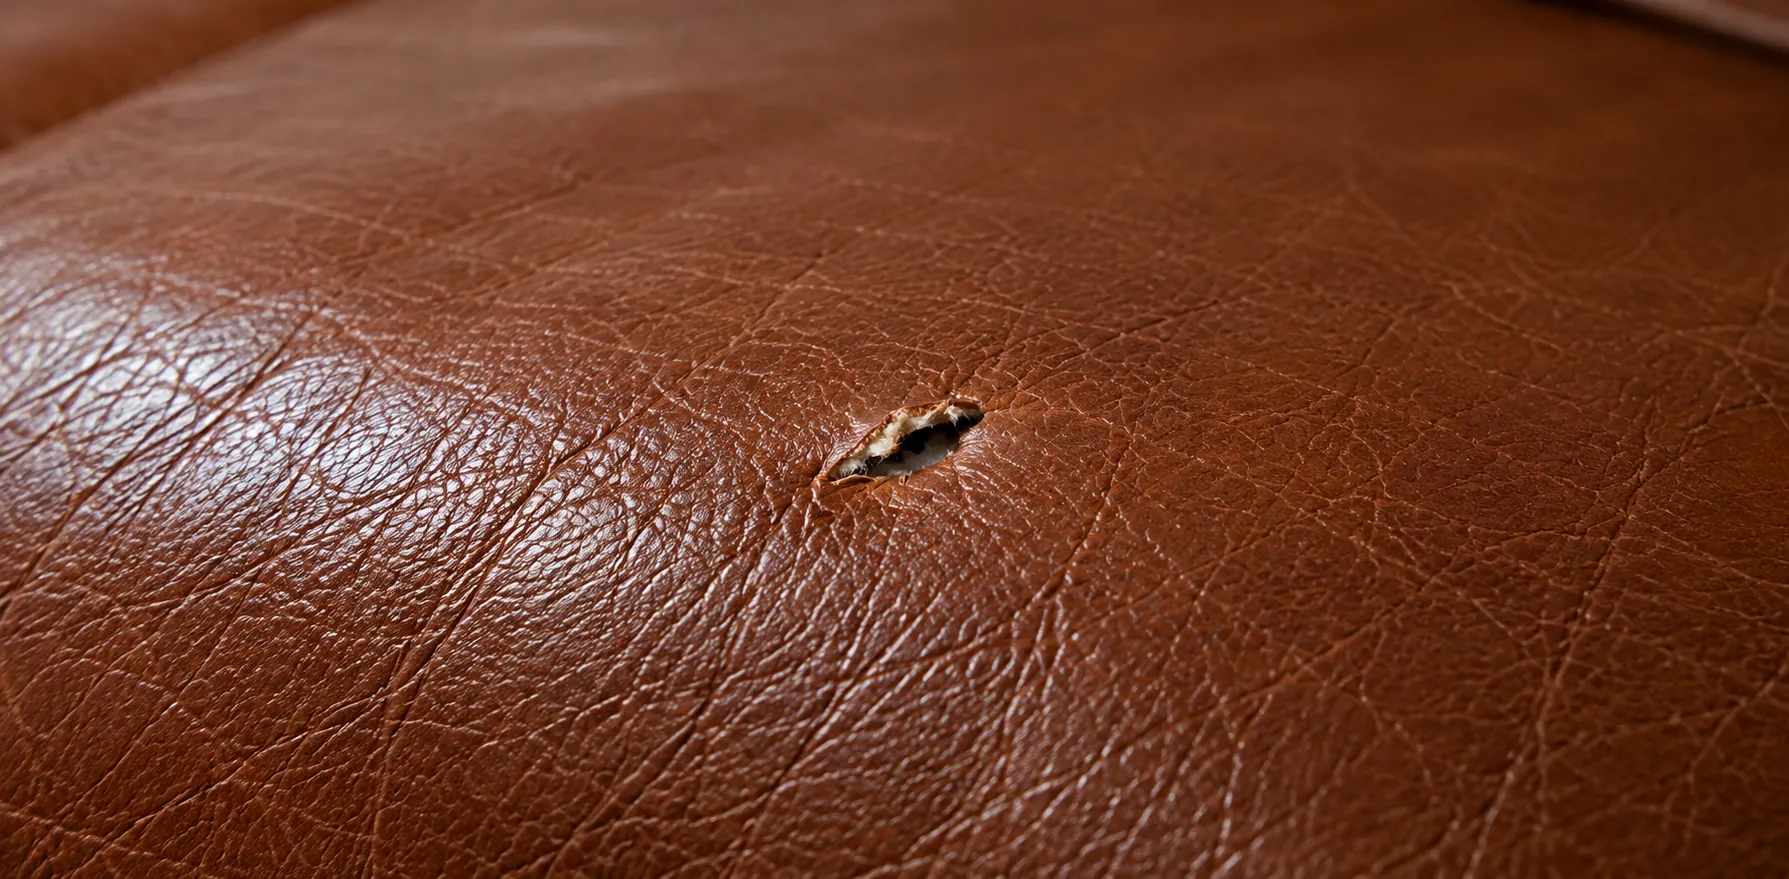 Stage one
A puncture
A point of damage, no length to it yet. Cheapest moment to deal with it.
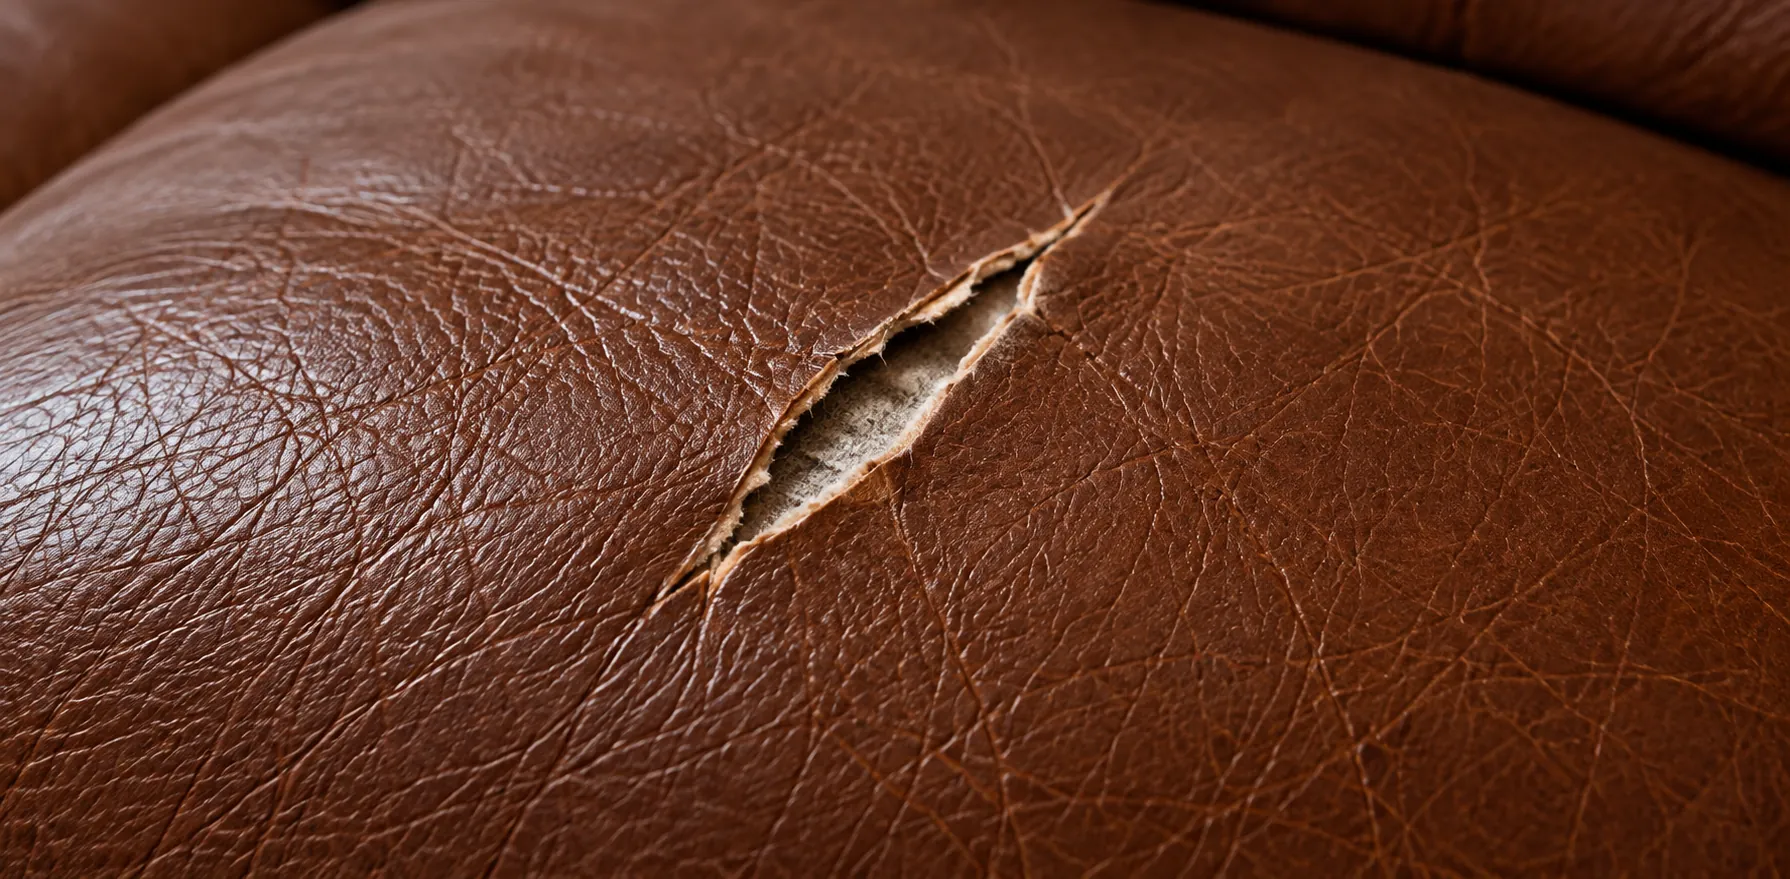 Stage two
A tear
It has found a direction. The edges start to part but still match.
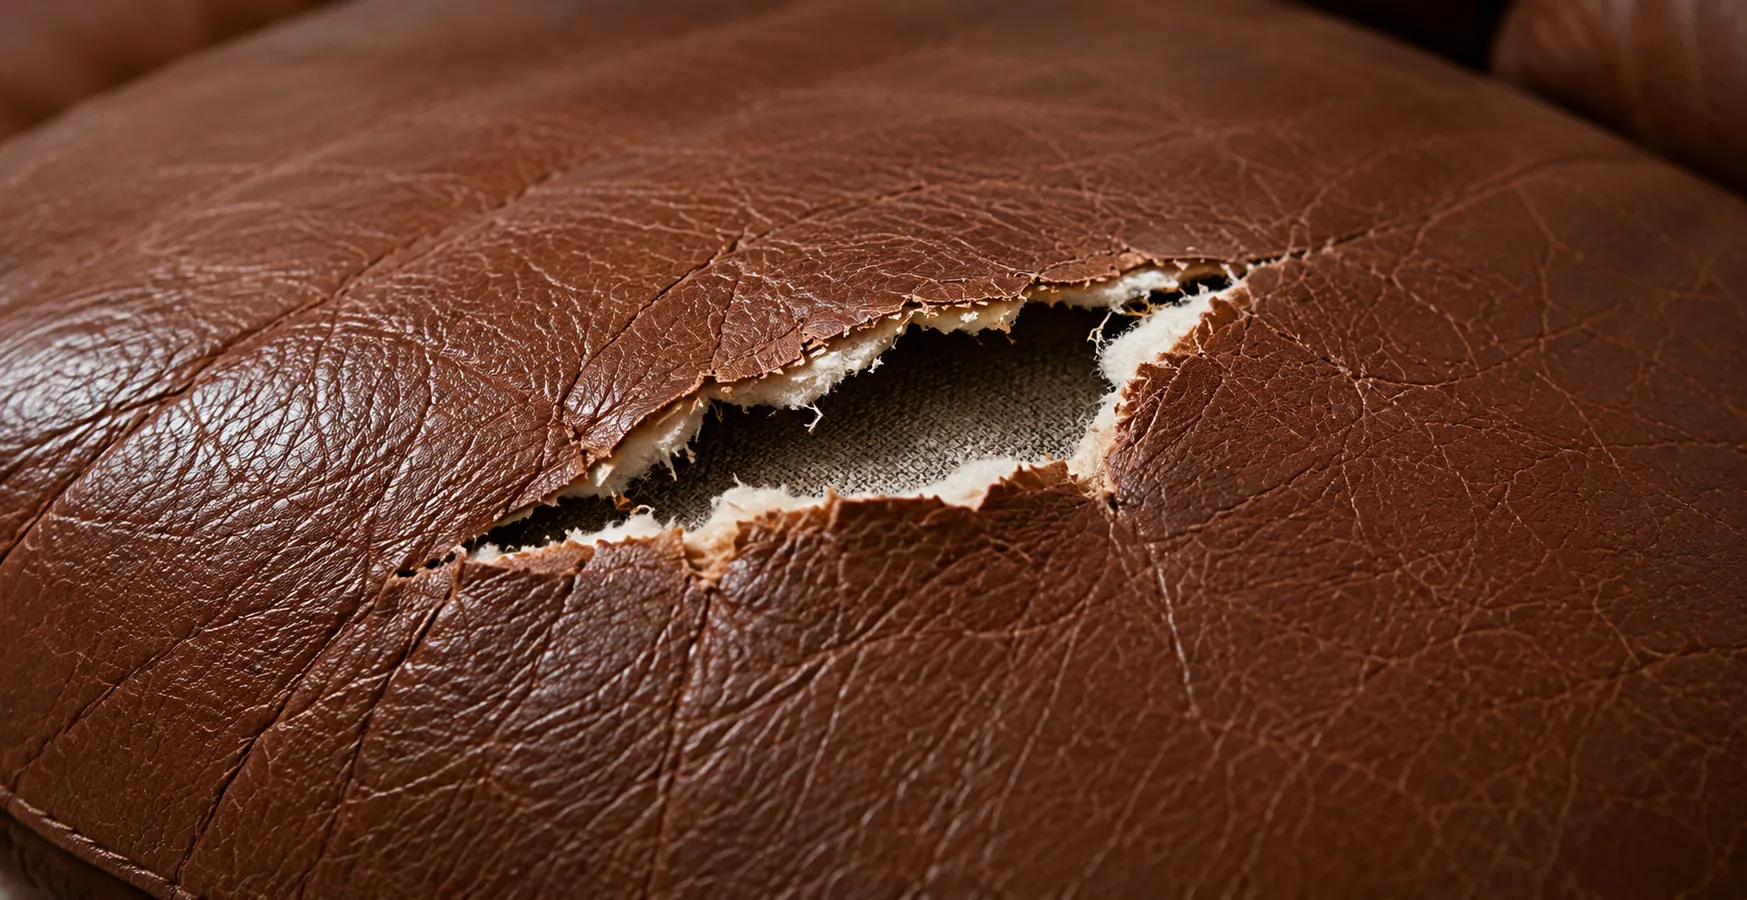 Stage three
An open rip
The edges have drawn back and the backing shows. Now it is a tension job.
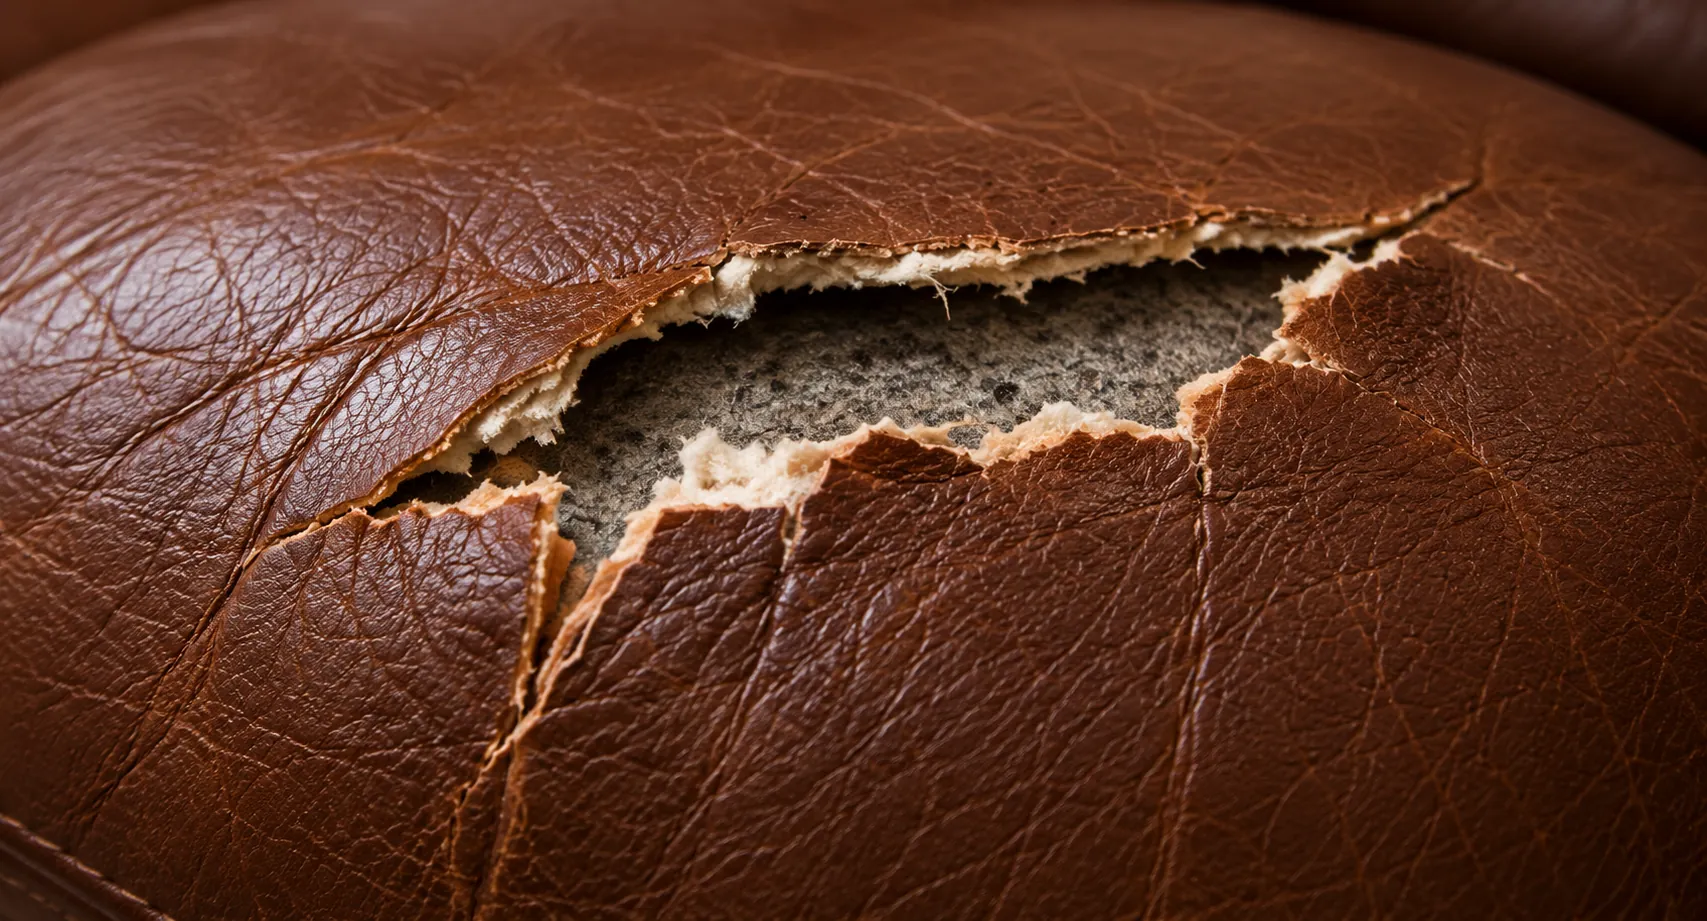 Stage four
A large rip
Branching, with the panel distorted around it. Past here, a new panel is the honest answer.
Same furniture, different damage
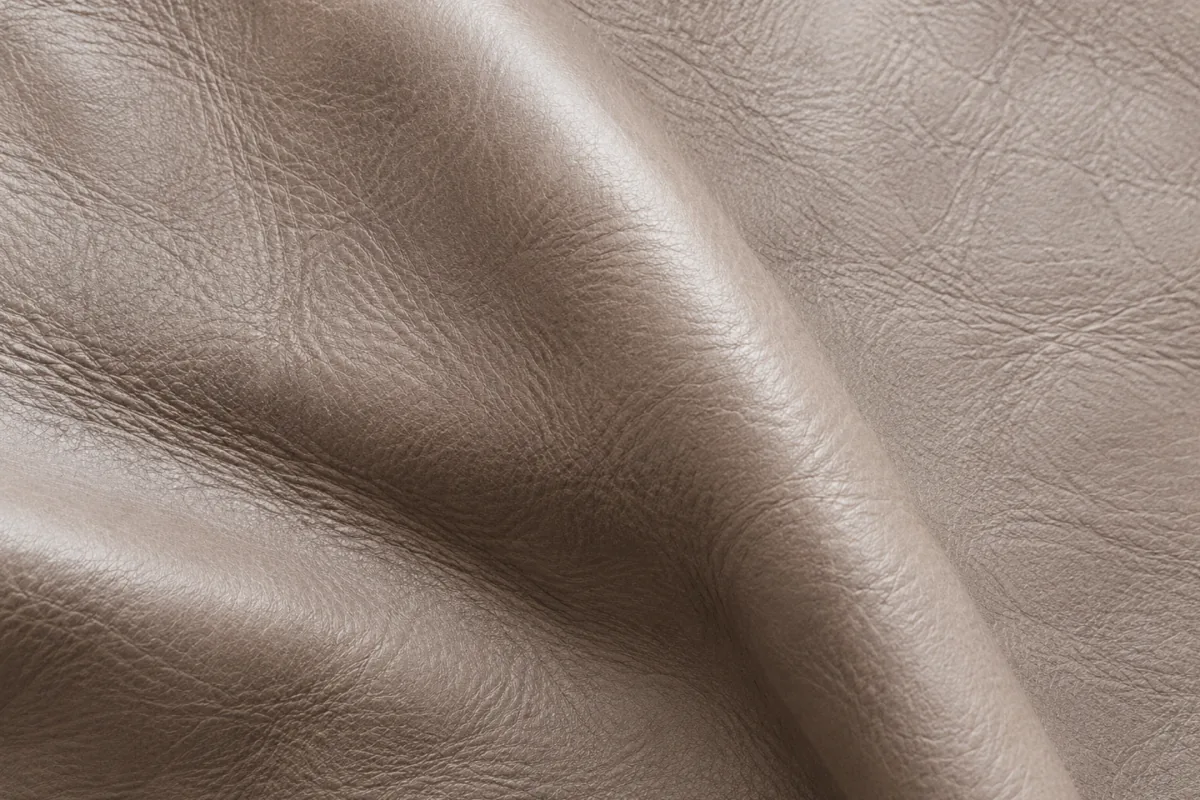
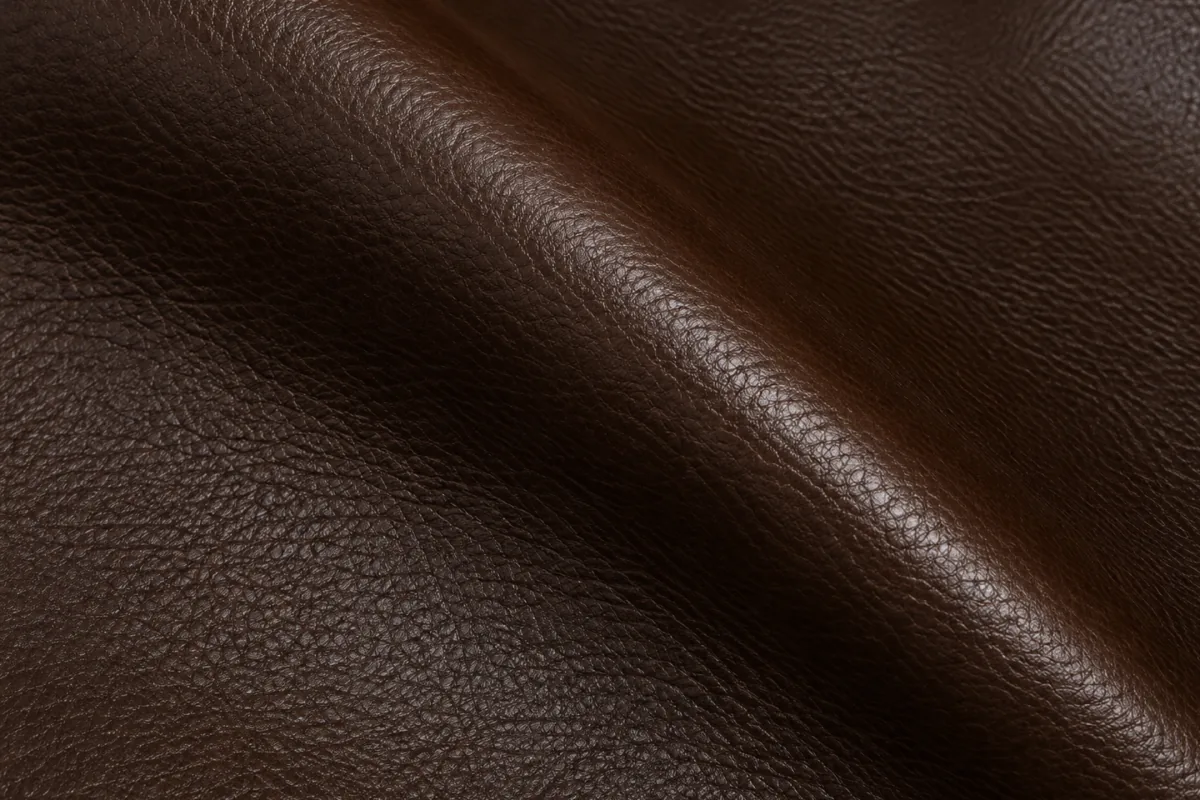
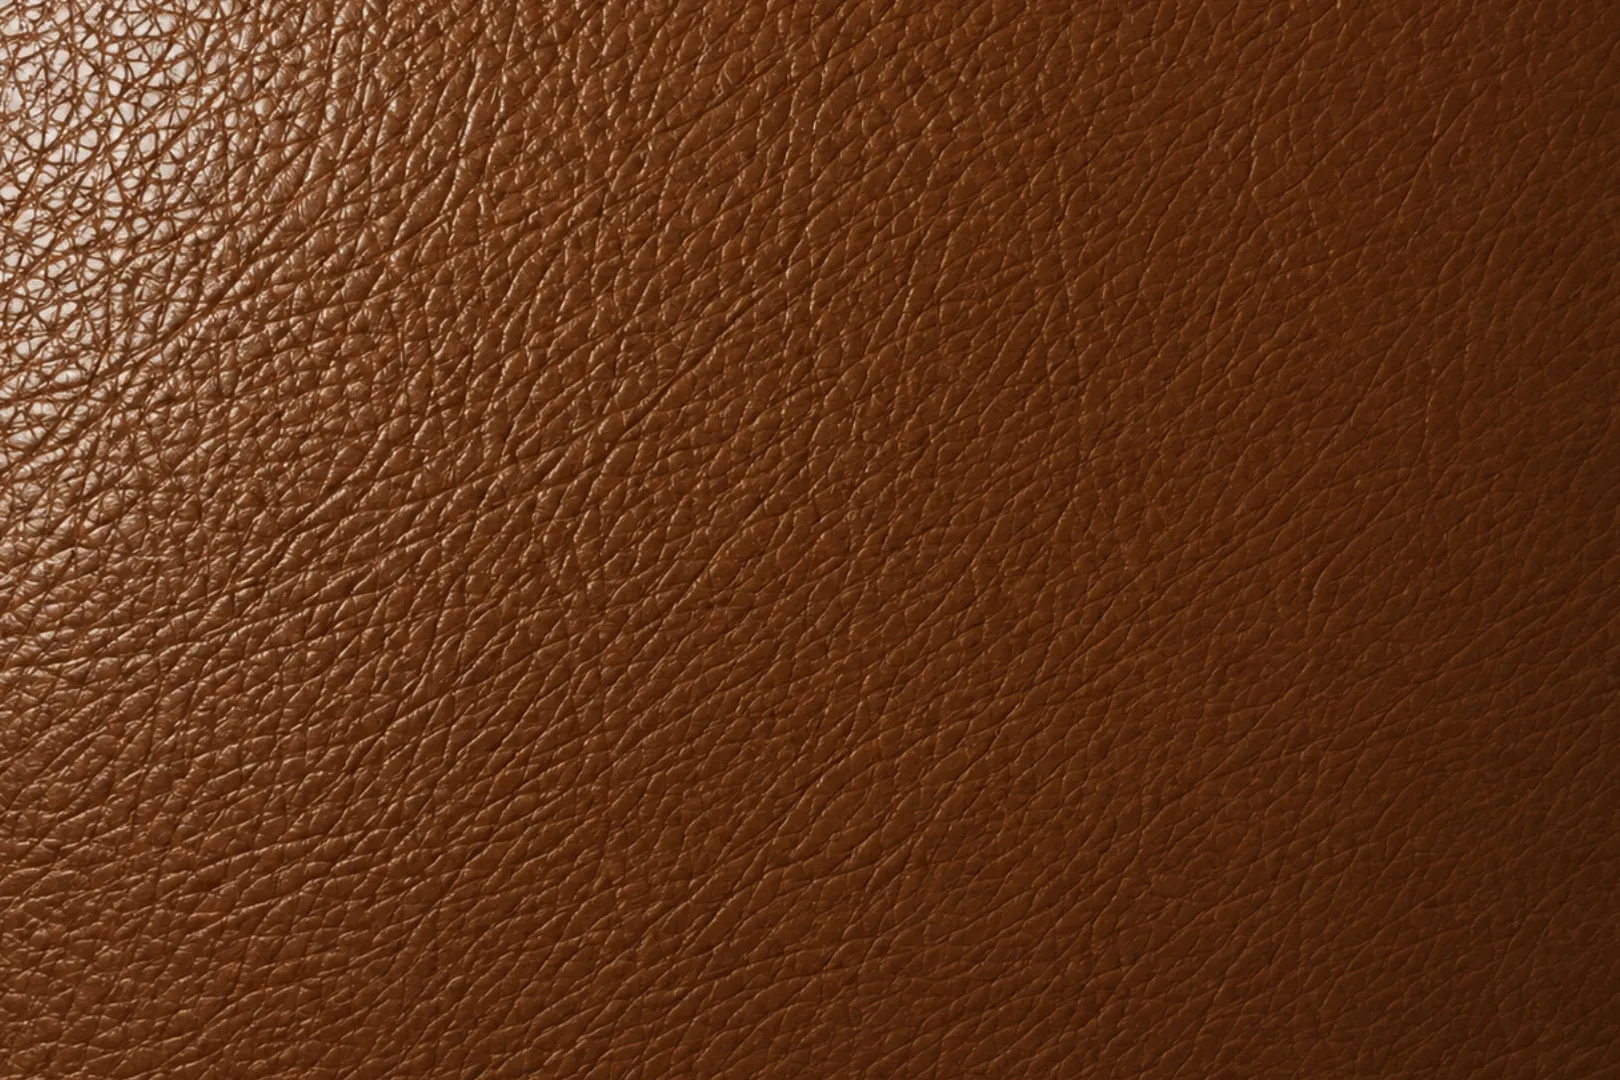
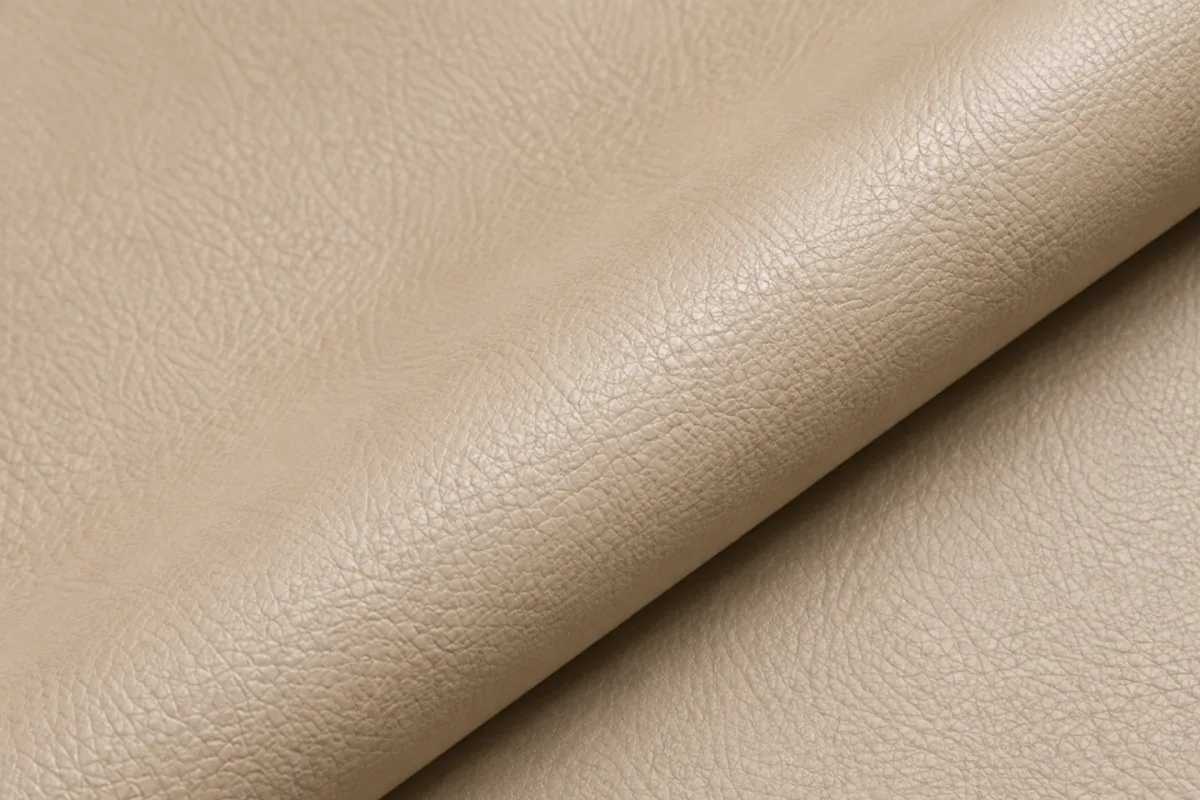
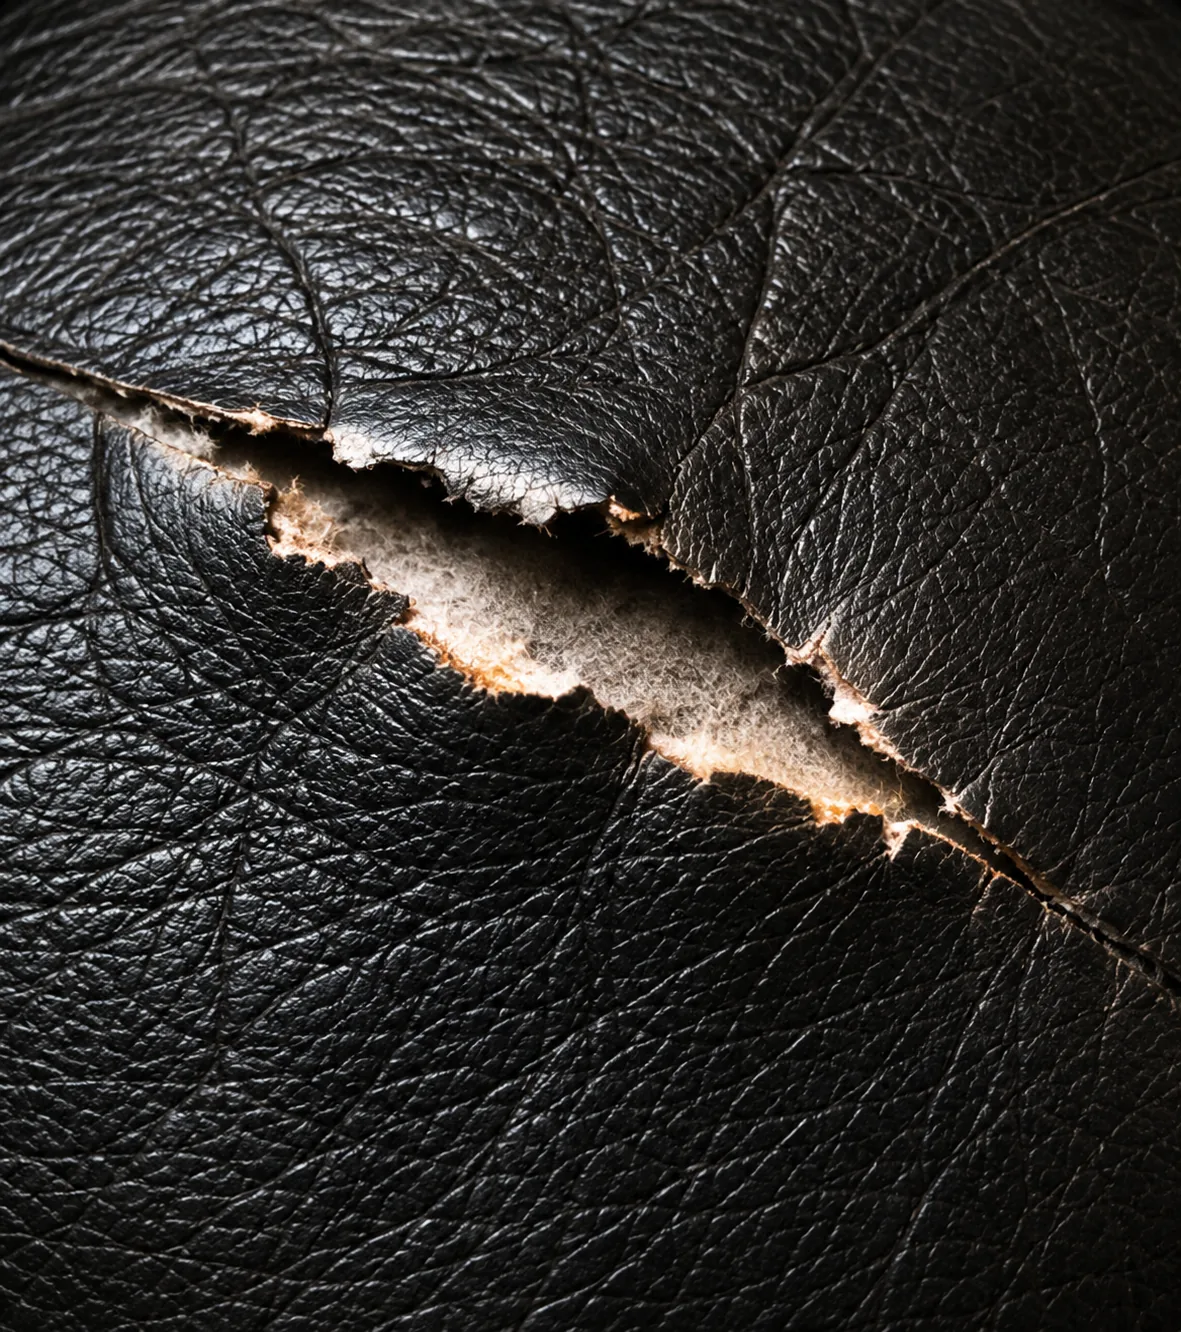
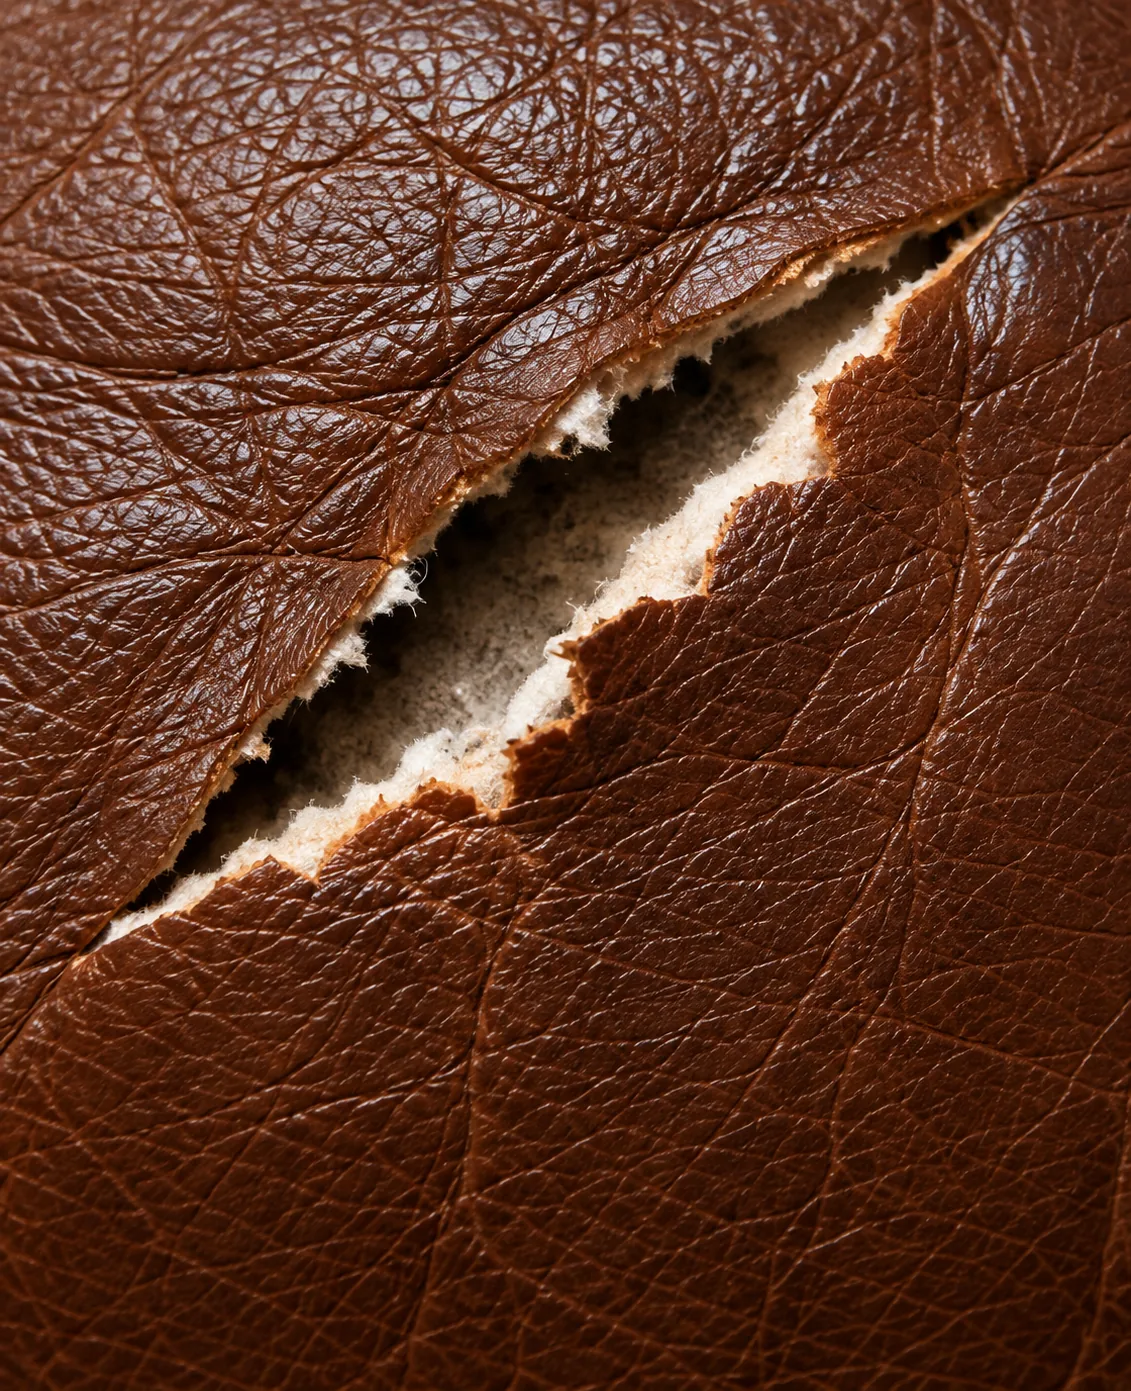
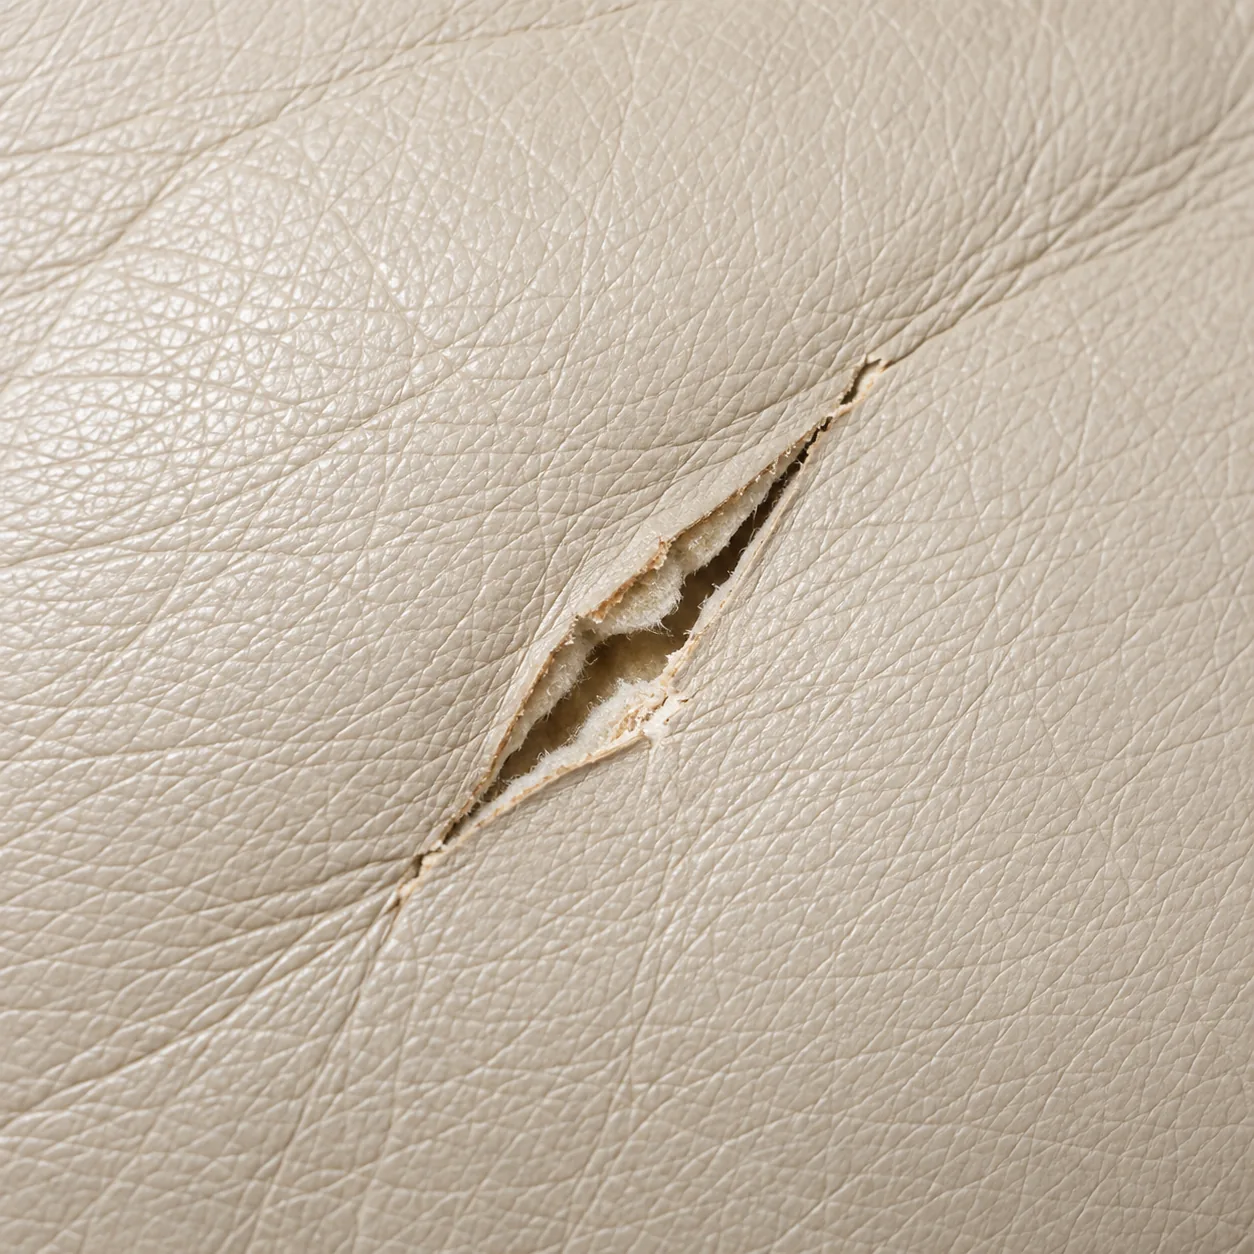
Four cushions photographed the same way. Three are rips and one is a tear, and telling them apart from a photo is the first thing we do on every ripped leather sofa repair inquiry.
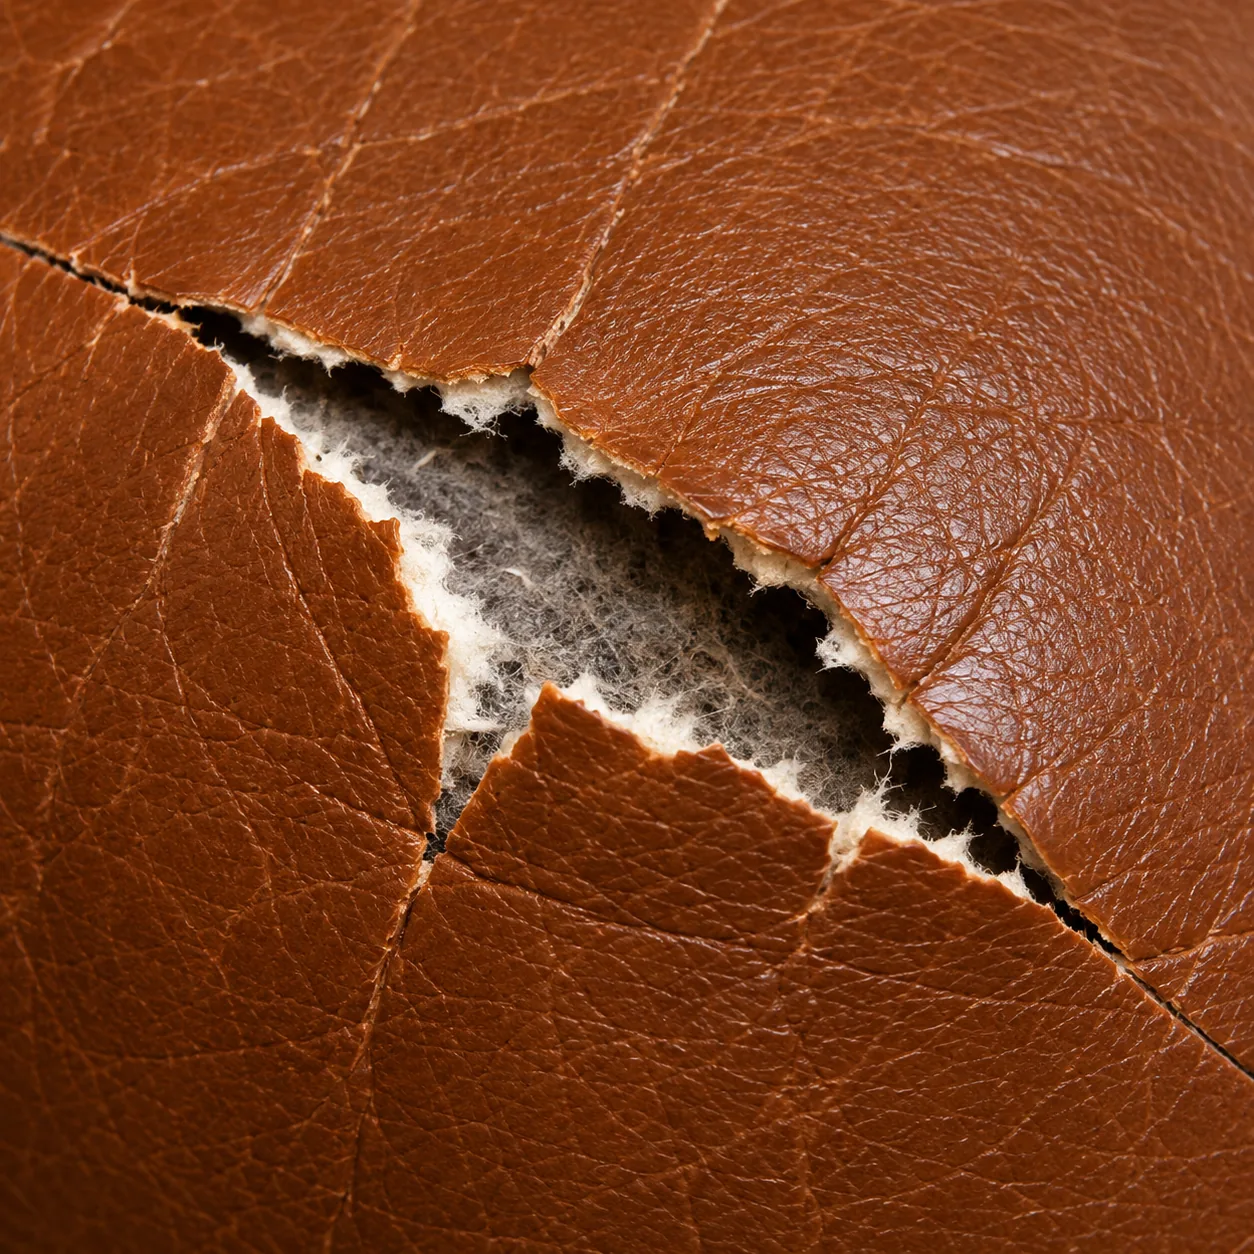 Rip
RipTan cushion. The edges have drawn back far enough to show the backing along the whole length.
 Rip
RipBlack cushion. Dark hide hides a lot, but not a gap with wadding behind it.
 Rip
RipBrown cushion. It has started to branch, which means the panel around it is loaded too.
 Tear
TearCream cushion. Narrow, clean-sided, and the edges still meet — a tear repair.
Leather rips where it is pulled
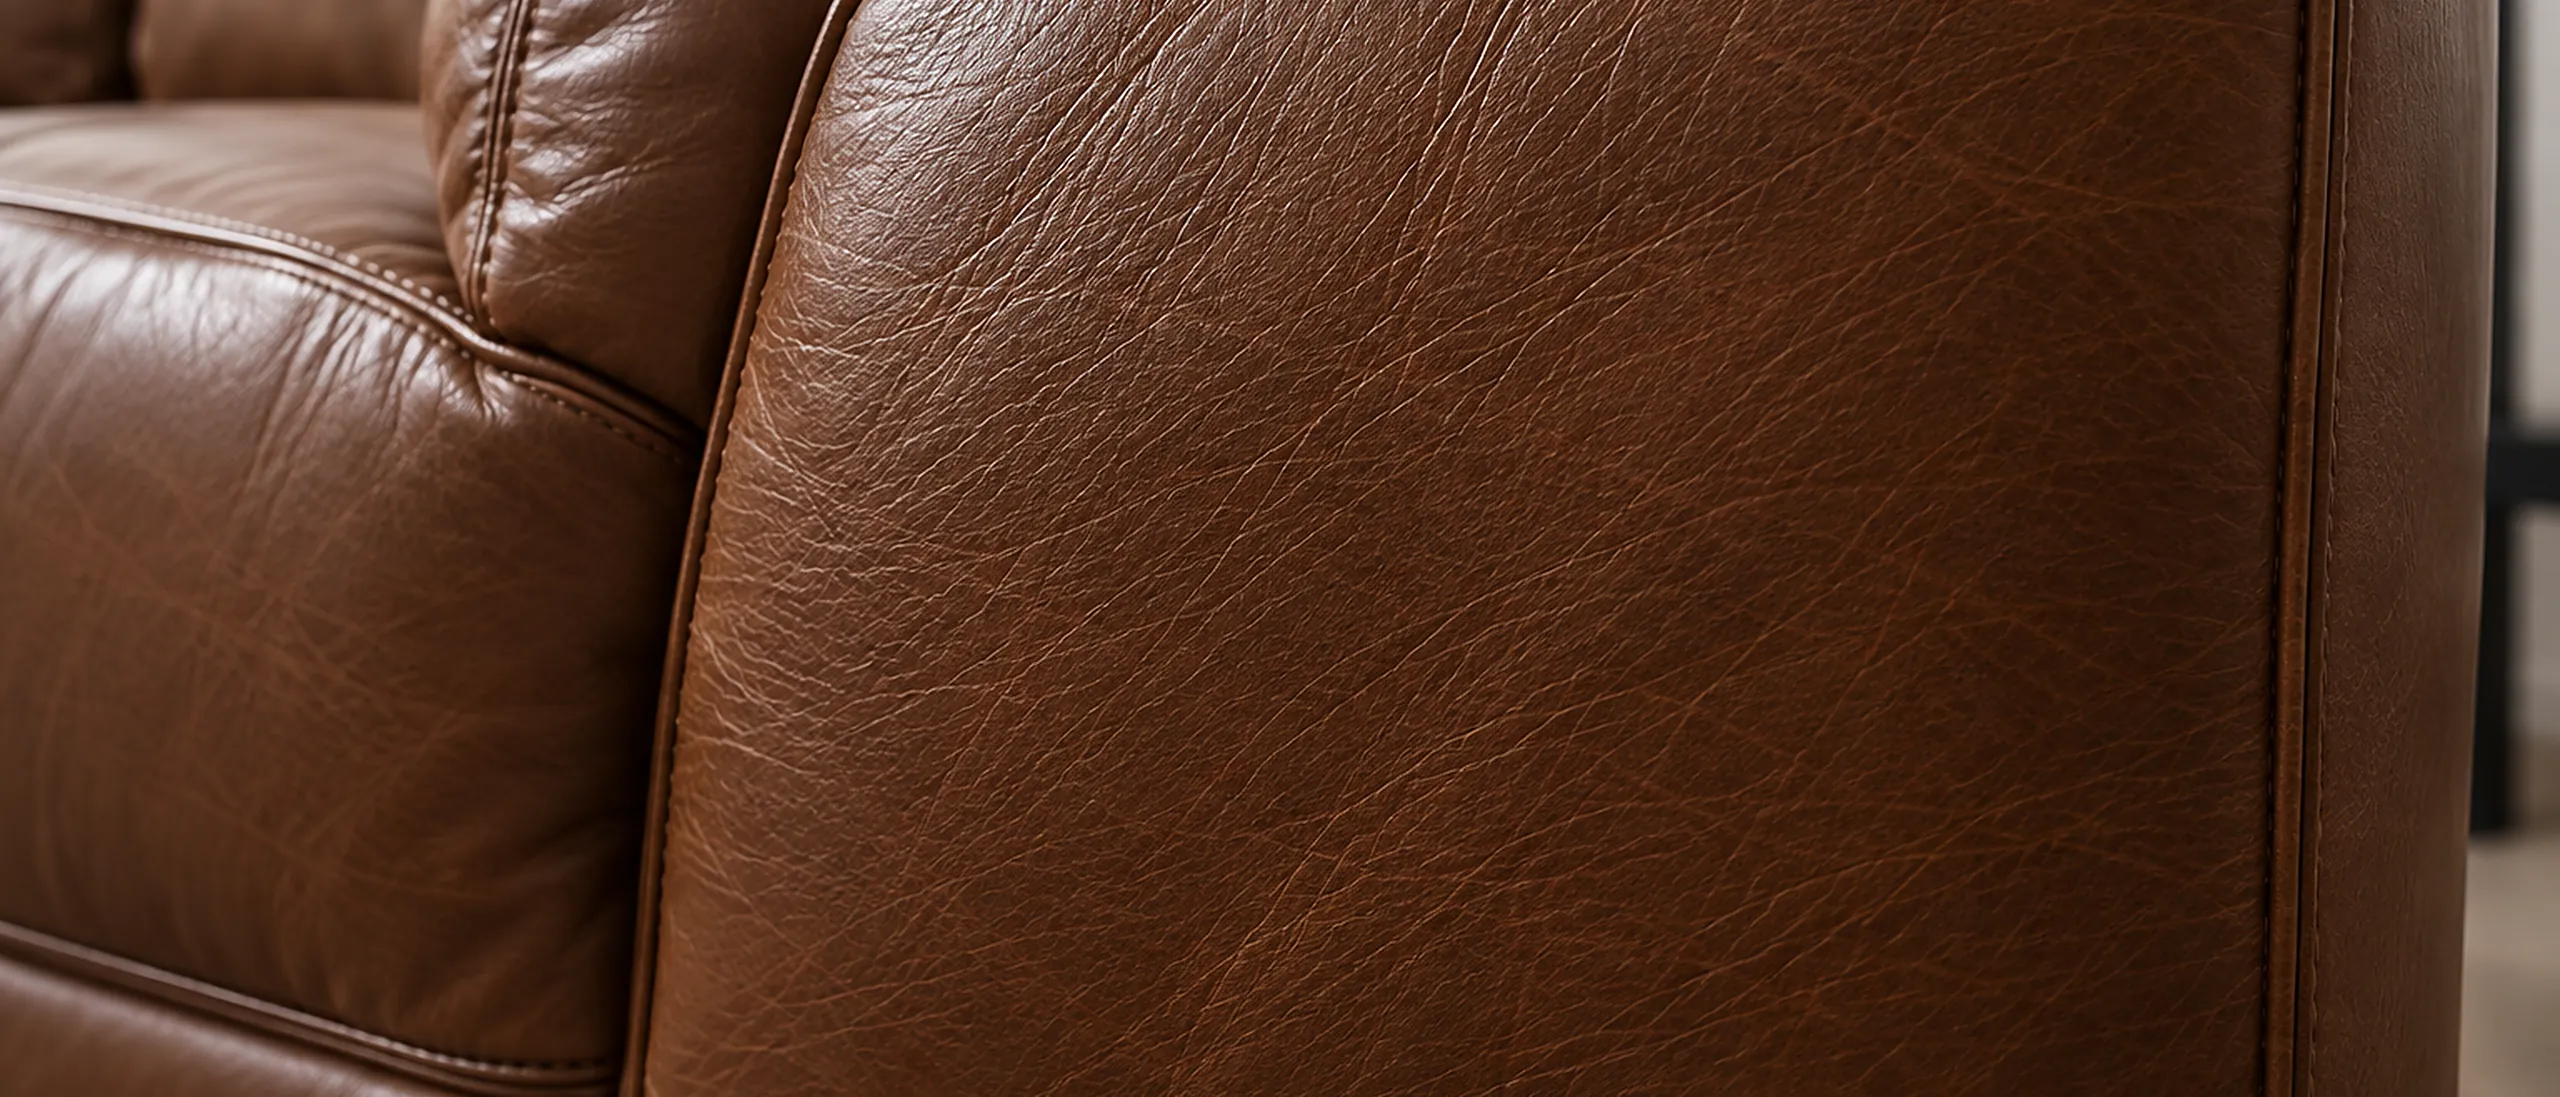
Rips are not random. Almost every ripped leather sofa repair we are called to sits in one of six places — wherever the cover is stretched over something and flexed daily, so the finish stiffens years before the rest of the piece does.
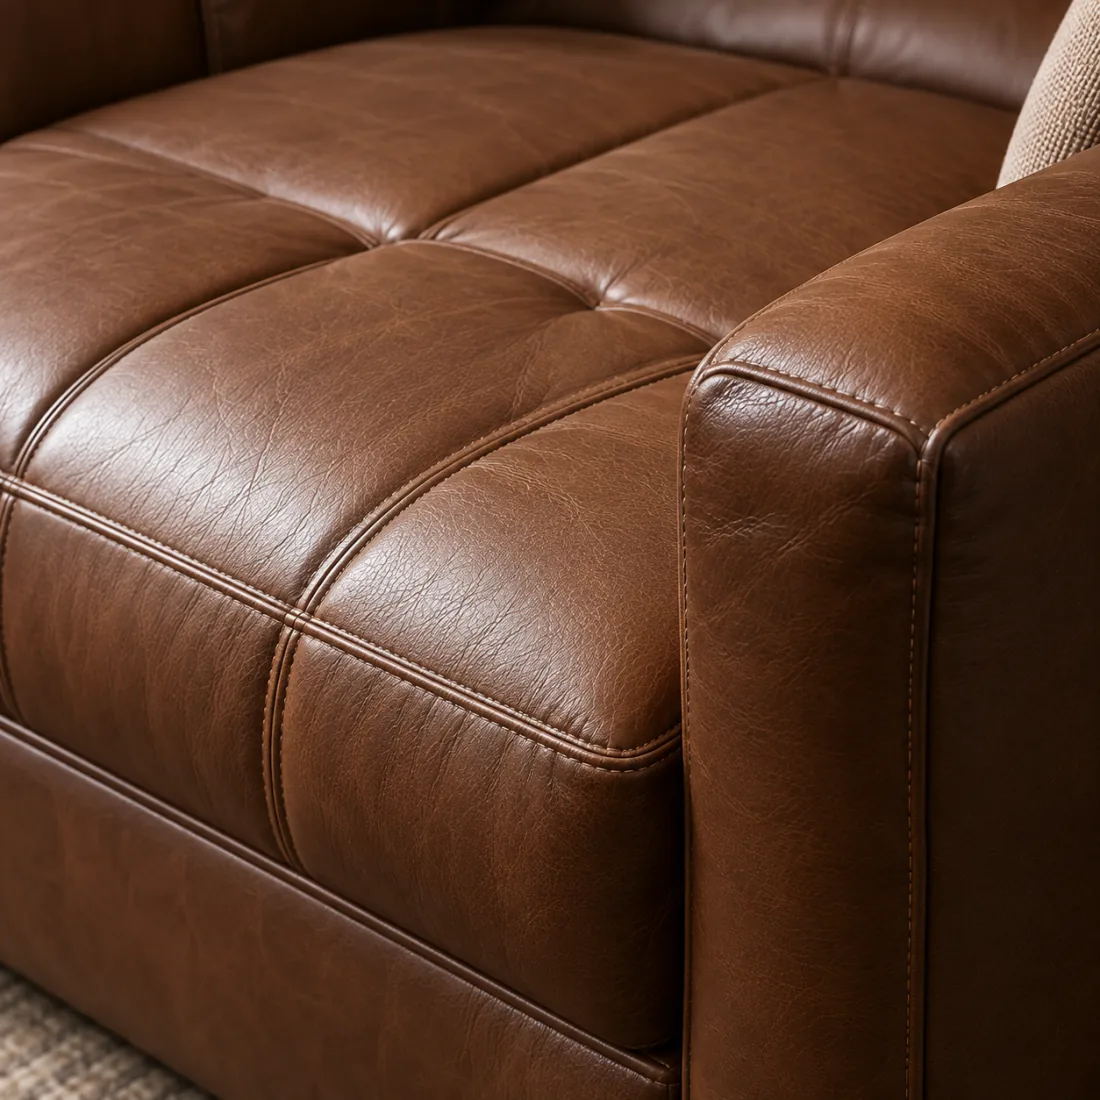
The seat crown
Stretches every time someone sits. Where the finish has gone hard, that stretch has nowhere to go.
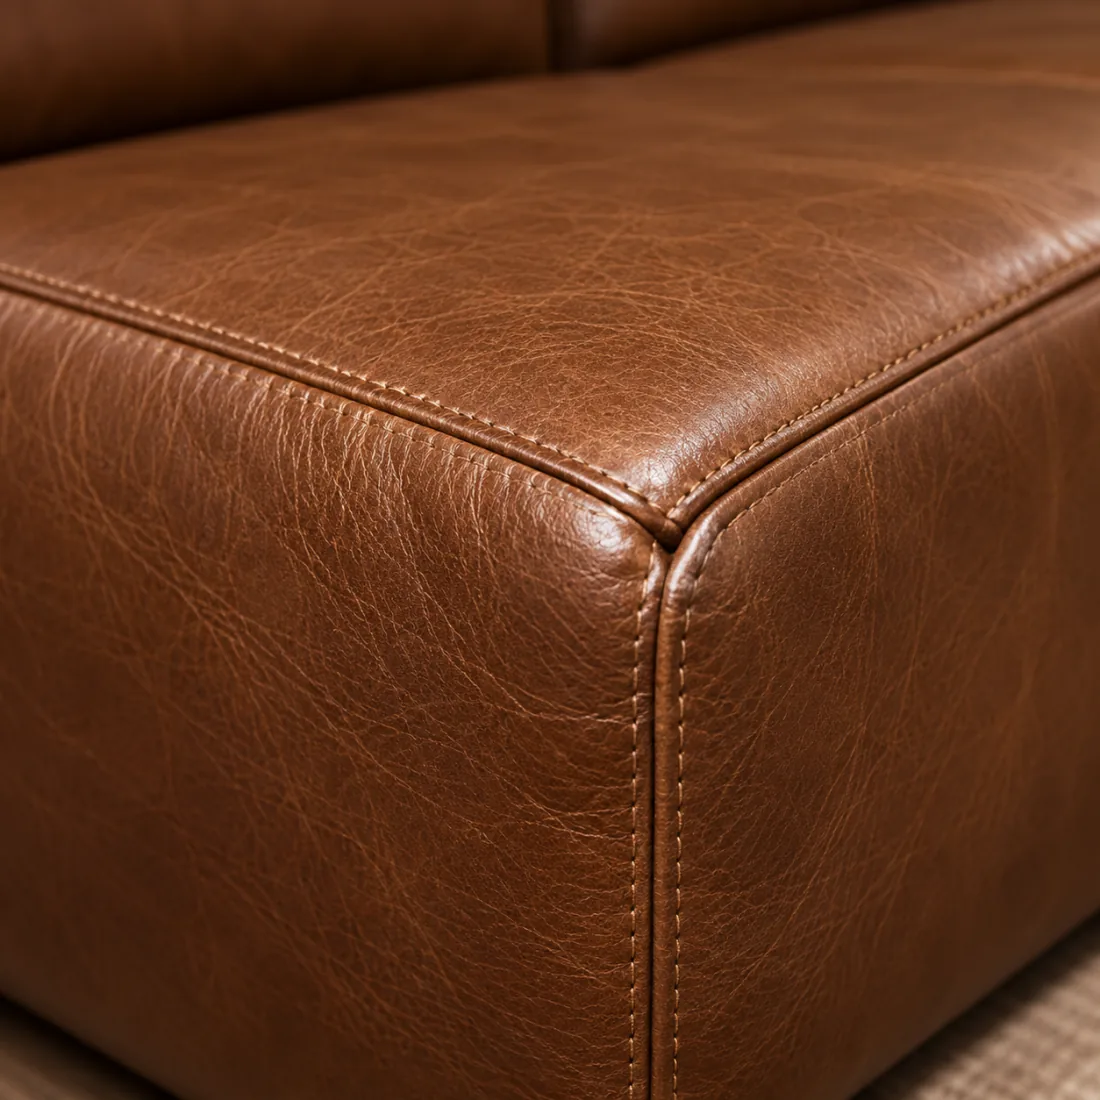
The arm front corner
Pulled tight over a curve and caught by everyone getting up. Rips here run down the curve, not across it.
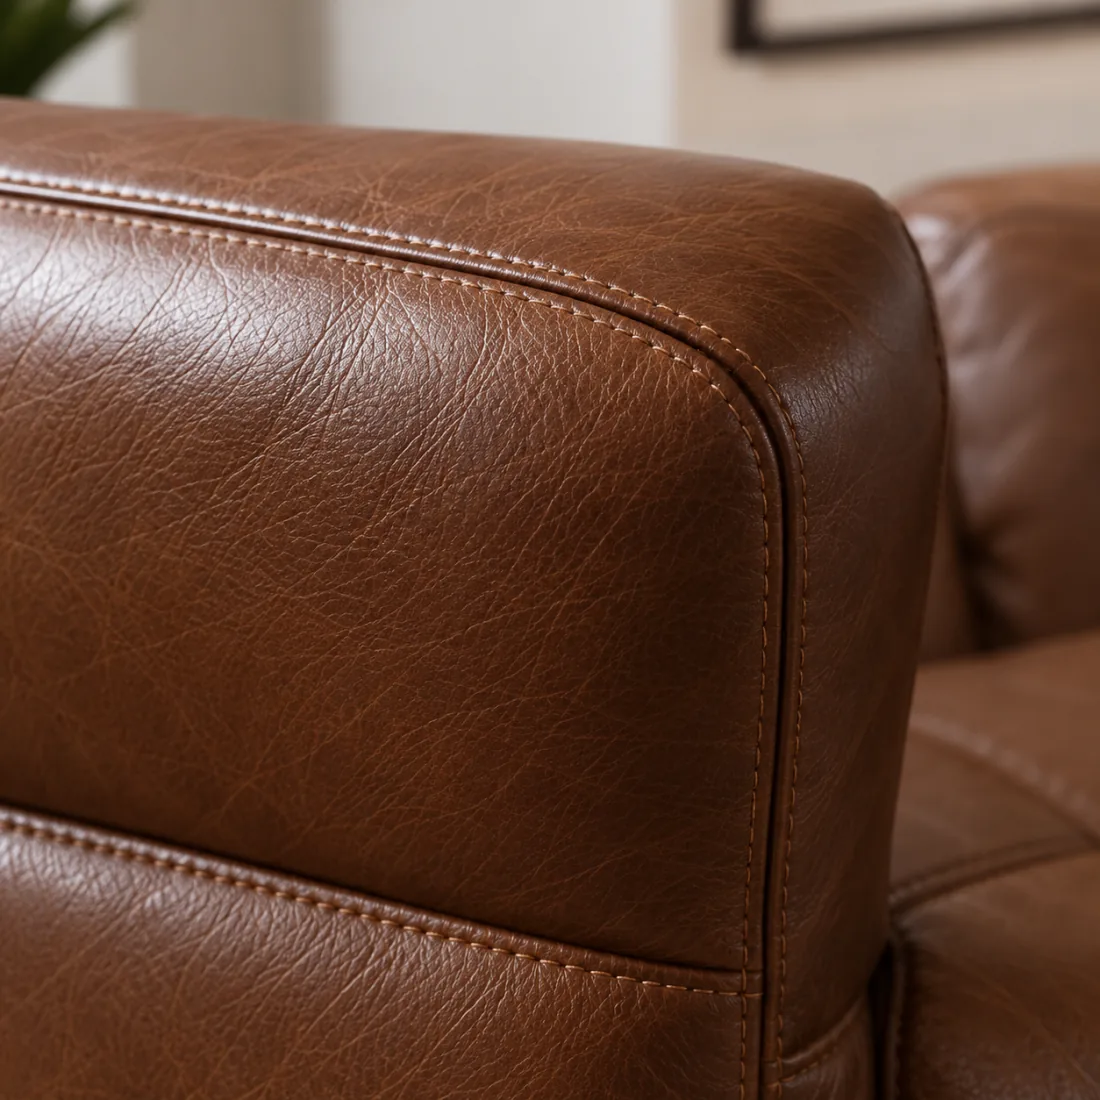
The arm top
Takes the most light and skin contact, so it dries first. Dry leather does not stretch; it splits.
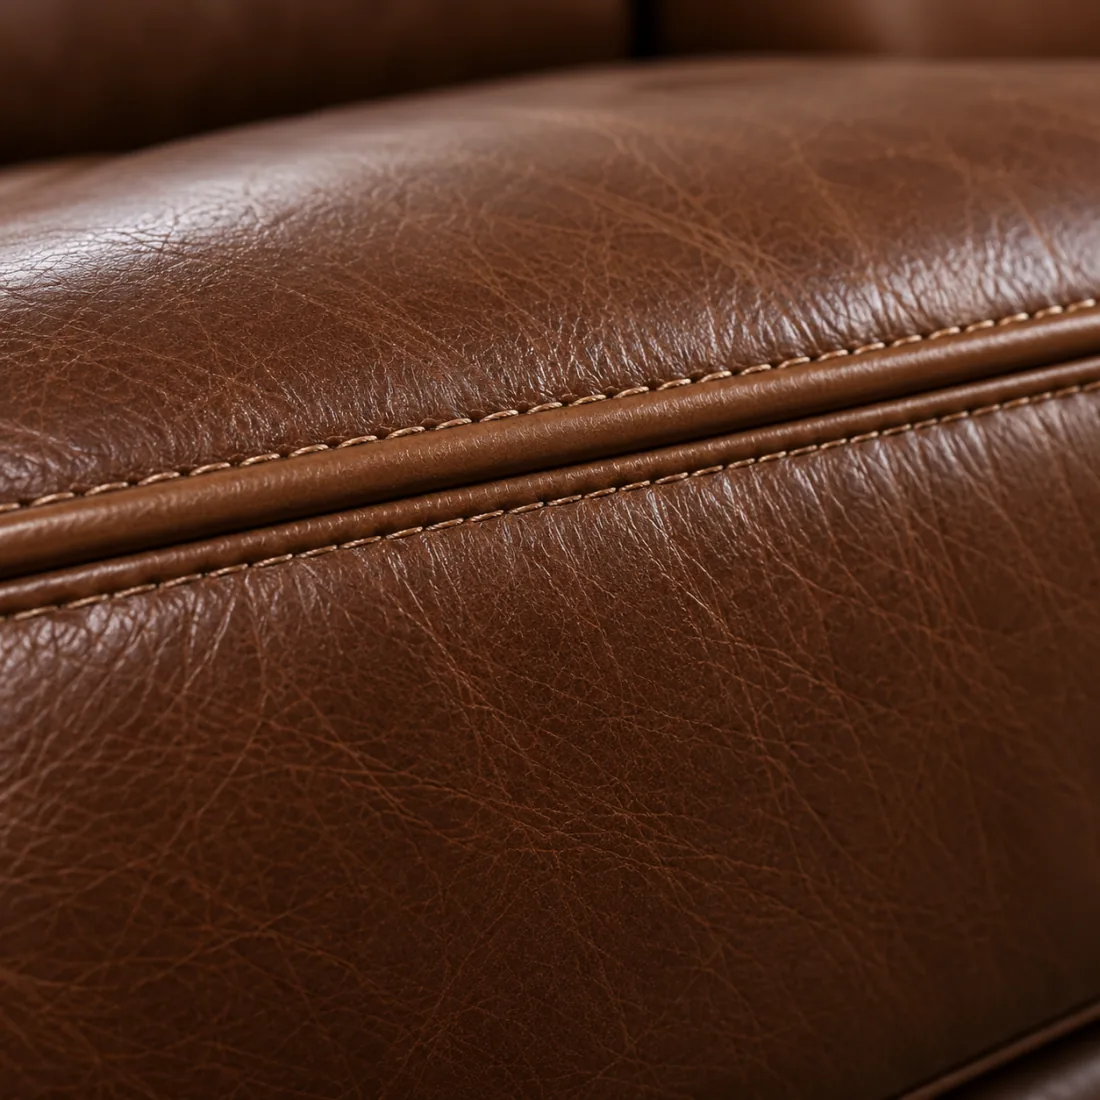
Along a seam or welt
Stitching holds the cover under tension in a line. Open beside the thread and it is the leather that failed, not the seam.
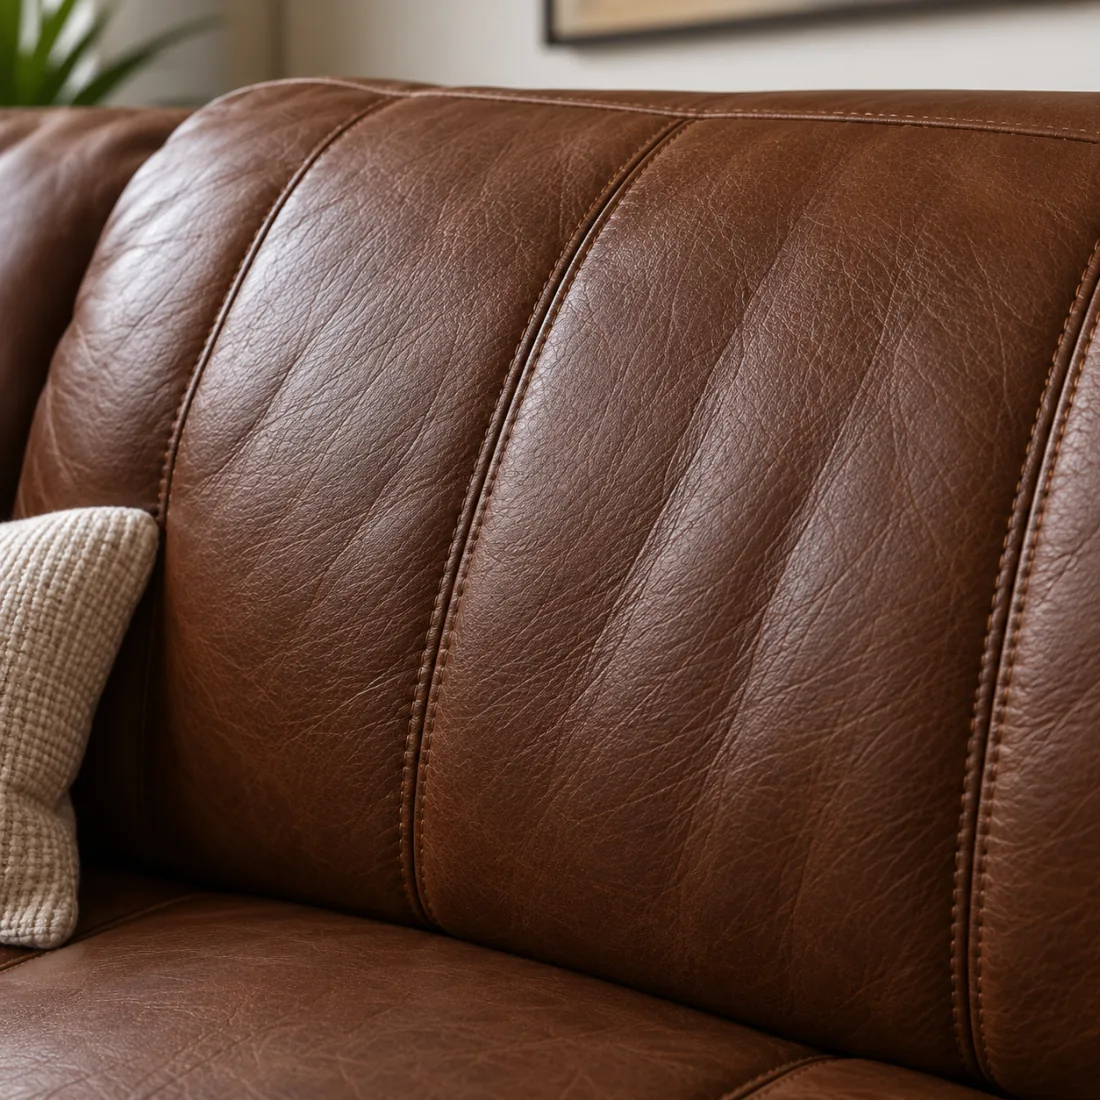
The back channels
Channel stitching pins the cover in fixed lines. The leather between them does all the moving, and thins first.
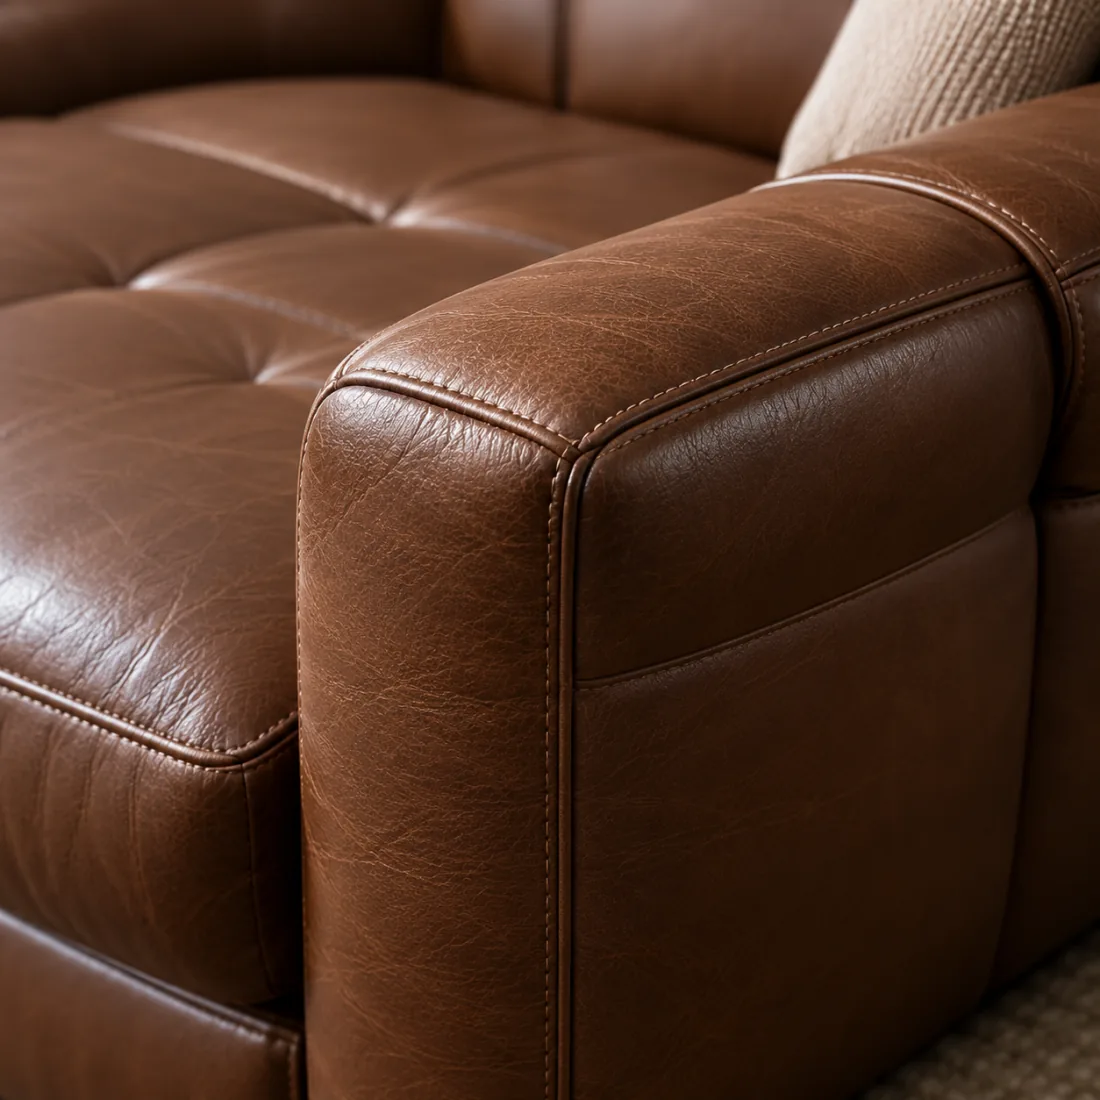
The outside arm panel
A big flat span with nothing behind it. These rip once the cover has pulled loose from the frame.
Ripped Leather Sofa Repair in Four Passes
A twelve-year-old brown sofa, opened where the cushion edge flexes — a textbook ripped leather sofa repair. Most ripped leather sofa repair runs like this, in the apartment, in an afternoon.
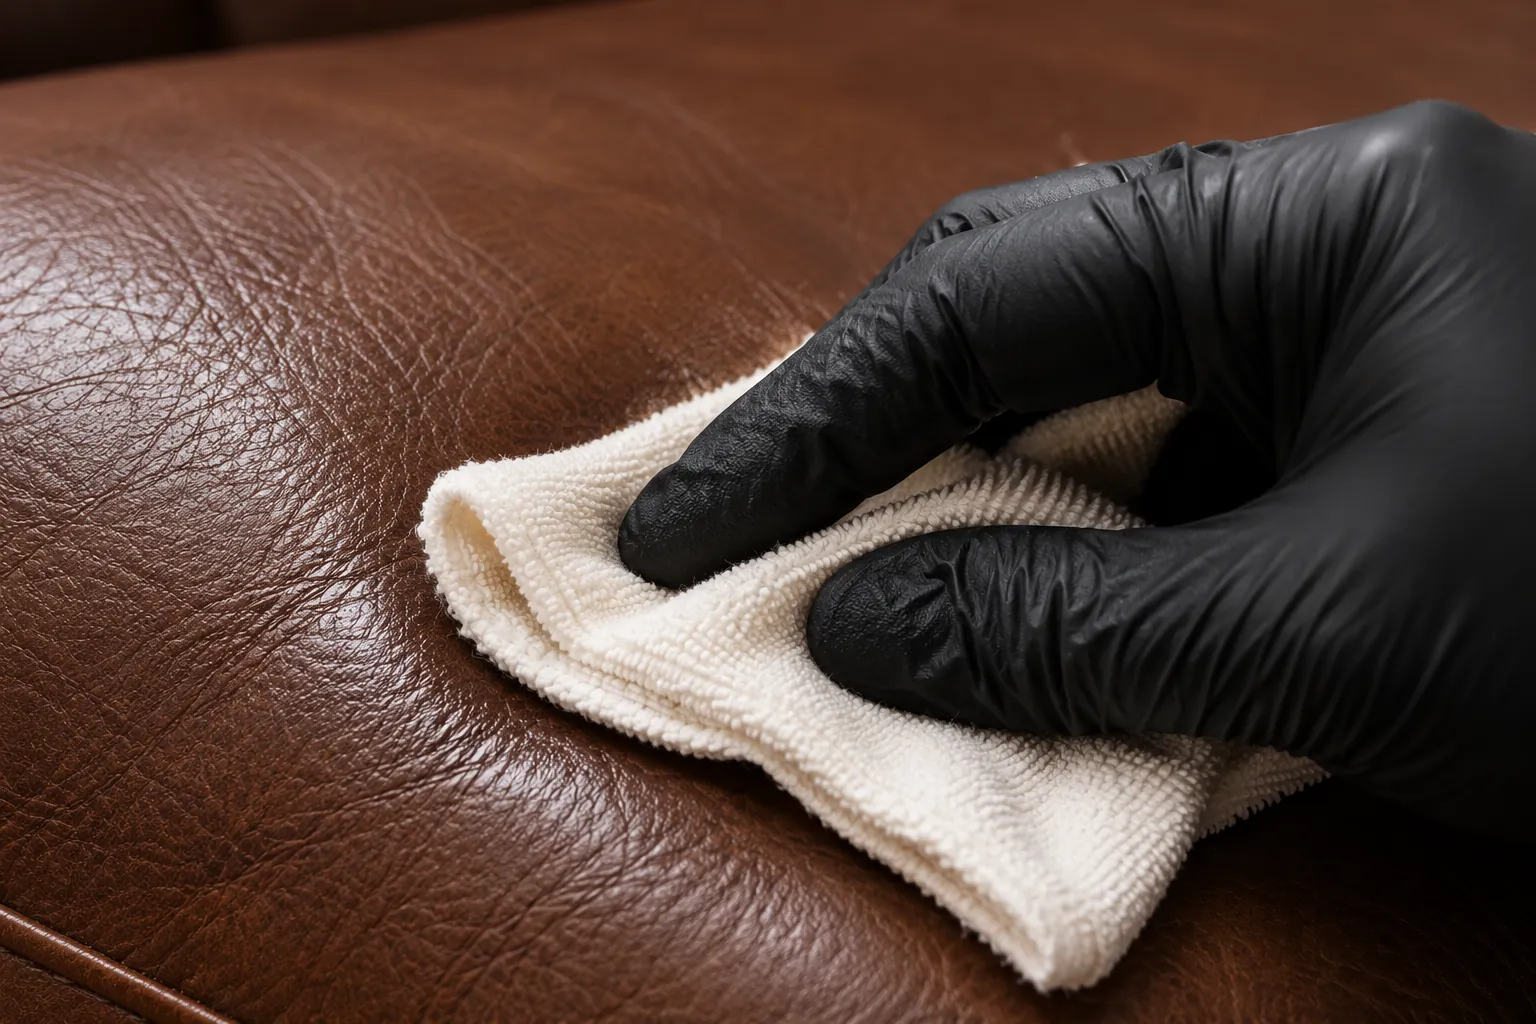 Step one
Clean and inspect
Old dressing comes off, because nothing bonds through it. Then we press either side: if the edges move apart under a thumb, the panel is still loaded.
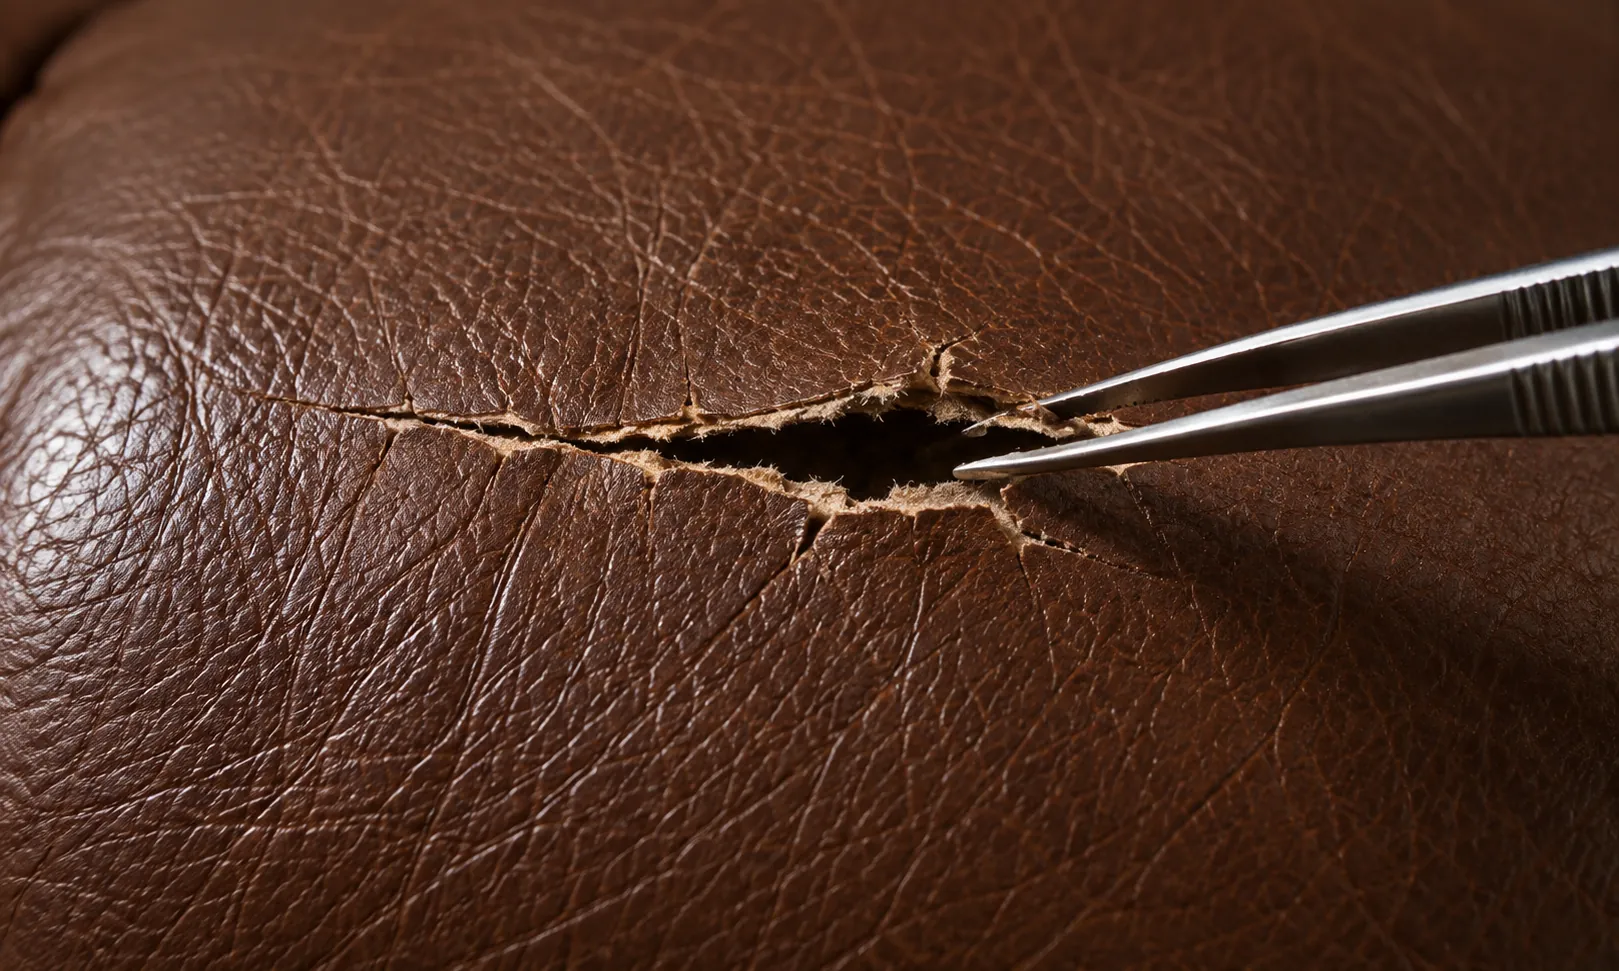 Step two
Prepare and back it
Loose fiber is trimmed away, the cover is re-tensioned where it pulled short, and a support layer goes in through the opening to bond under both edges.
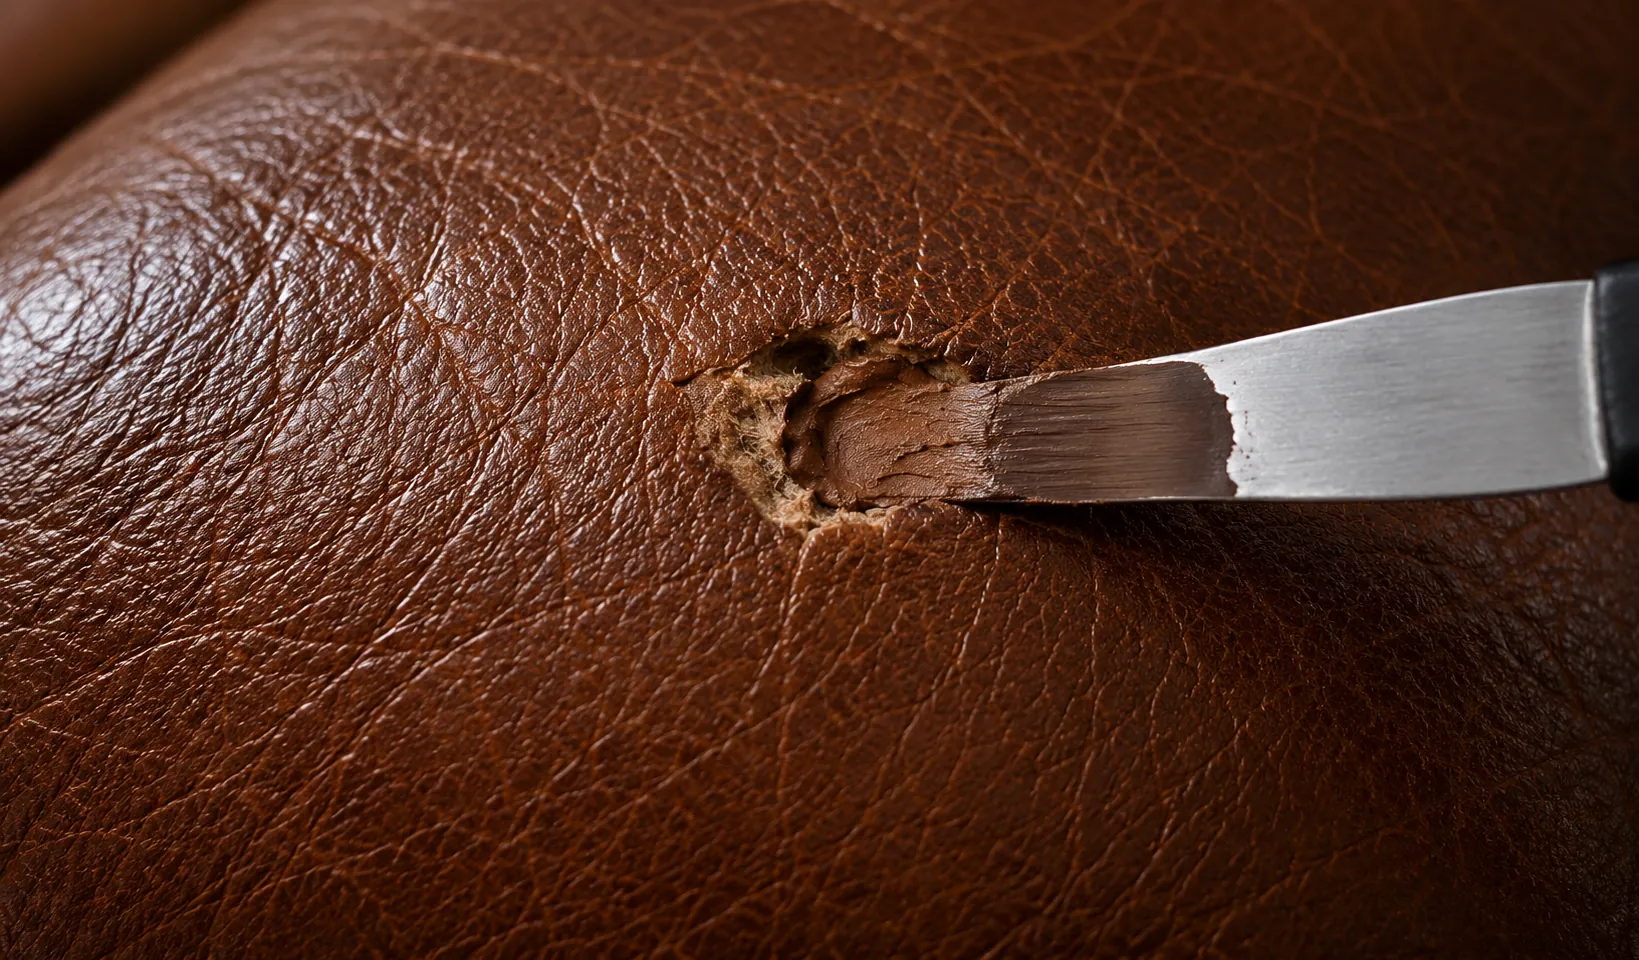 Step three
Rebuild and grain
Flexible filler builds in thin passes onto that backing, never into an empty gap, then the surface is grained to match the hide around it.
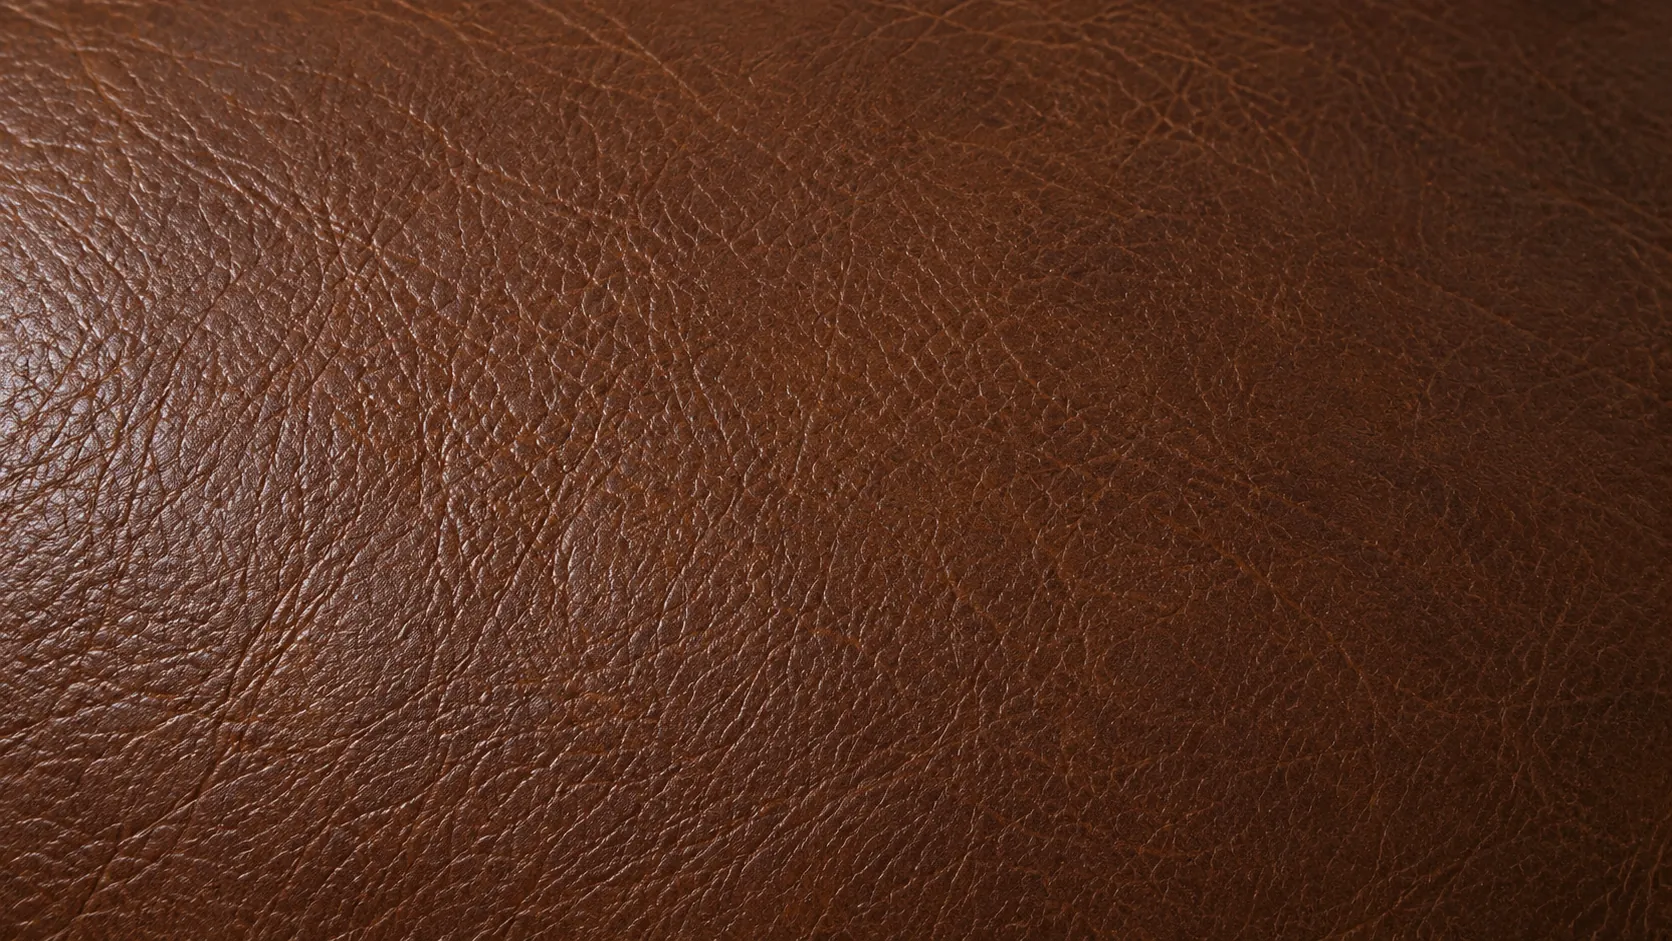 Step four
Match color and sheen
Color carries across the whole panel rather than being dabbed on the repair, and the last coat sets the gloss. Wrong sheen still reads as a repair.
When a rip repair comes back
Ripped leather sofa repair fails for three reasons, all three visible in the photos before anything is booked. If yours is one of them we say so before you pay.
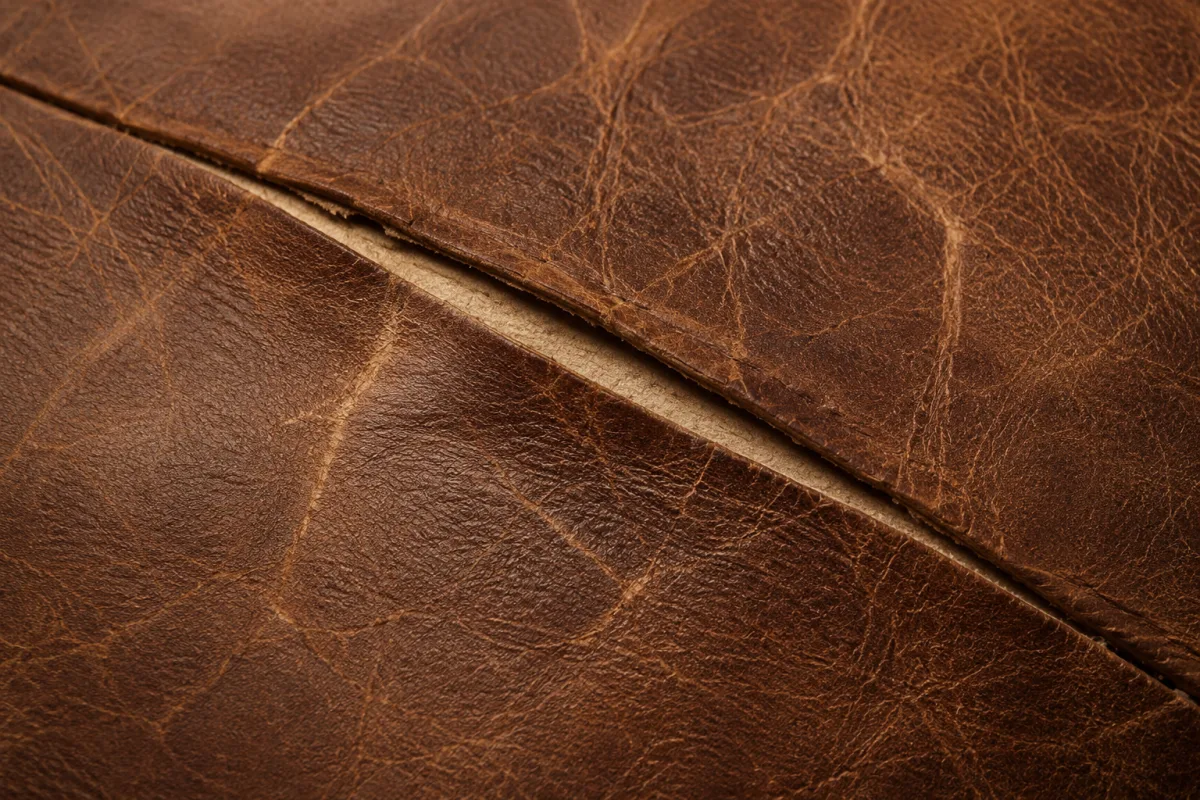
It was filled, not backed
The commonest one, and why repair kits disappoint. Filler with nothing behind it has no strength across the gap, so the flex that opened the rip opens it again.
The leather beside it is spent
If the hide either side powders under a fingernail there is nothing sound to bond to. The repair holds and the leather beside it goes instead.
Nothing was done about the tension
A closed rip on a cover still pulled short is a repair with a countdown on it. This is what separates a lasting result from a brief one.
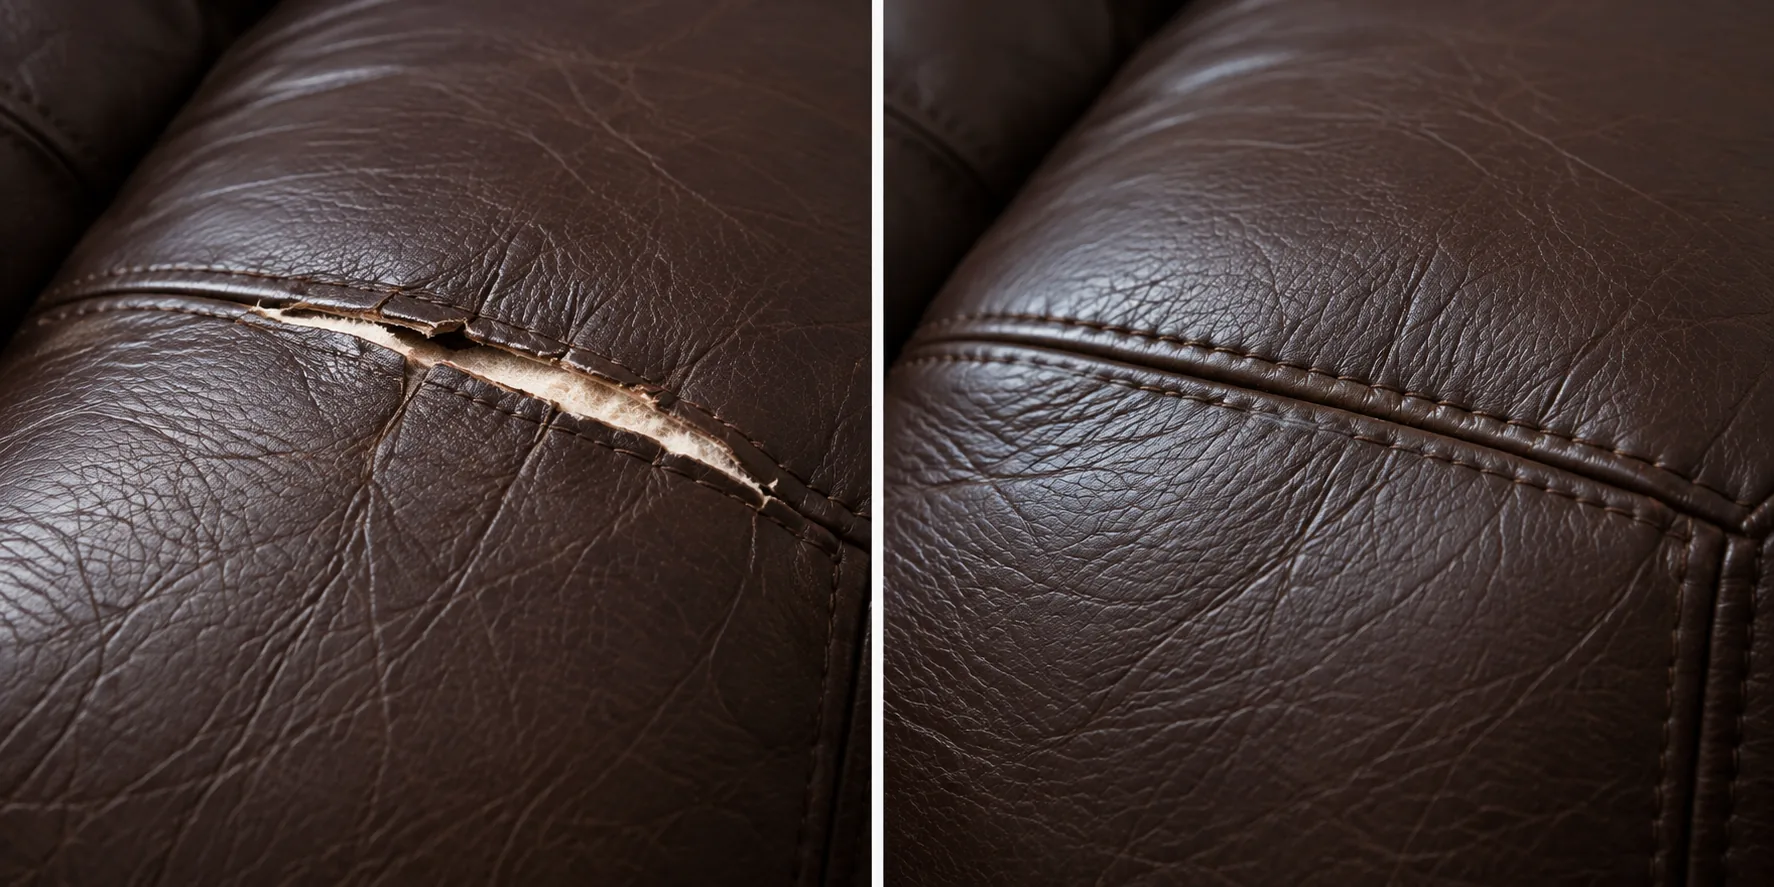
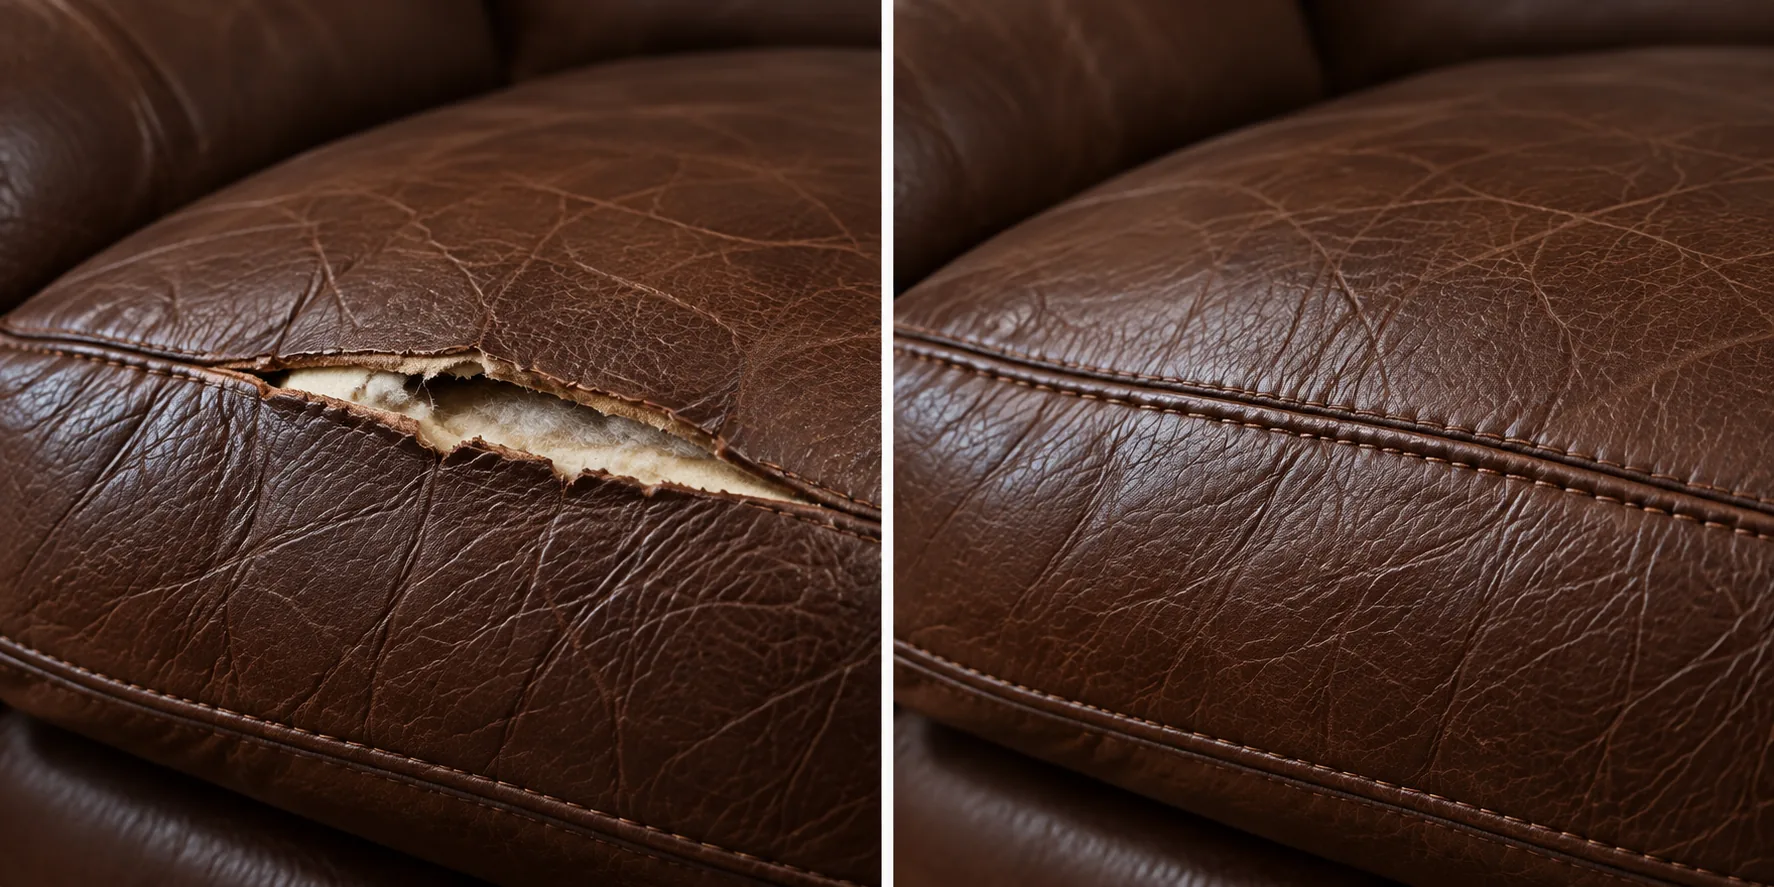
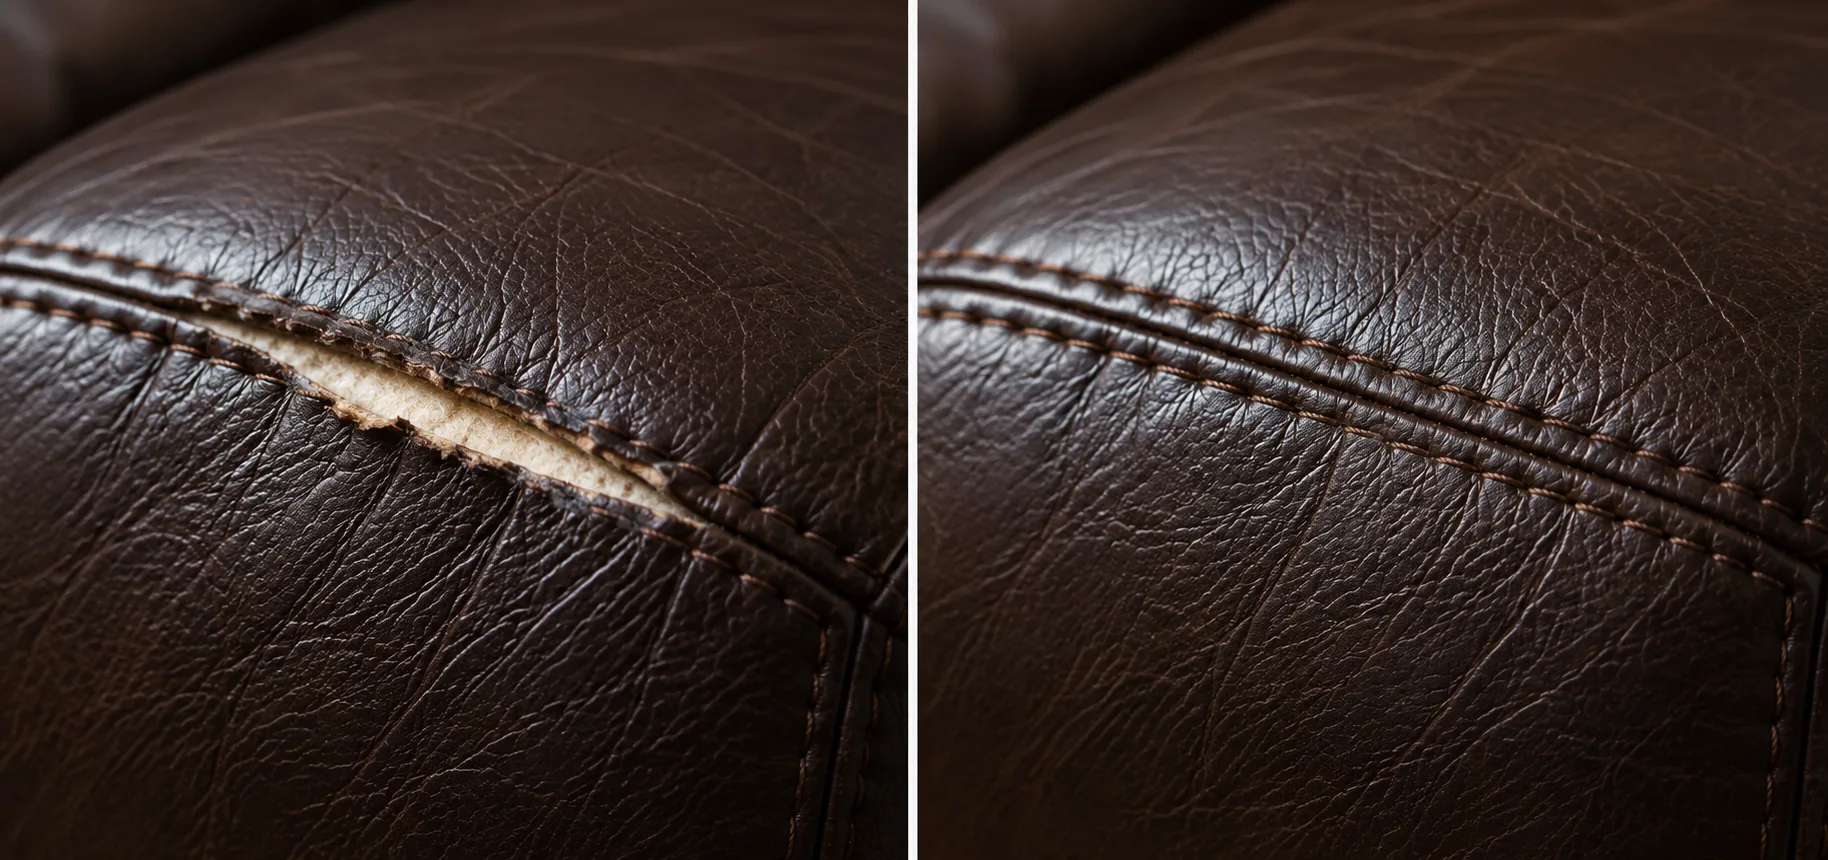
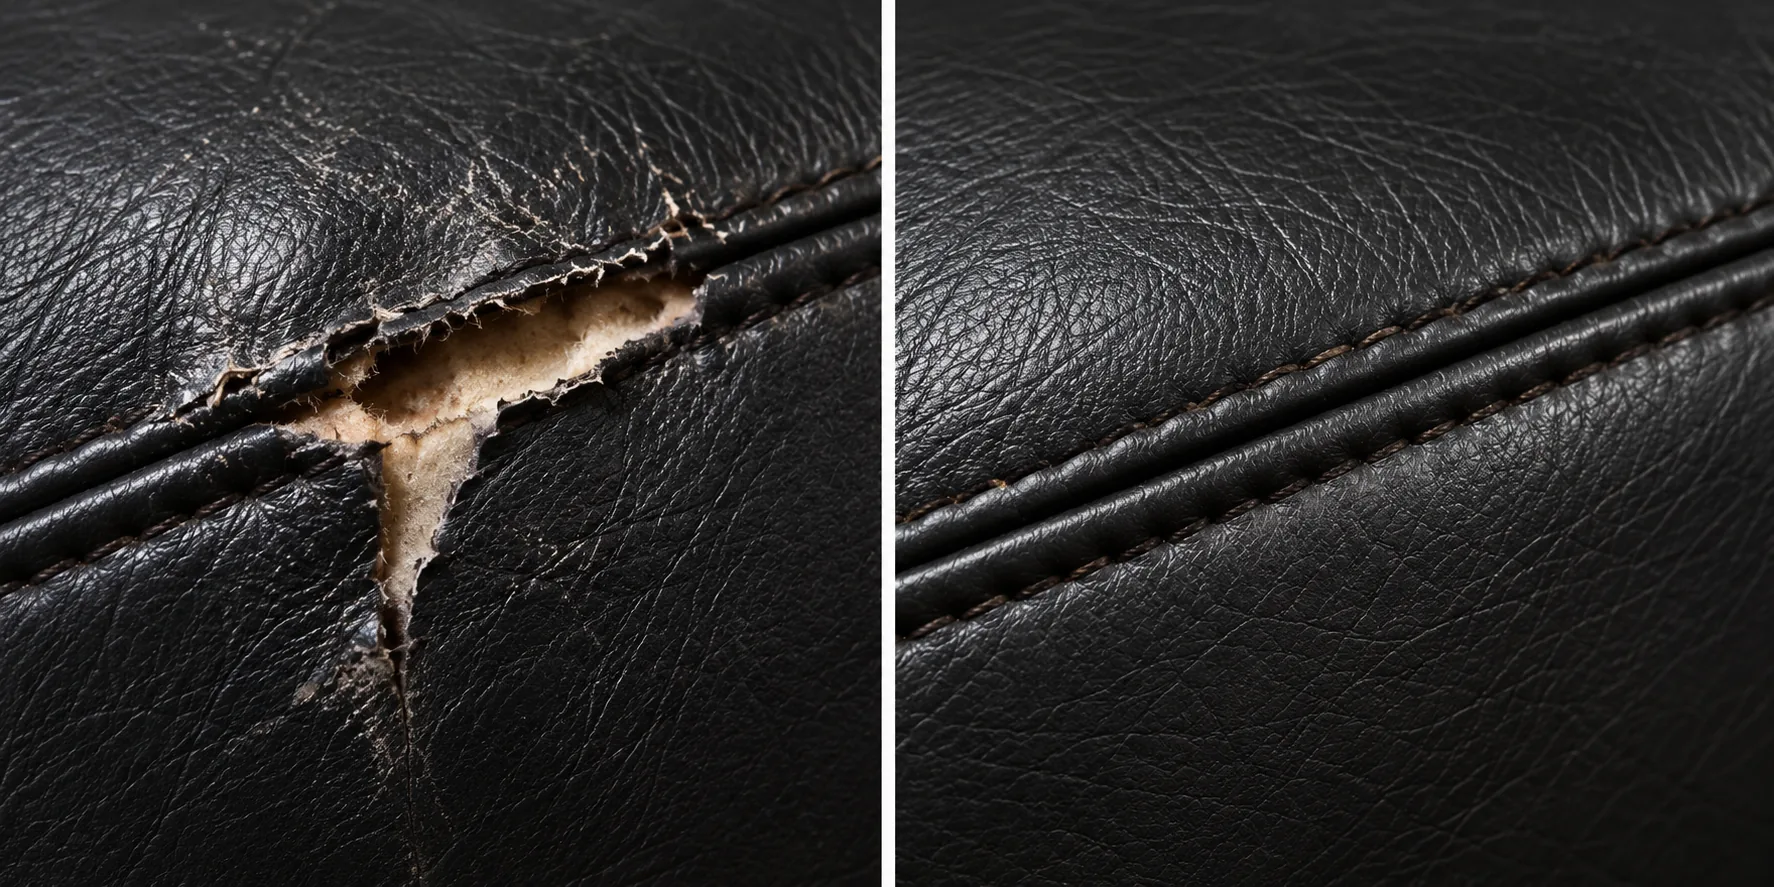
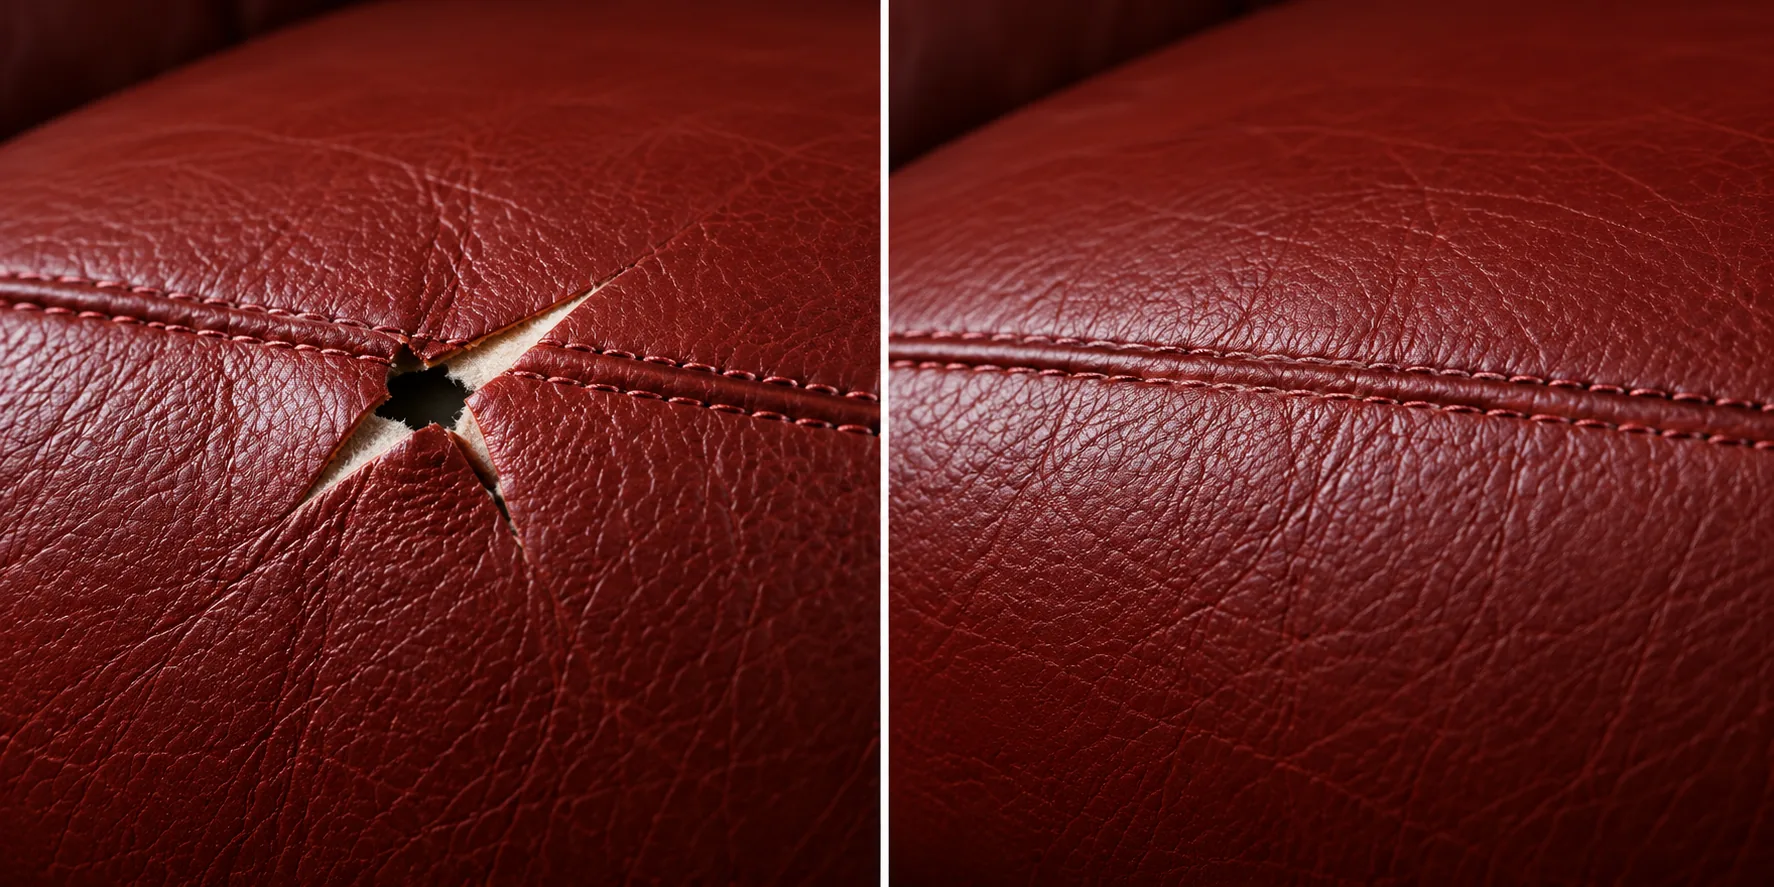
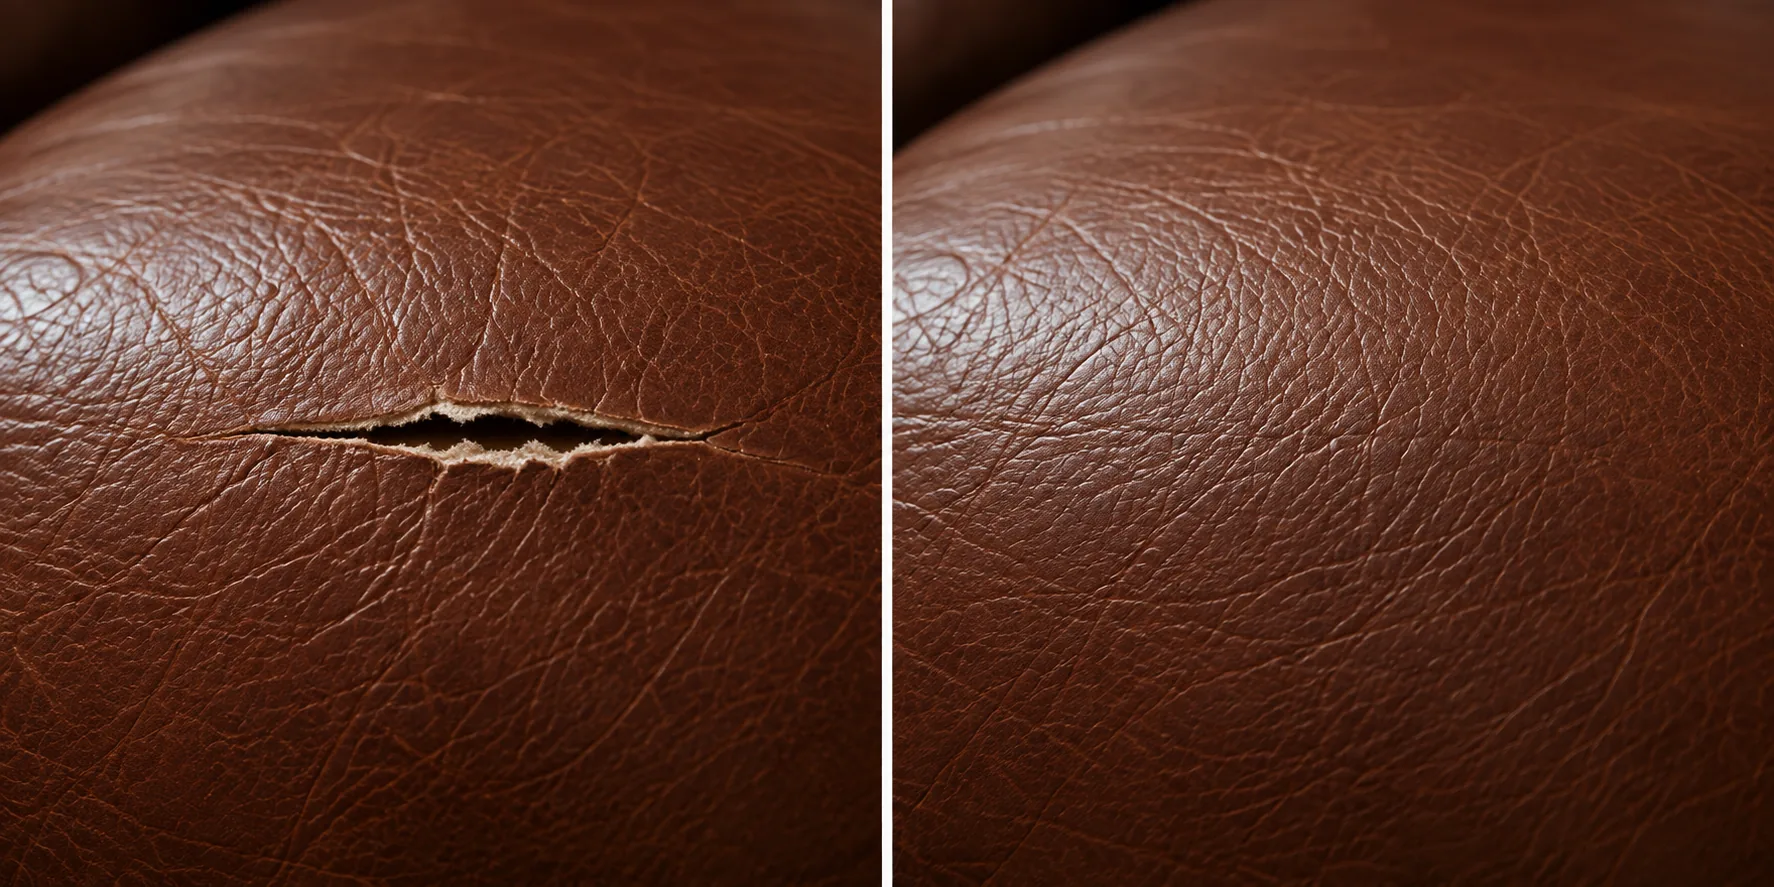
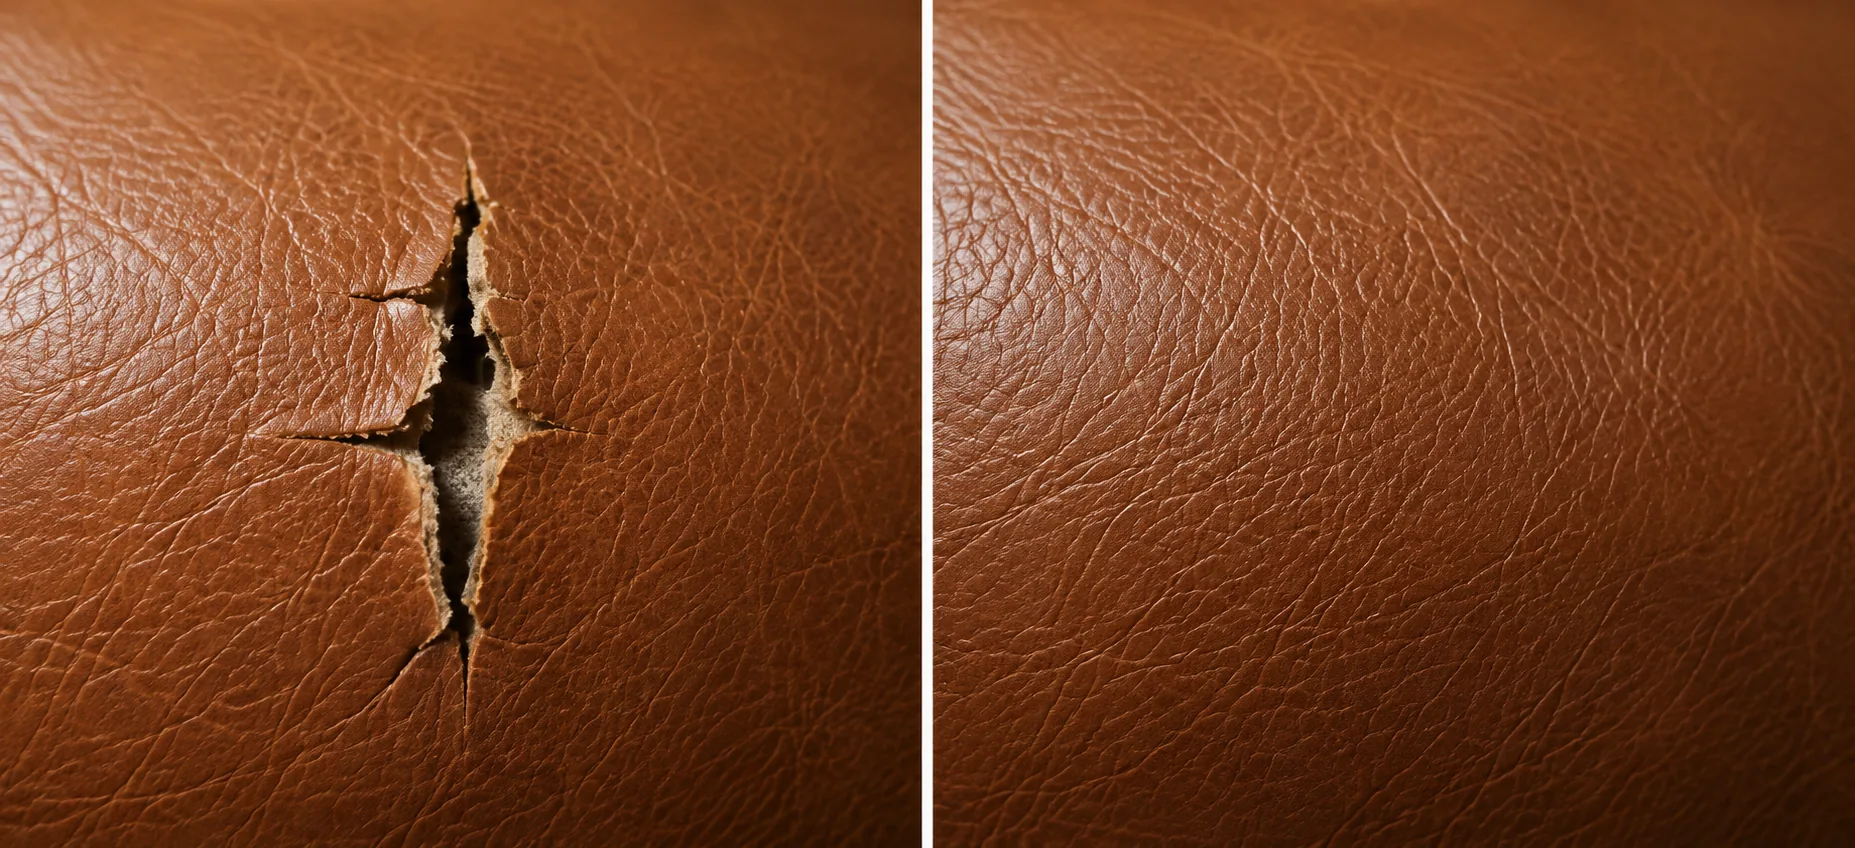
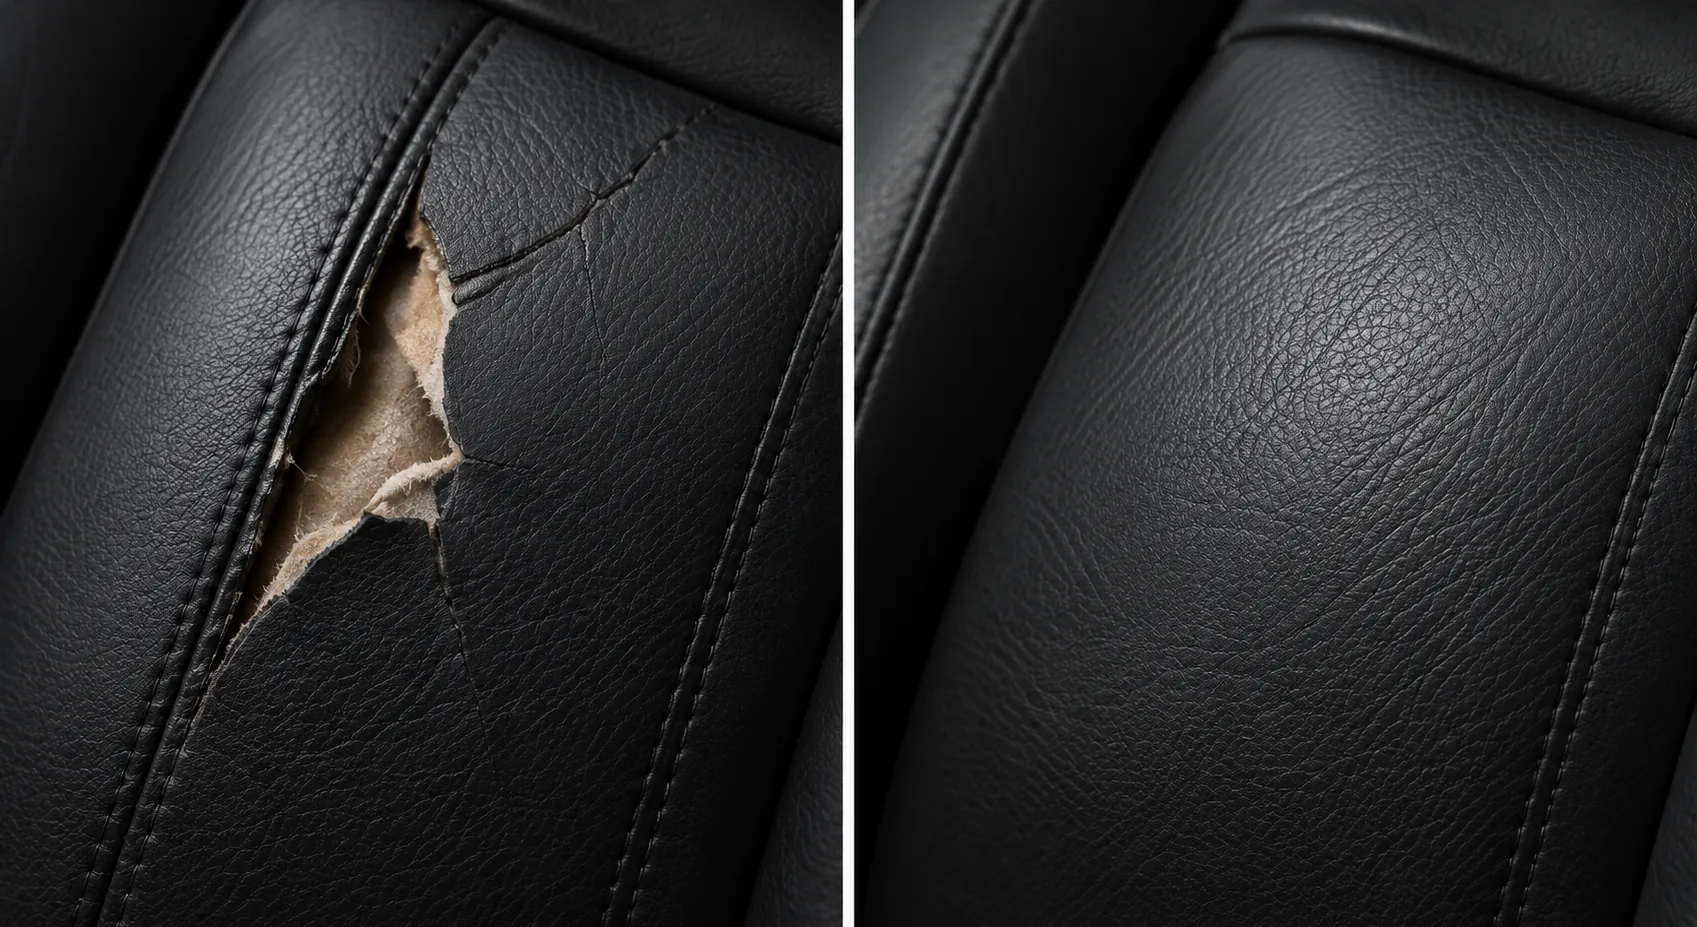
Every one of these was still a tear
Our own work, same crop and same light either side. Each of these came in narrow, with the edges still meeting. Close one at this stage and ripped leather sofa repair never has to happen at all.
The leather decides how the repair is built
We close rips on all eight of these, but not the same way. A coating we can rebuild is a different job from a hide with nothing on top of it, and bonded leather is a different conversation again. Read what yours is on the materials guide, or in UNIDO's acceptable quality standards for leather.