
Leather Scuff Repair
A scuff is damage to the finish, not to the hide. That is why most of it is corrected where the furniture stands — no patch, no panel swap, no van.
Leather Scuffs We Repair
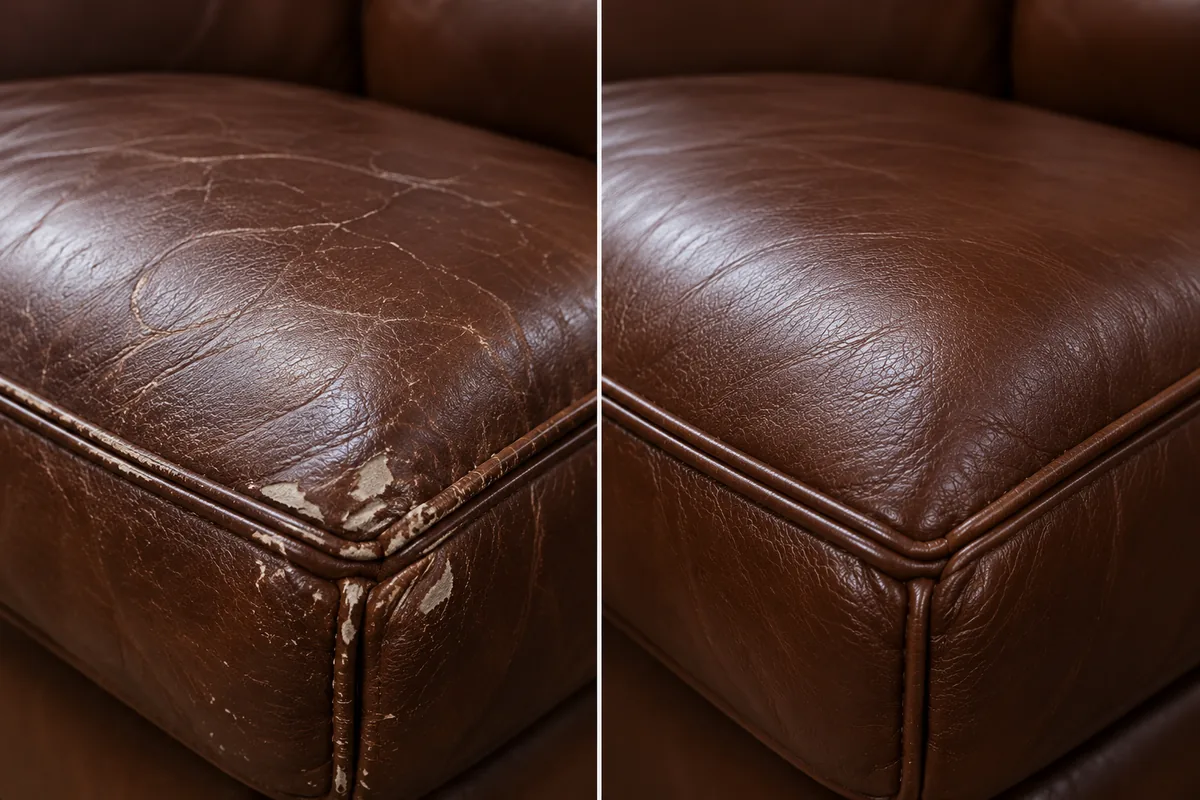 BeforeAfter
Edge Scuffing
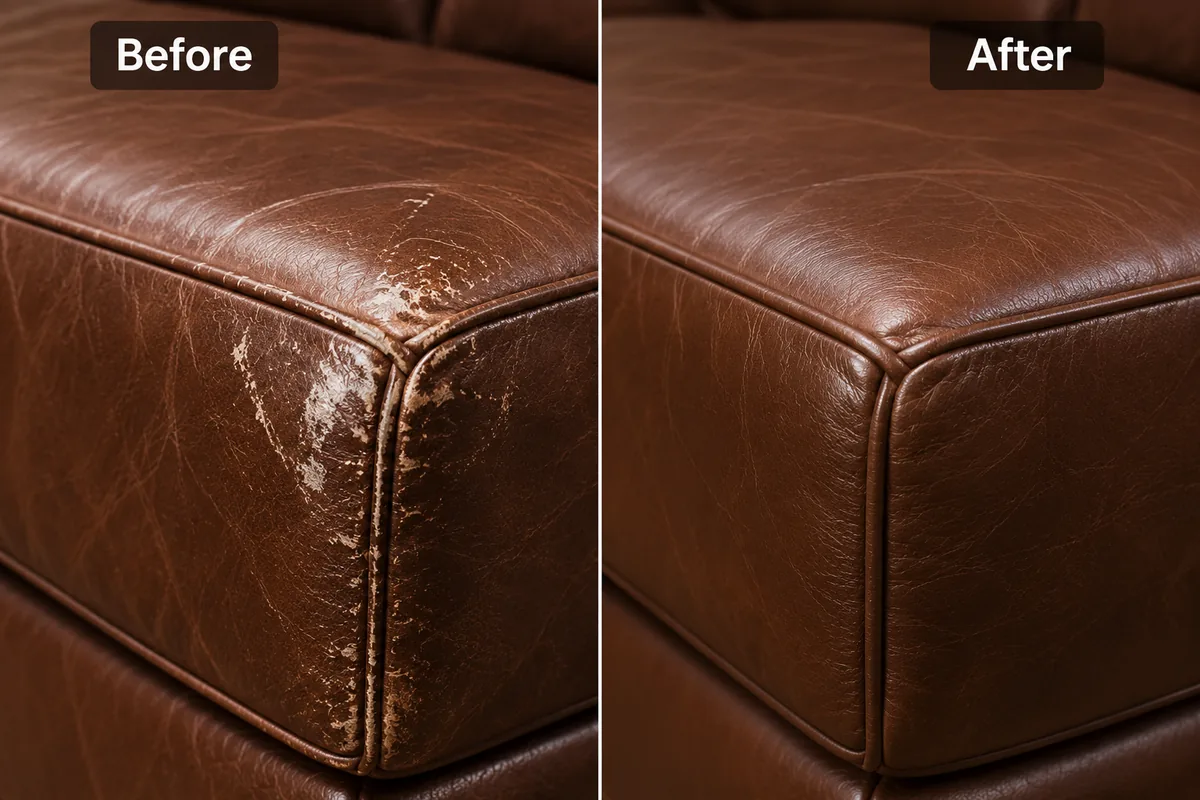
Colour Loss
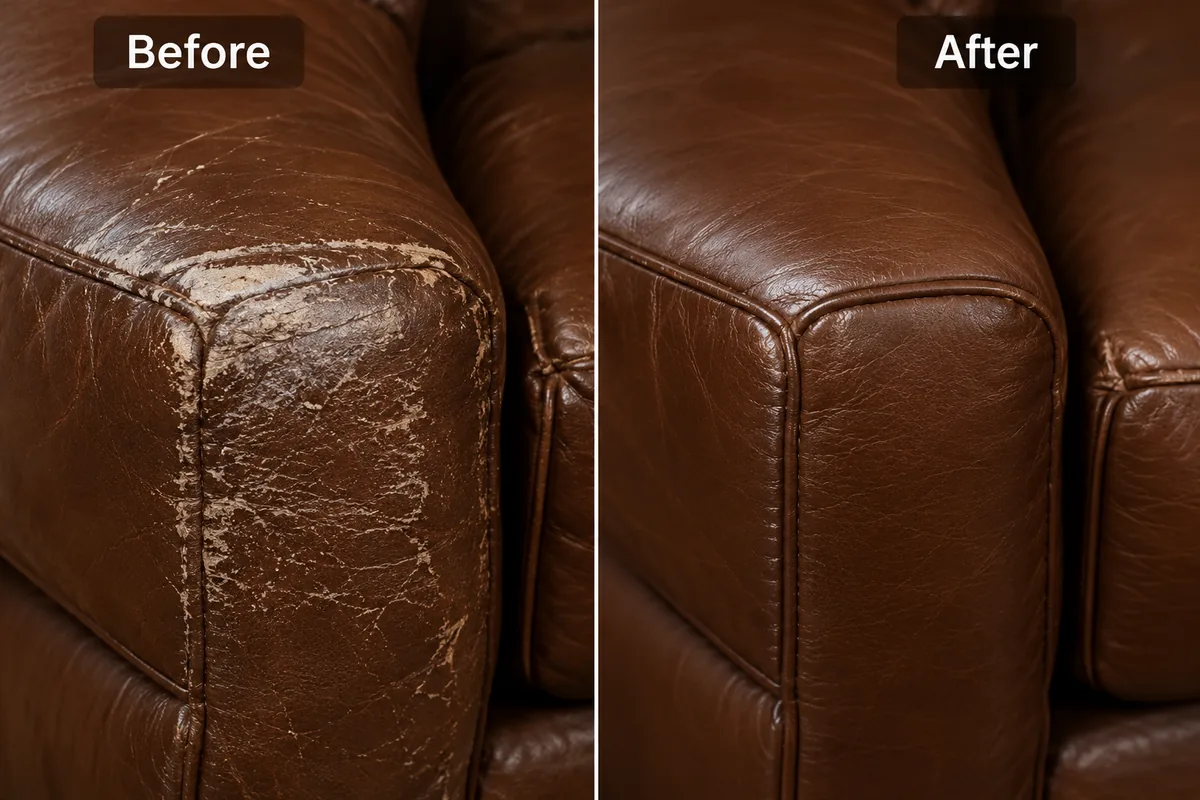
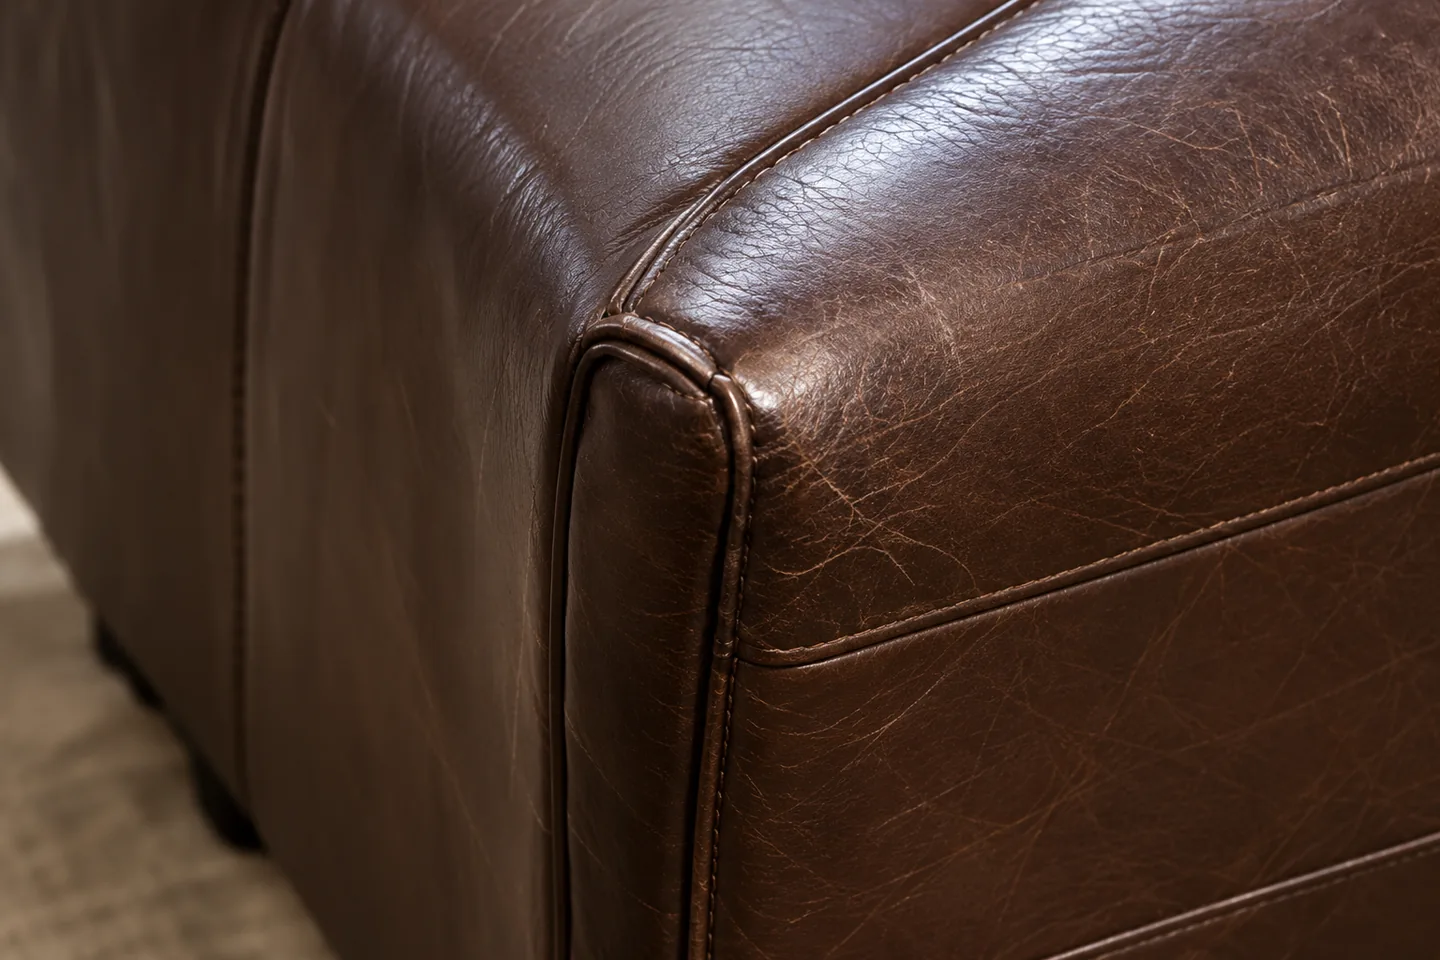
Armrest Wear
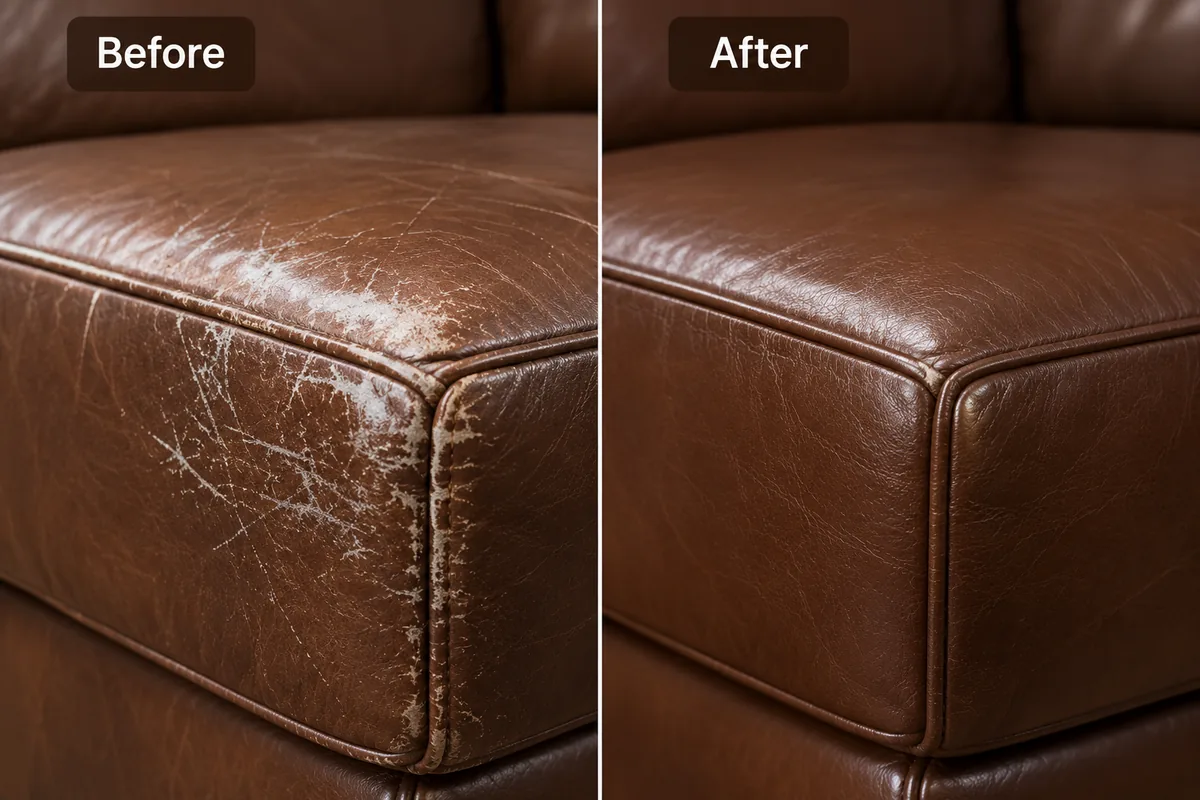
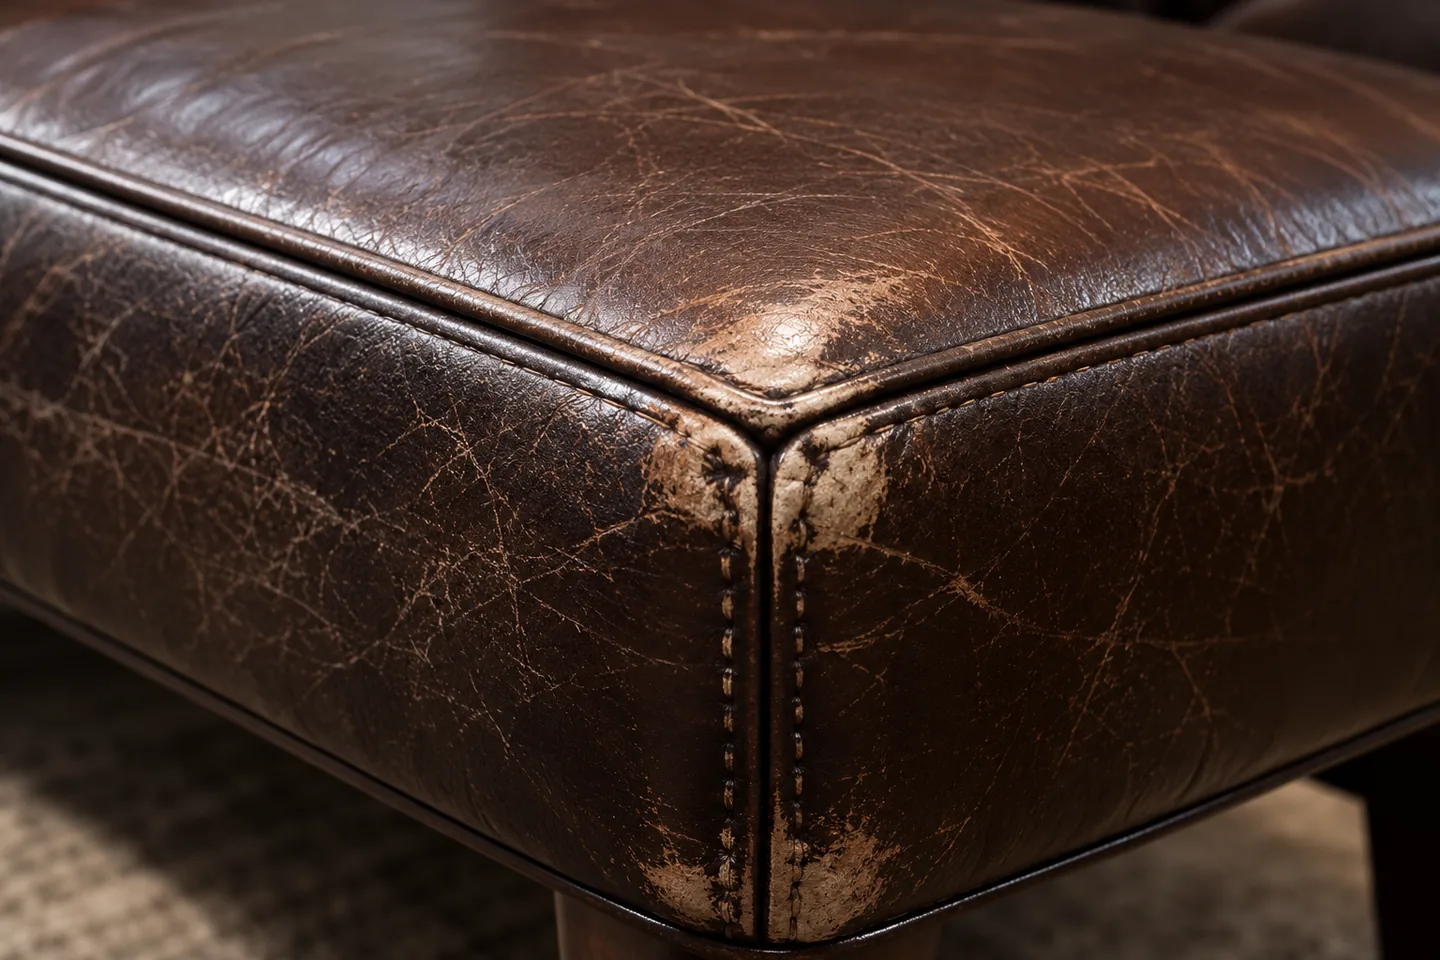
Seat-Edge Wear
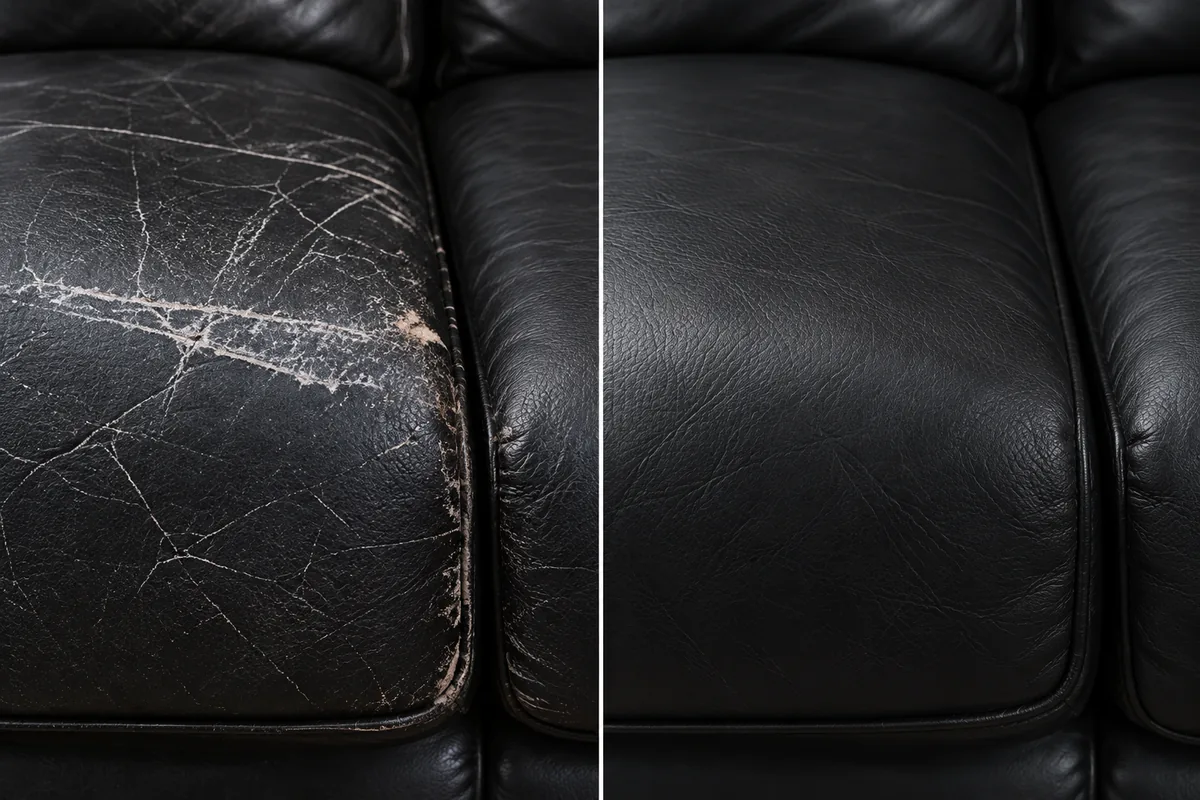 BeforeAfter
Surface Scuffs
A scuff is measured in layers, not inches
Leather is built up in coats. How many a rub has taken off decides the method, so leather scuff repair starts with depth, not size — and depth is what a photograph can tell us before we arrive.
-
 01
01Finish transfer
Caught on the coating. The grain underneath is unbroken.
-
02
Topcoat abrasion
The clear coat has rubbed off, and pale fibre is starting to show.
-
03
Pigment loss
Through the colour now — a solid band of lighter hide.
-
04
Grain damage
The grain itself is open, and has to be levelled before colour.
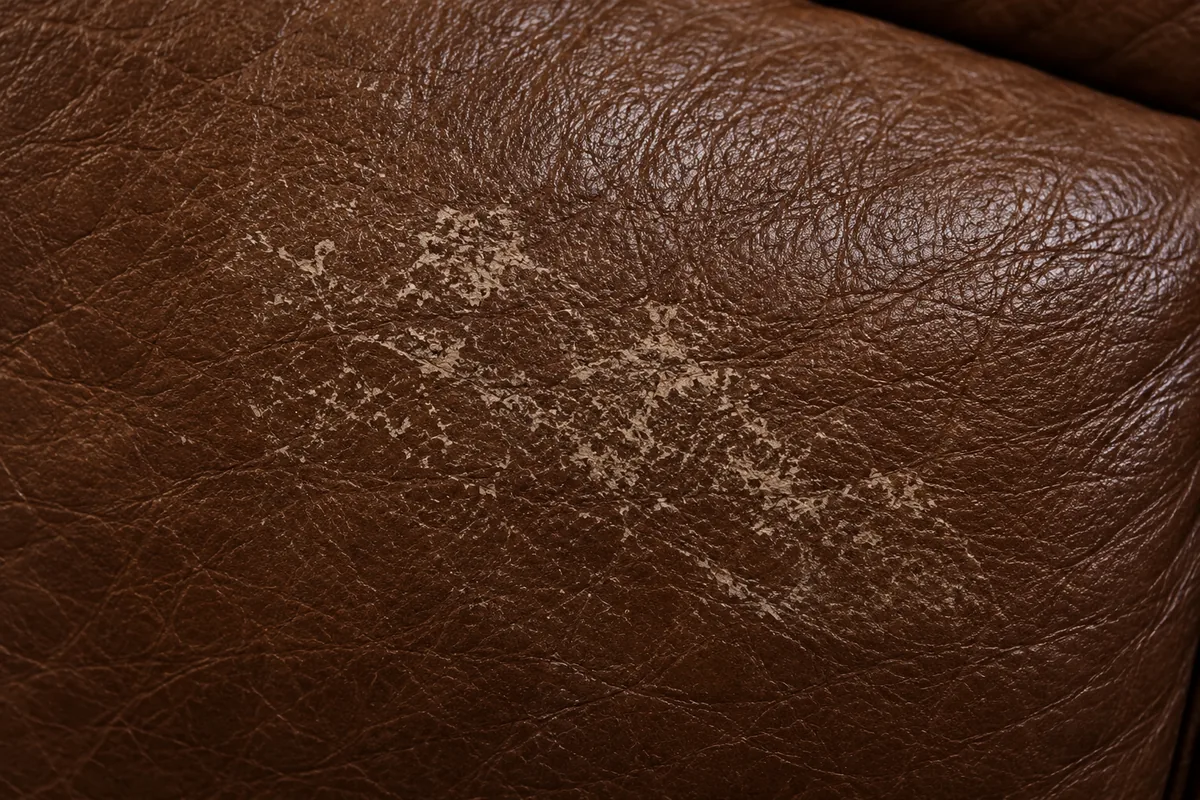
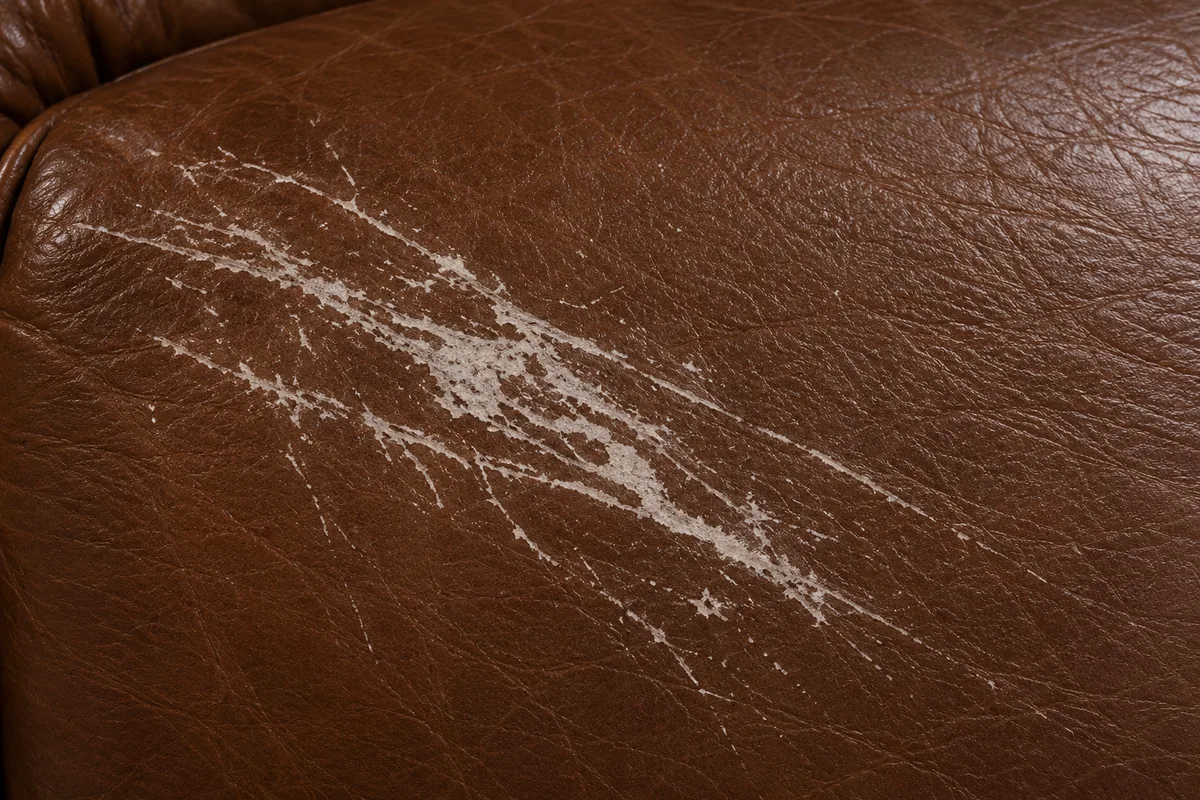
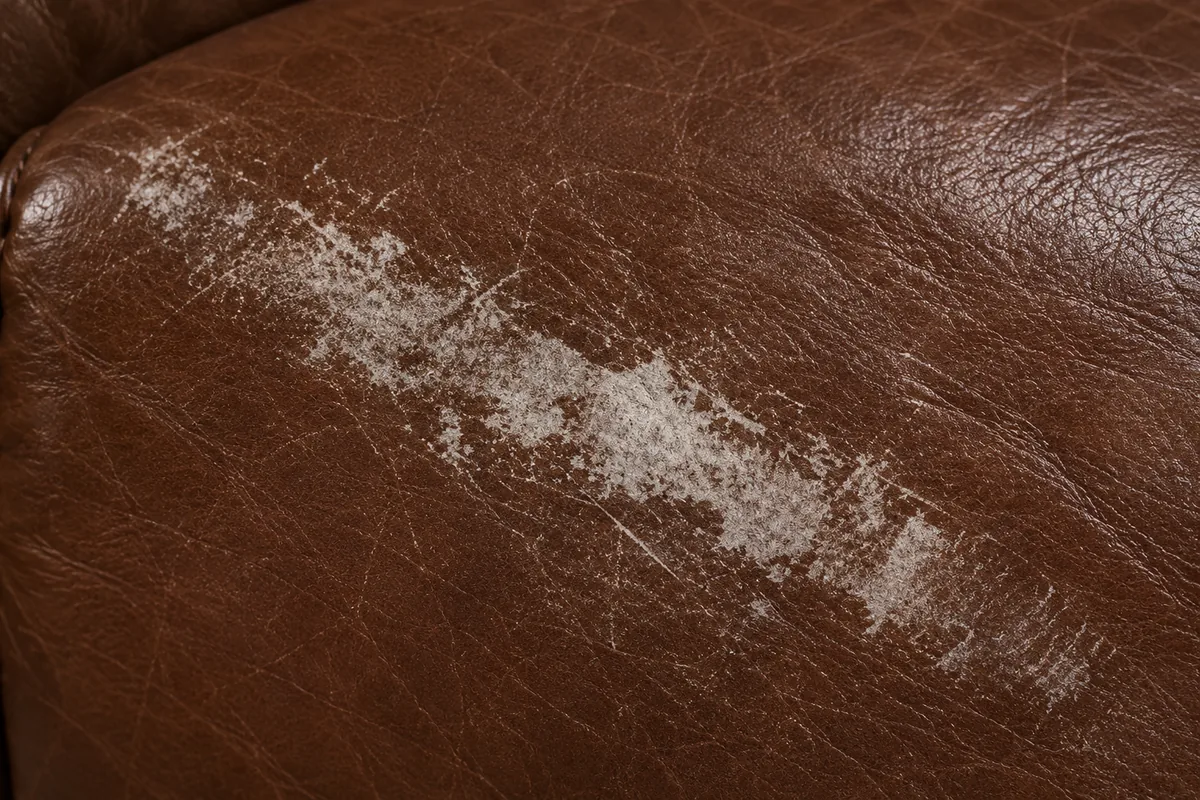
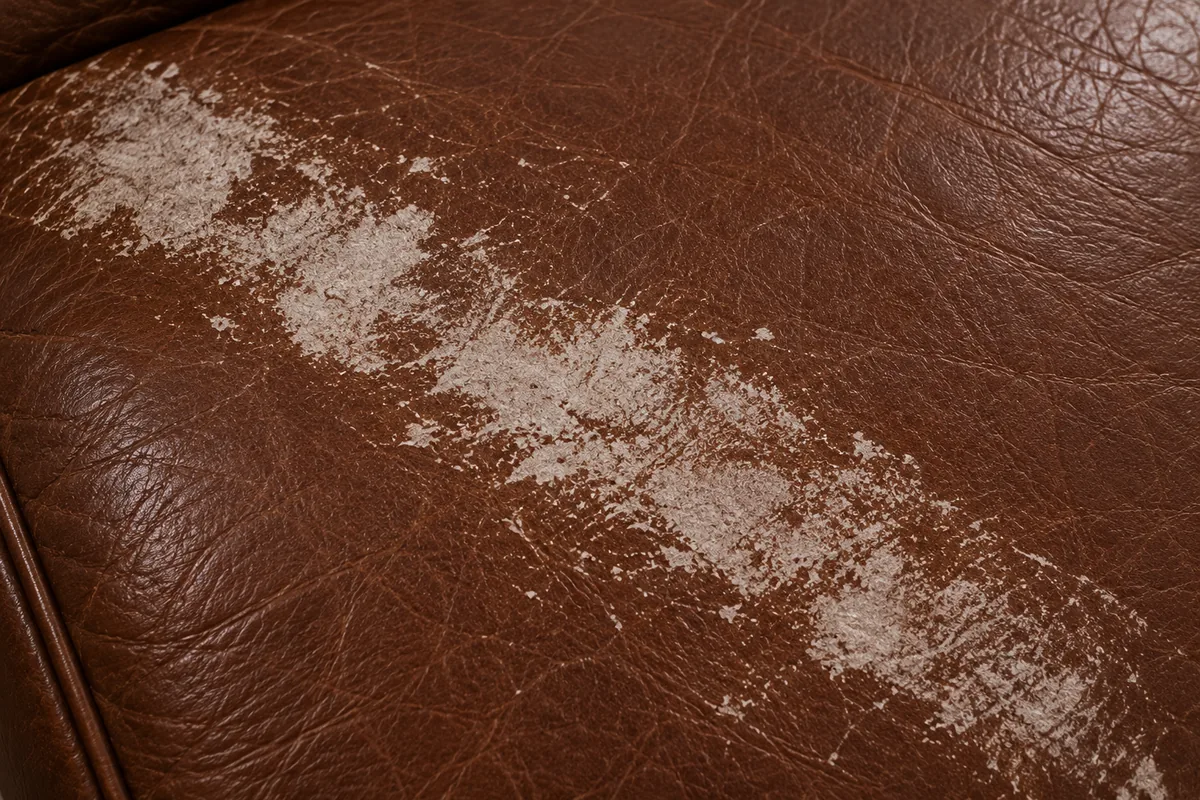
High-contact areas wear first
They follow contact, not accident — predictably enough that upholstery leather is graded against standard rub and abrasion tests before it ever reaches a room. It is also how a leather scuff repair gets quoted from a photograph.
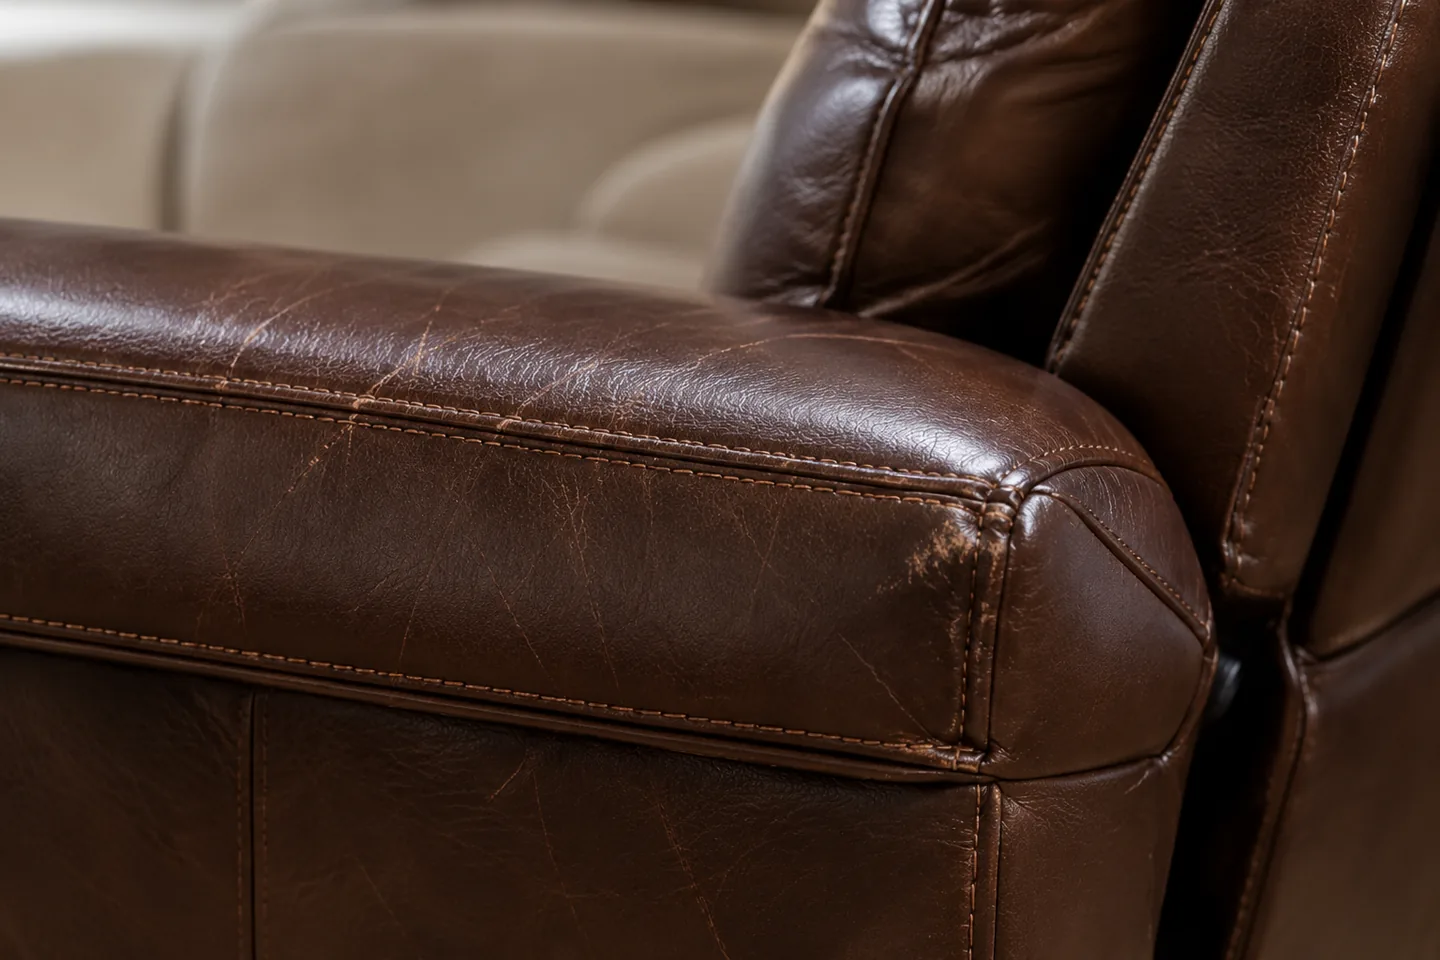
Hands and sleeves crossing the same spot every day.
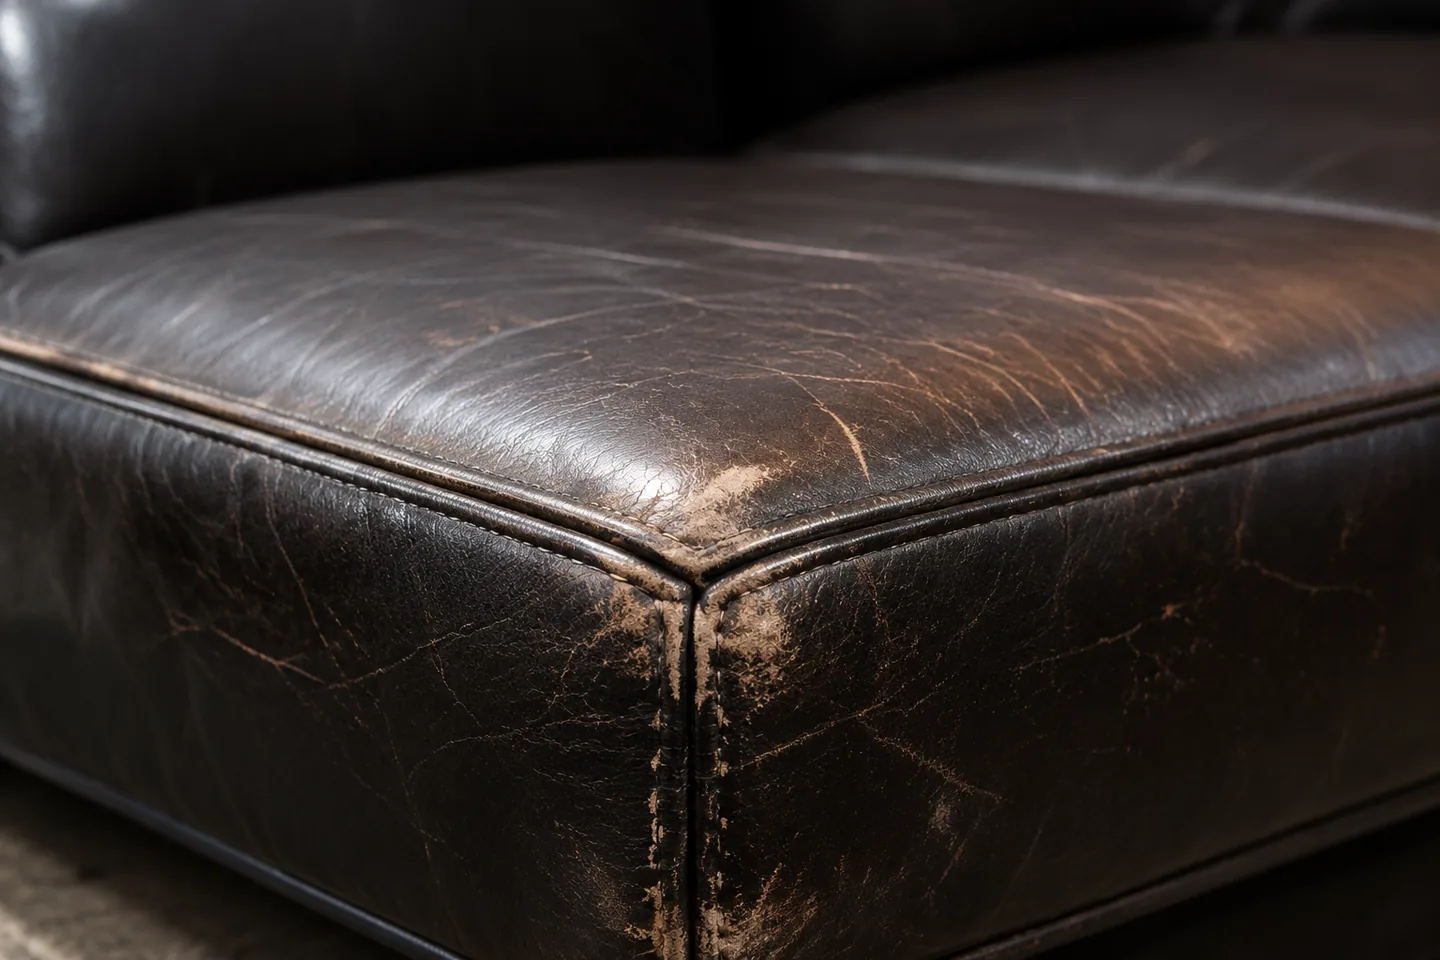
Getting in and out drags across the same edge.
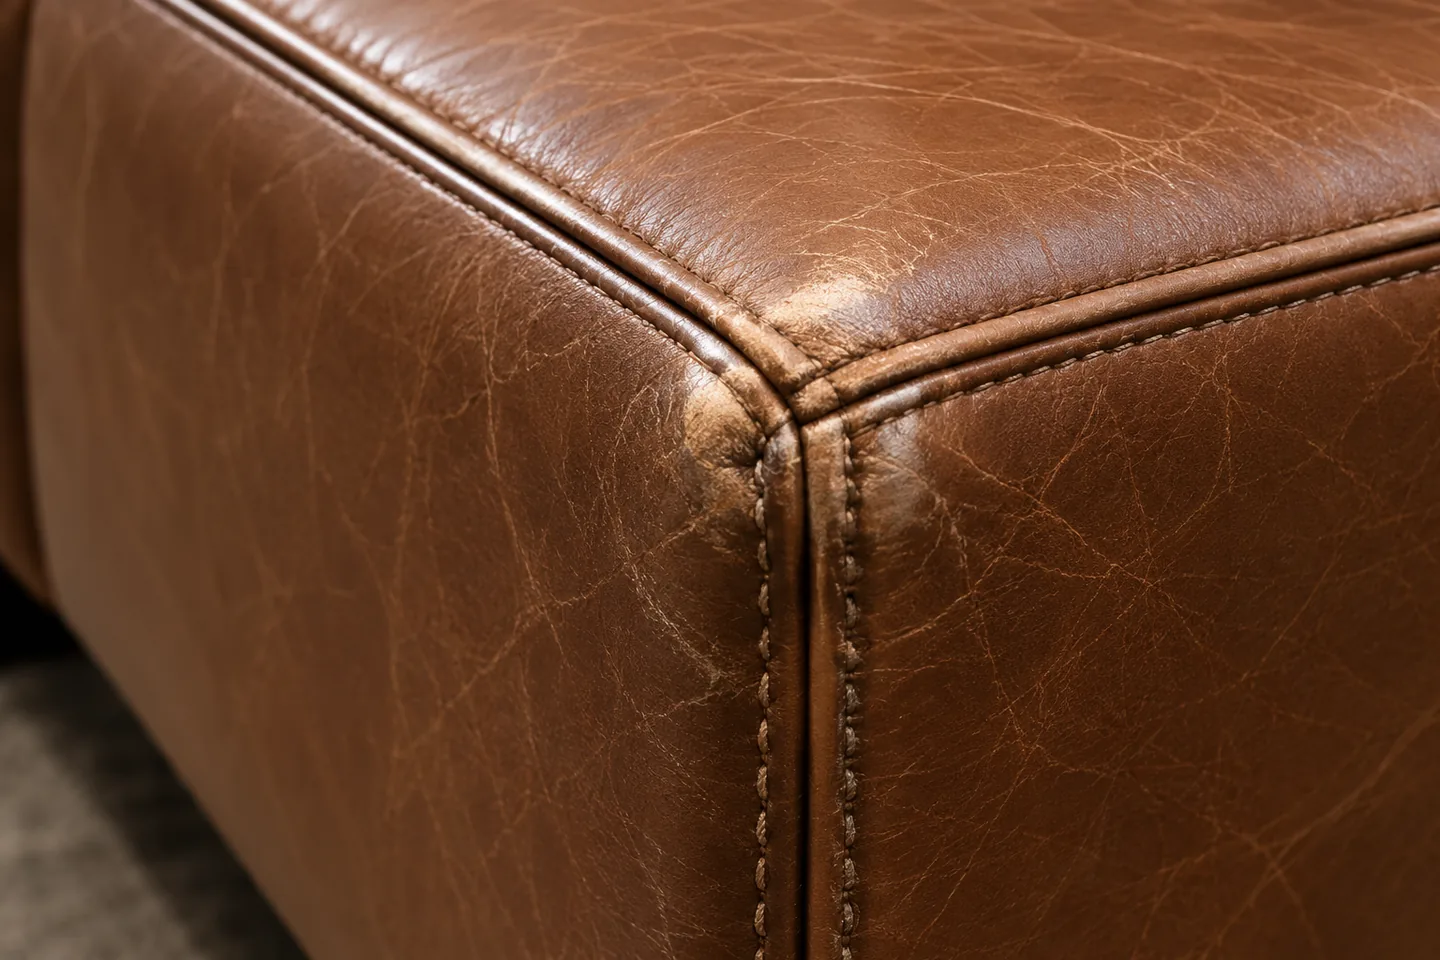
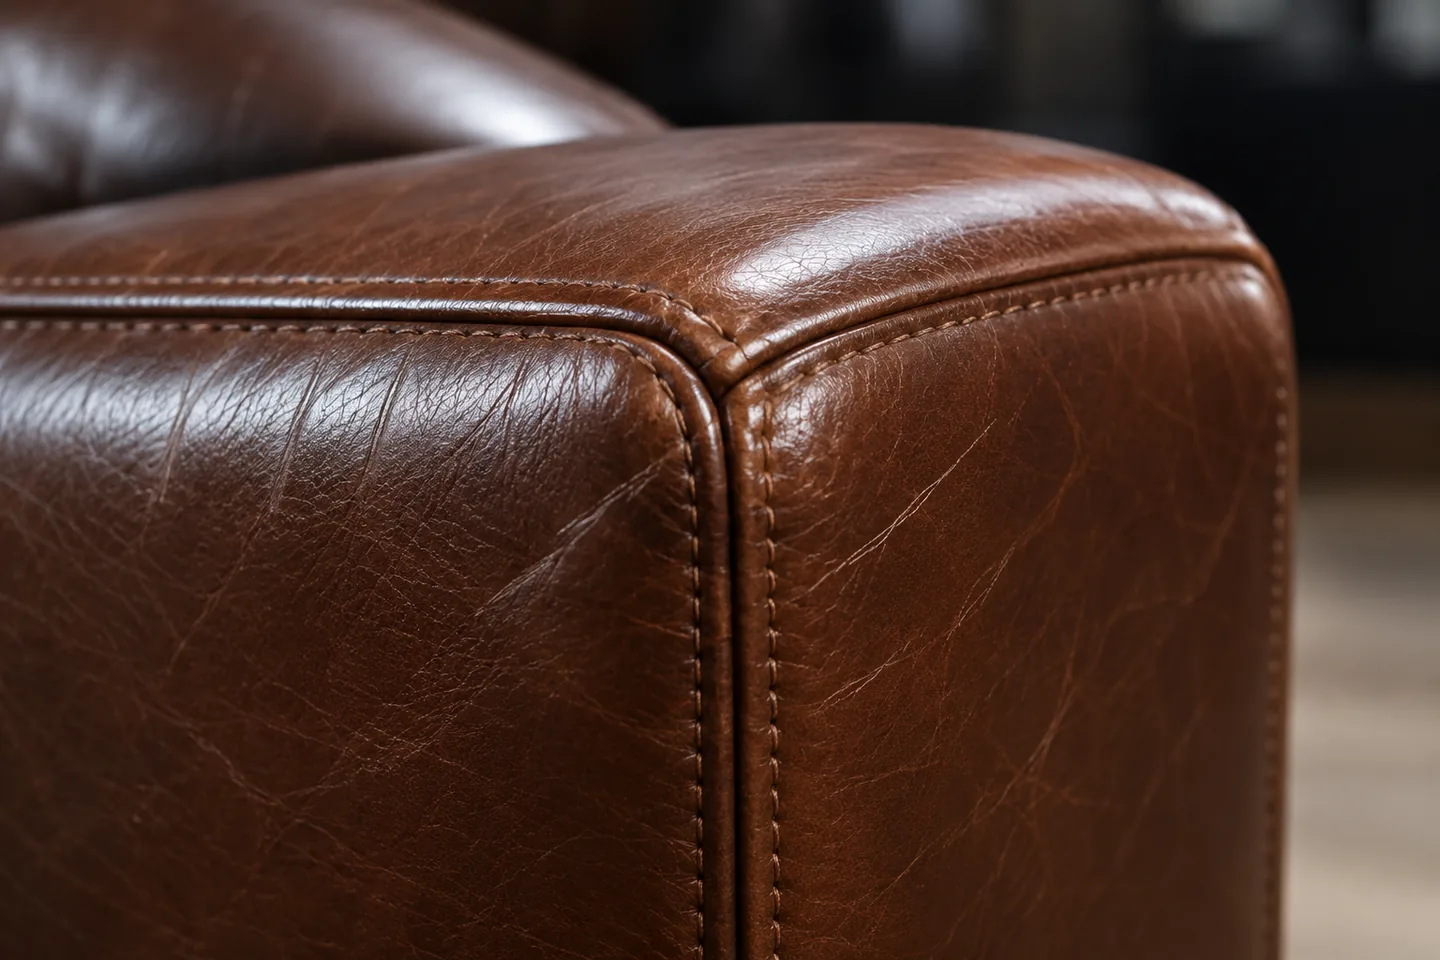
The roll you slide over each time you sit down.
Exposed on both faces, so they take the most contact.
Walls, radiators and passing traffic.
Where the piece gets dragged out to clean behind it.
Illustrative details of the areas described, not photographs of a specific job.
Three different faults get called a scuff
They look alike in a photograph and are not the same repair. Sorting yours is the first thing leather scuff repair does.
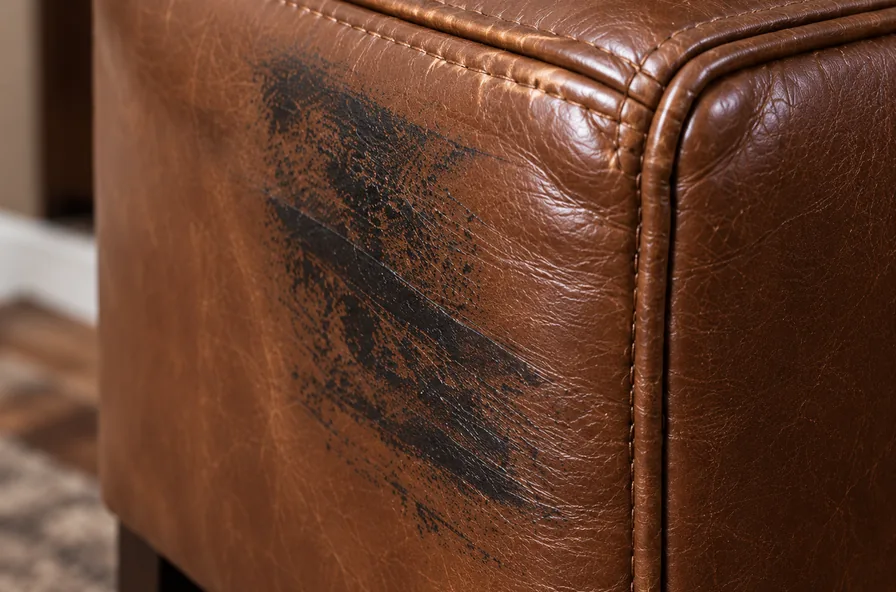
Something else is sitting on the leather
Denim dye, shoe polish, a rubber sole. The leather underneath is untouched — the mark sits on the finish and lifts with solvent. Nothing gets recoloured.
It comes off
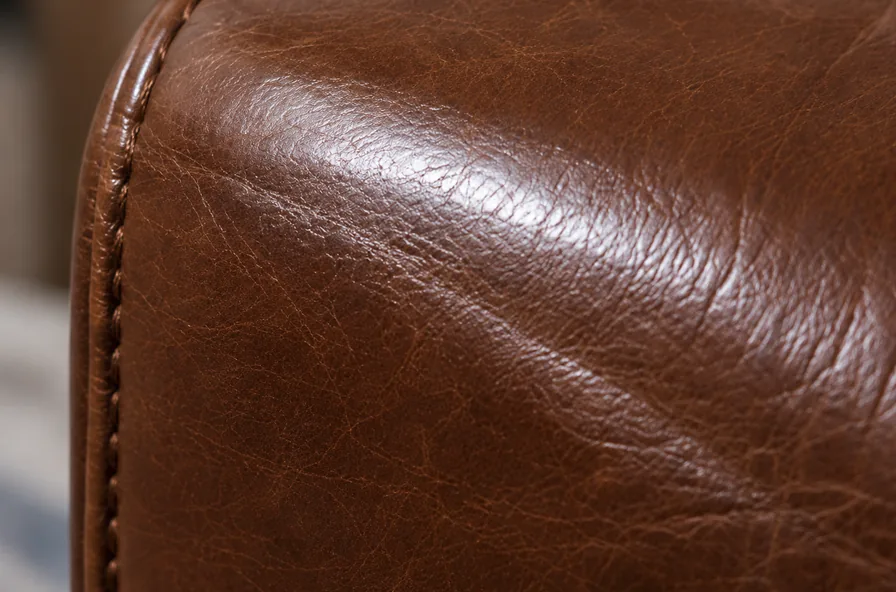
The finish is flattened, the colour is intact
Rubbing has polished the grain smooth, so it throws light differently to the panel around it. Turned to a window, the patch is shinier, not paler. Corrected by re-matting the finish, not by adding colour.
Sheen, not colour
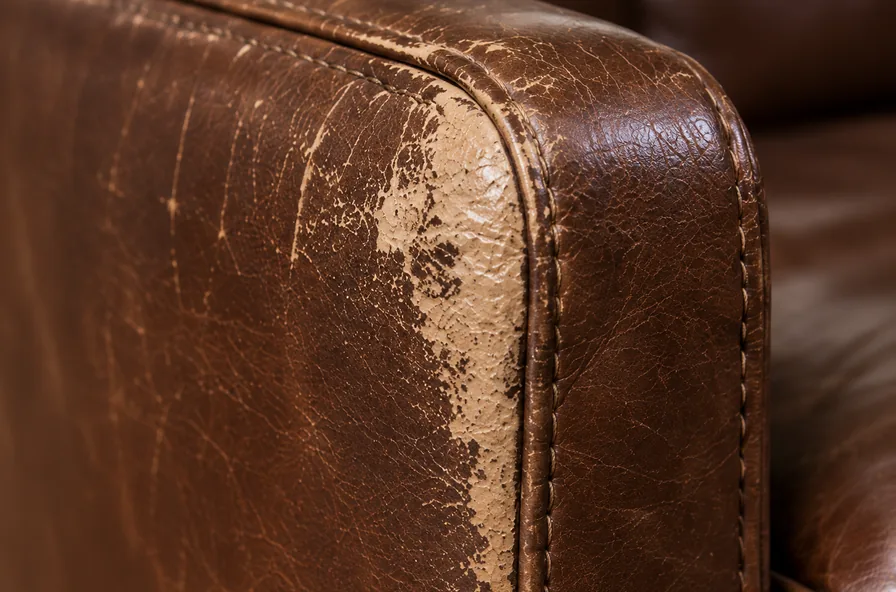
The finish has worn through
The topcoat and some of the pigment are gone, so the area reads pale and dry. This is the one that gets colour: cleaned, sealed, recoloured to the piece as it has aged, then topcoated at the right sheen.
Needs refinishing
Sheen betrays a repair long before colour does
A colour match one step too glossy reads as a patch from across the room even when the pigment is exact. The eye finds the reflection before the hue, so sheen is matched as its own step.
Gloss is read off an unworn part of the same piece — the outside back, or leather under a cushion — then carried out to a seam rather than feathered off mid-panel, so there is no edge for the light to catch.
How far it spreads depends on the hide. Pigmented leather takes one panel on its own. Aniline has no coating to hide behind, so we say what is achievable before starting. On anything genuinely antique, conservation practice favours stabilising the original surface over recolouring it.
Scuff or scratch: the same panel, two different repairs
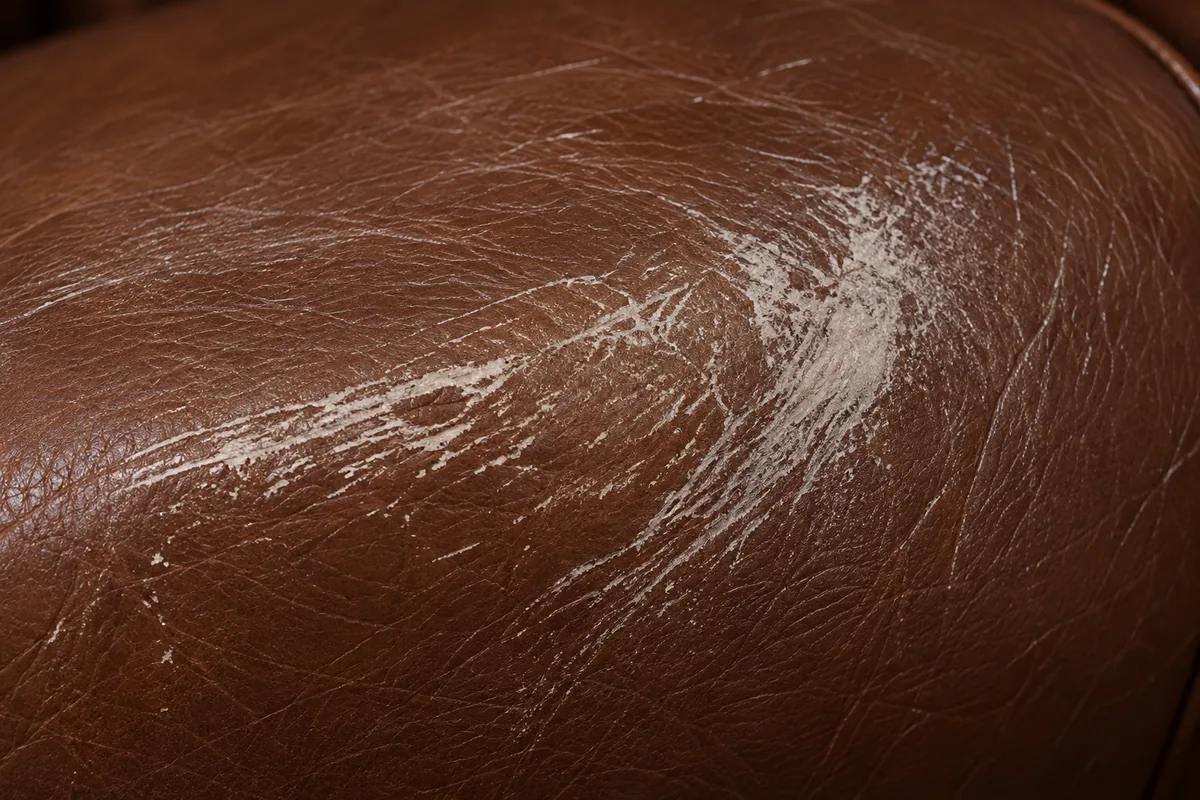 Scuff
Scuff- Friction, not impact
- Broad, with soft edges
- Sits in the finish and the pigment
- Lands on arms, edges and corners
- Cleaned, recoloured, resealed
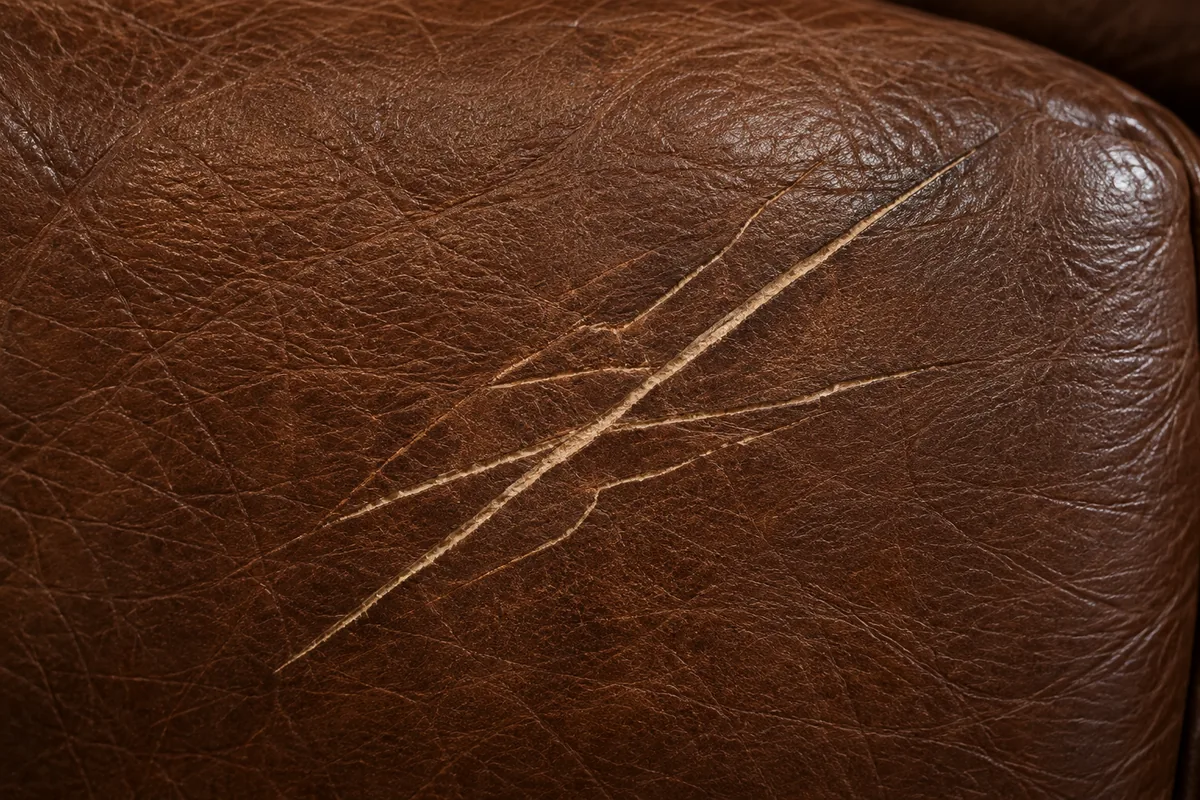 Scratch
- One defined, narrow line
- Clean edges you can feel
- Can cut past the finish into the hide
- Usually a claw or something sharp
- Filled first — scratch repair
A scuffed outside arm, in four moves
A leather scuff repair on the panel that had been living against a wall. Worn through where it touched, burnished either side of that. The sofa never left the room.
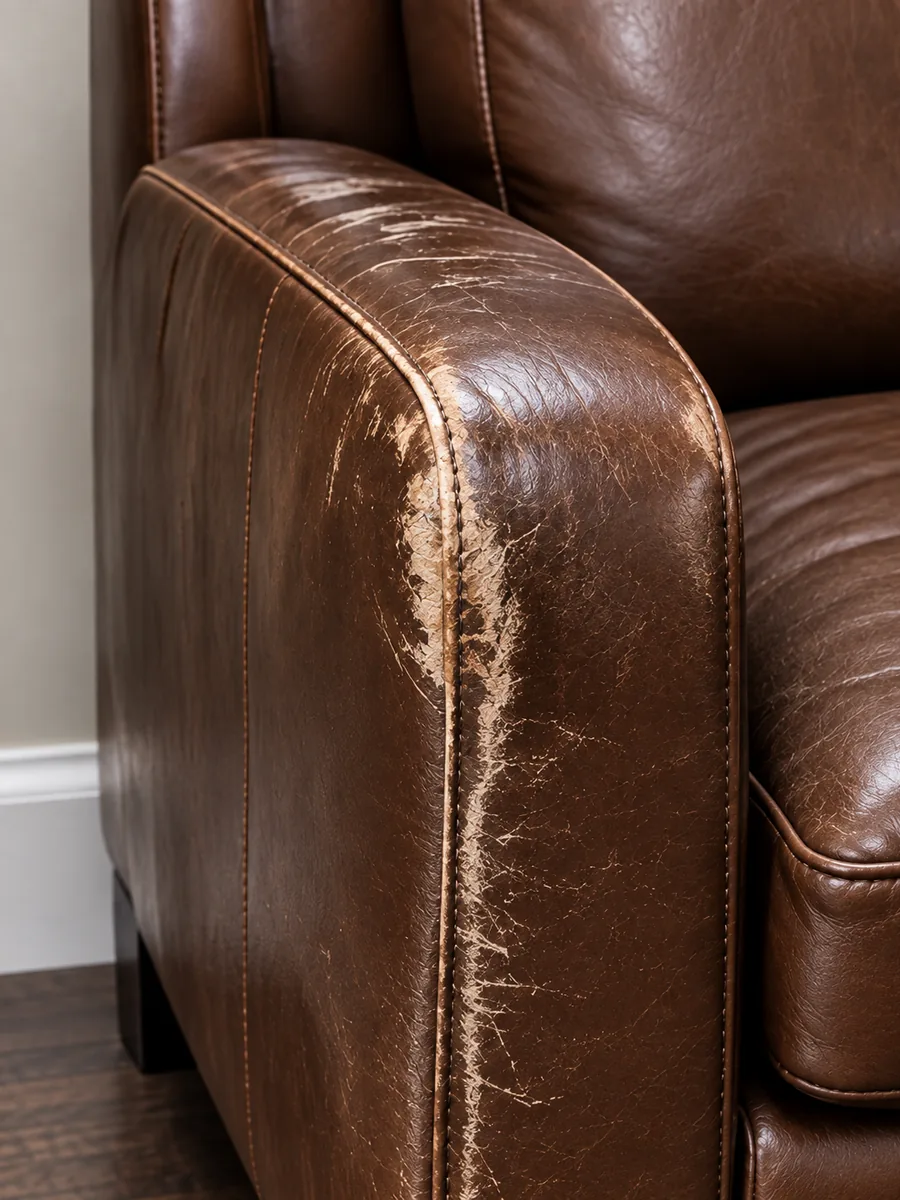 Move 01
Read the fault
Light taken low across the panel separates a polish from a wear-through. Both were present here, and they take different work.
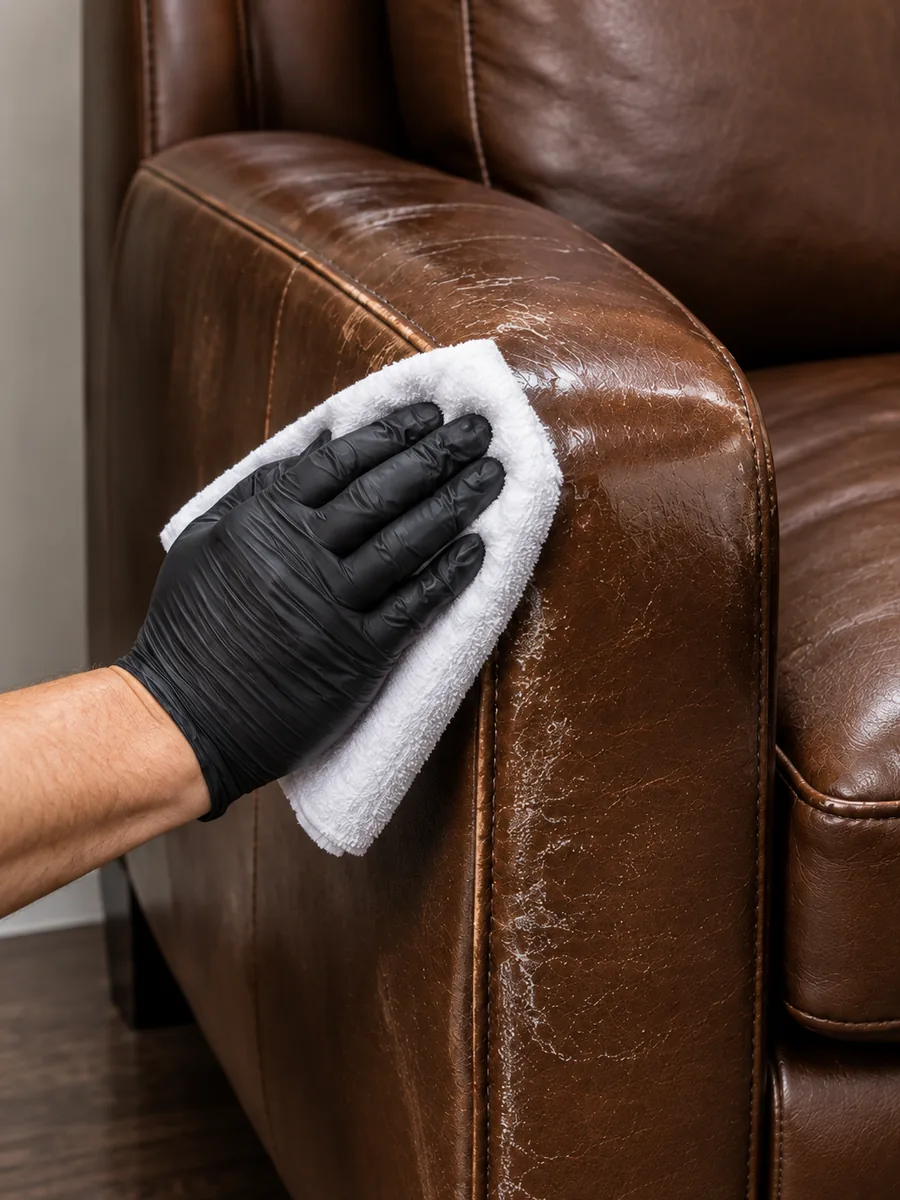 Move 02
Clean and key
Body oils come off and the surviving topcoat is lightly keyed, so what goes on next has something to hold to.
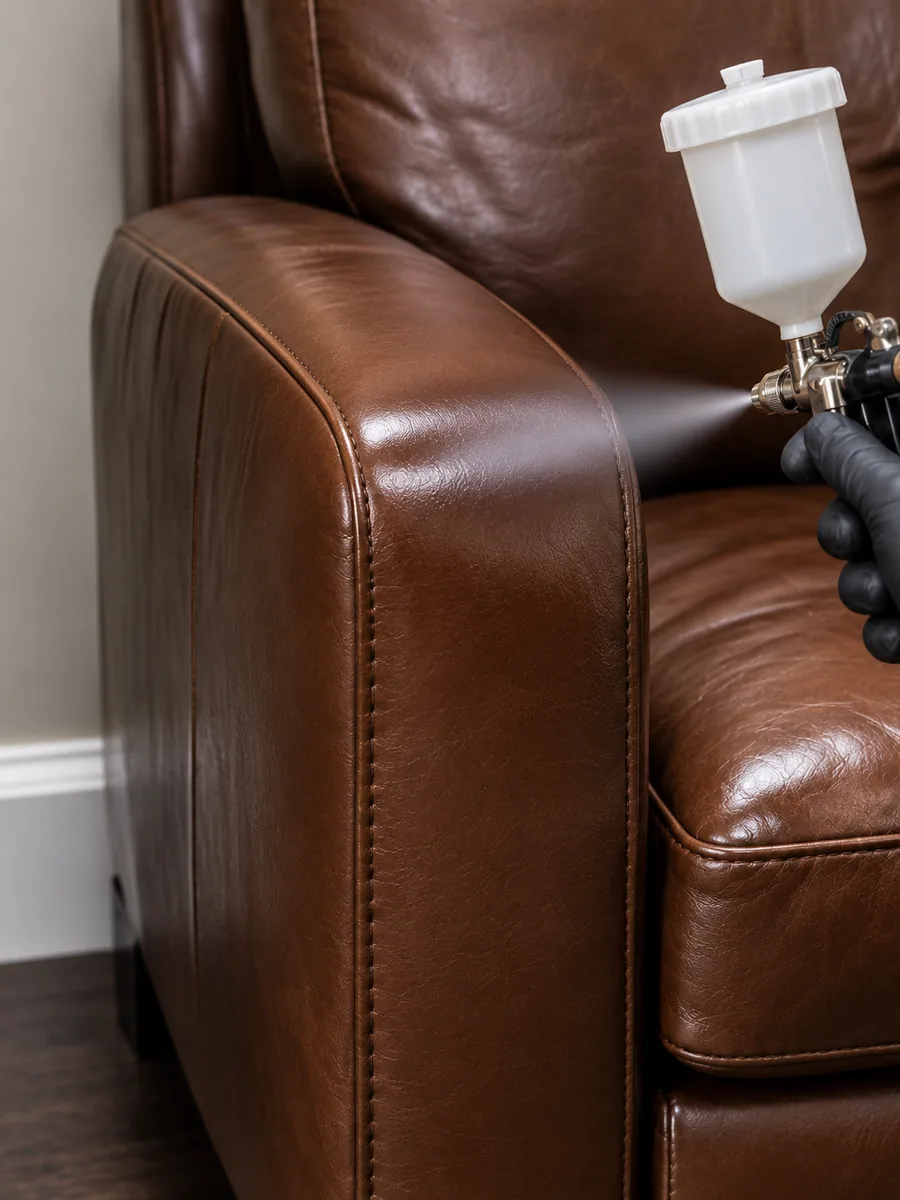 Move 03
Colour to the piece
Mixed against leather from under the seat cushion, then built in thin passes until the worn area stops reading pale.
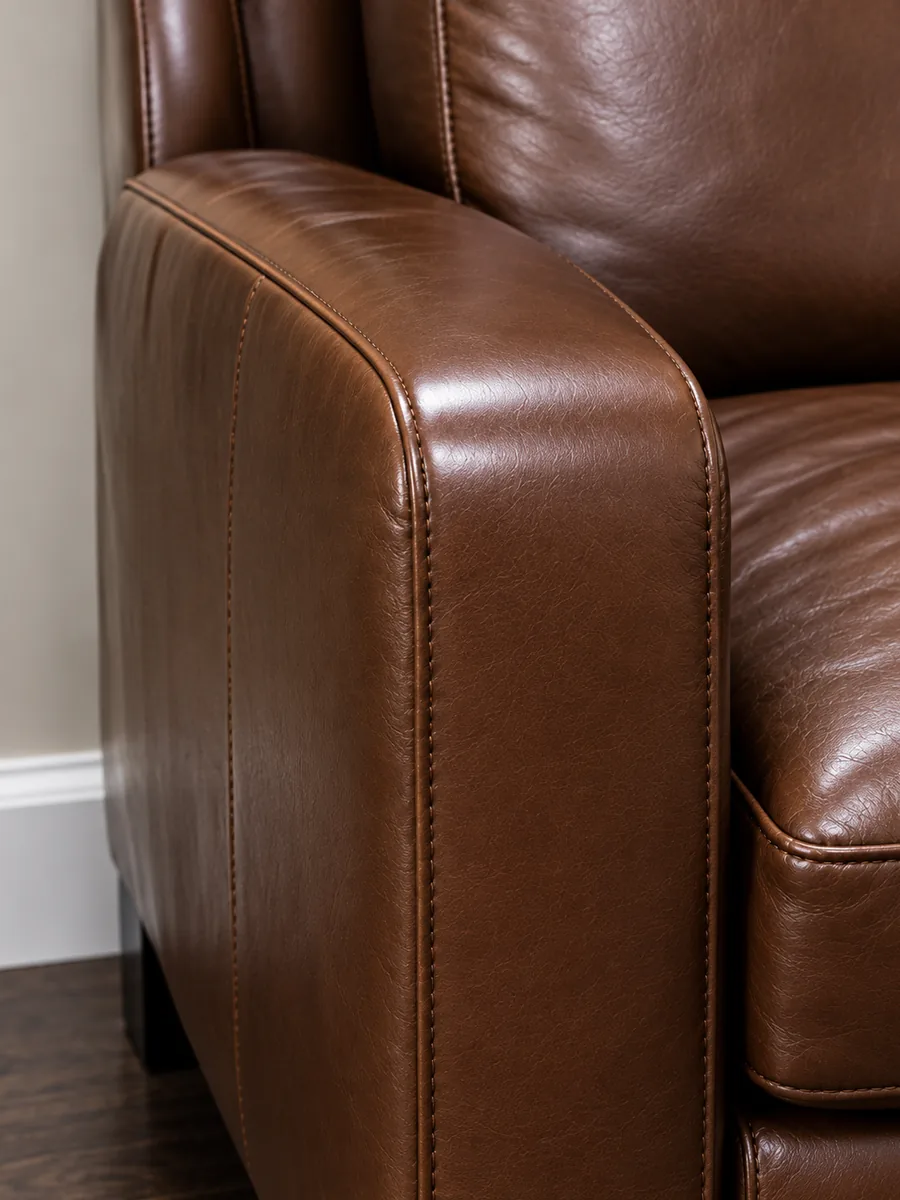 Move 04
Sheen and seal
Topcoat matched to the arm opposite, carried out to the seams, and left to cure before the sofa goes back against the wall.
Illustrative stages of the sequence described, not photographs of a specific job.
When it is not a scuff at all
Run a fingernail over it. If the nail glides, leather scuff repair is your page. If it catches, the damage has gone past the finish.
The surface is flaking
Coating that lifts in flakes has failed, not worn, and re-colouring over it buys weeks. That is crack and peeling repair.
You can catch a nail in it
Something cut into the hide rather than rubbed across it, and the gap has to be filled first. Shallow ones are scratch repair; anything you can see through is tear and hole repair.
Every contact area has faded
When the arms, seat and back have gone together, correcting one panel makes the rest look tired. The piece wants full colour restoration.
It is aniline or pull-up leather
On uncoated hide the lightening is the material doing what it was chosen to do. The honest answer is often conditioning, not refinishing.
It is vinyl or faux leather
No hide under the coating, so a worn area cannot be rebuilt. Marks and burnish still correct — see faux leather.
The pale patch is the thing that has to go
Every one is wear rather than a cut: the finish rubbed back until the panel read as two colours under one light. Across the pair, that difference is what goes.
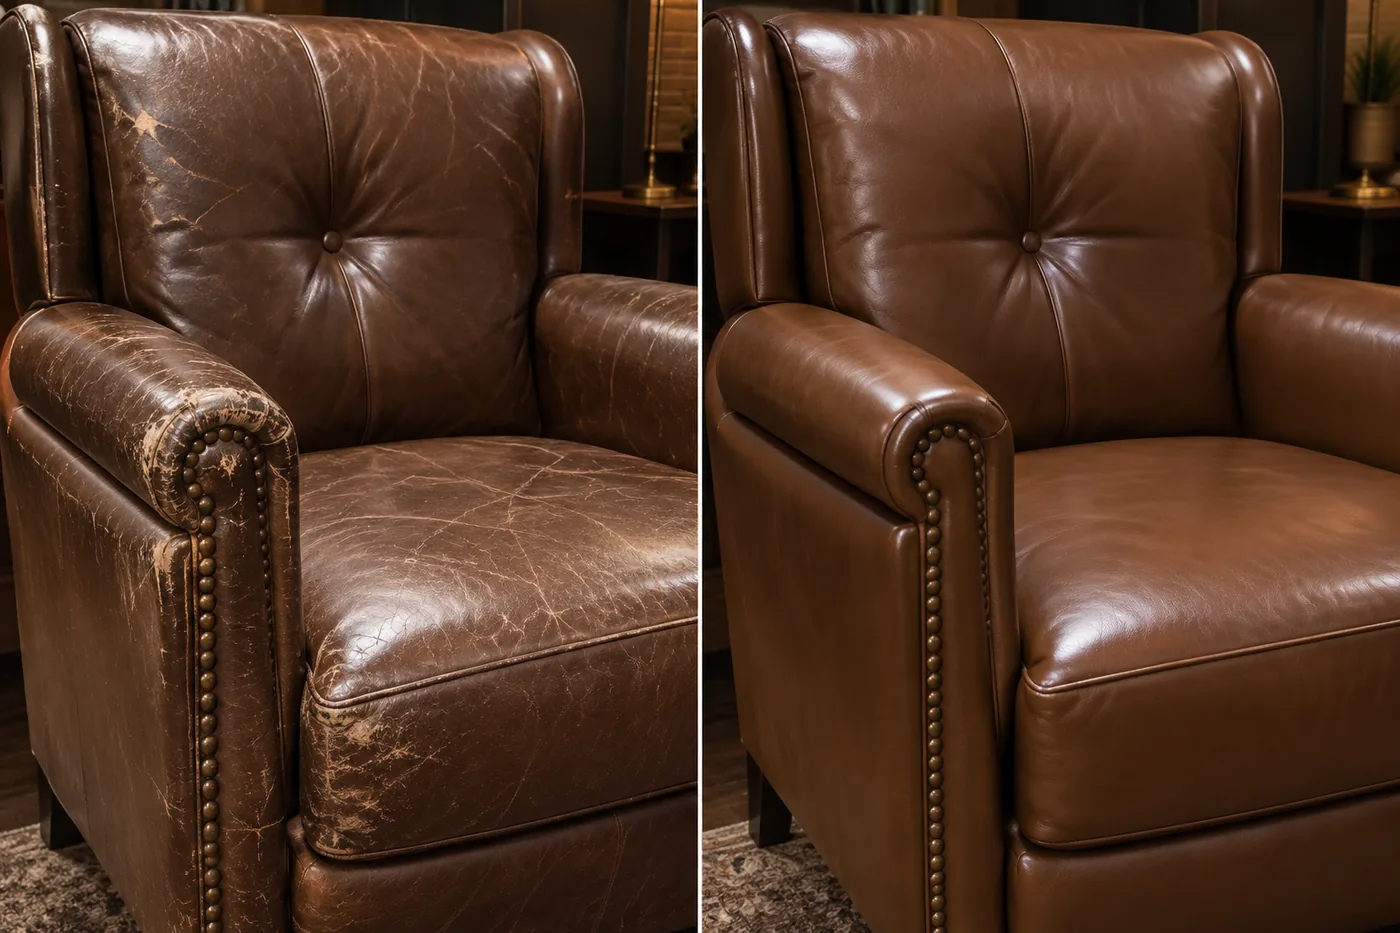
Brown club chair. The arm crown gone pale where hands land.
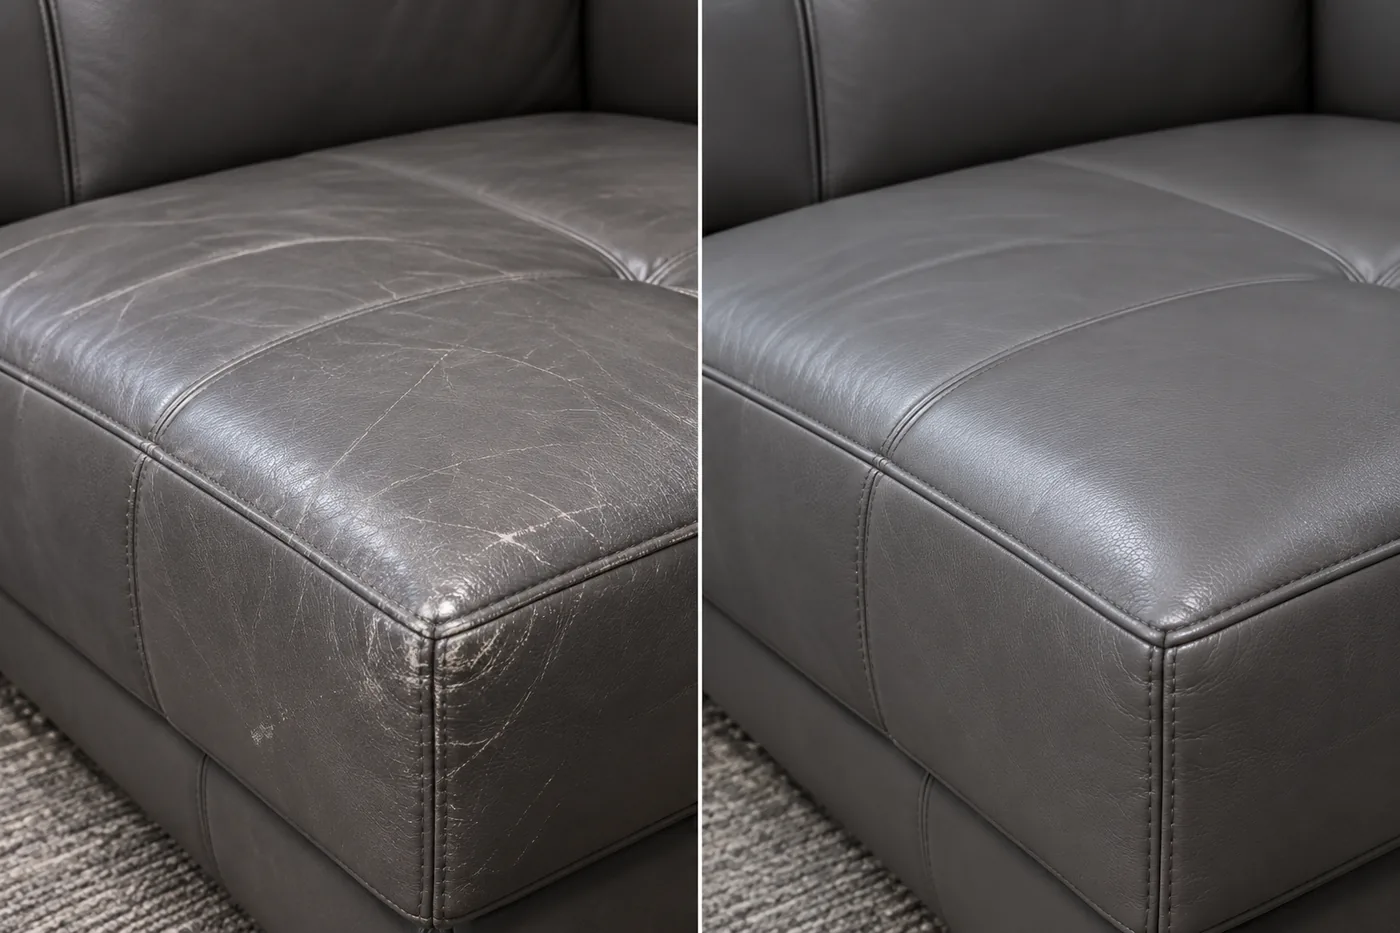
Grey cushion. Fine crossing scuffs, visible only when light rakes across.
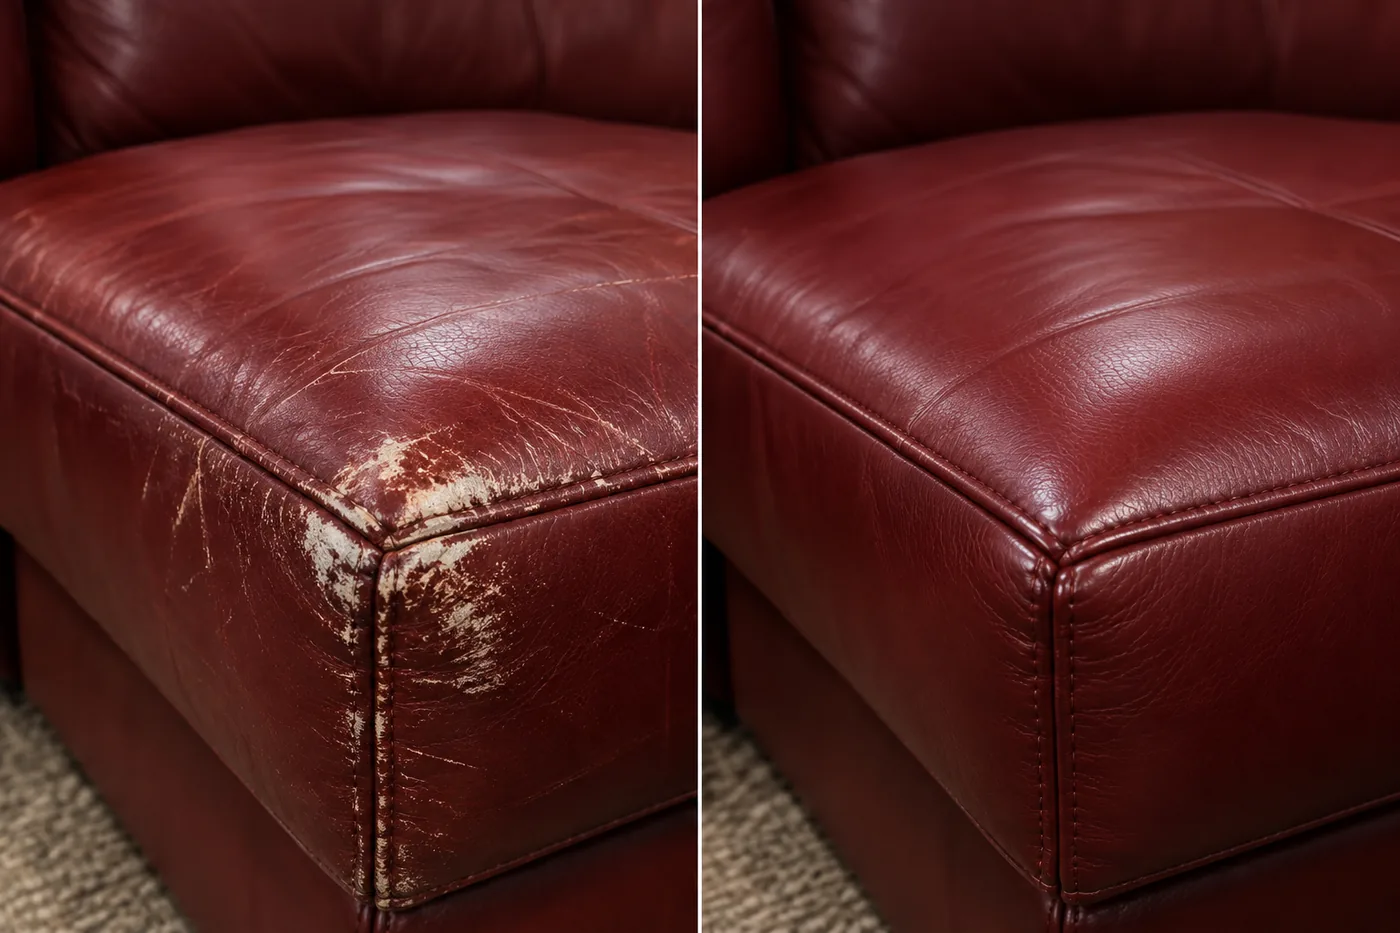
Burgundy cushion. A hard corner rub. Reds are the hardest to match back.
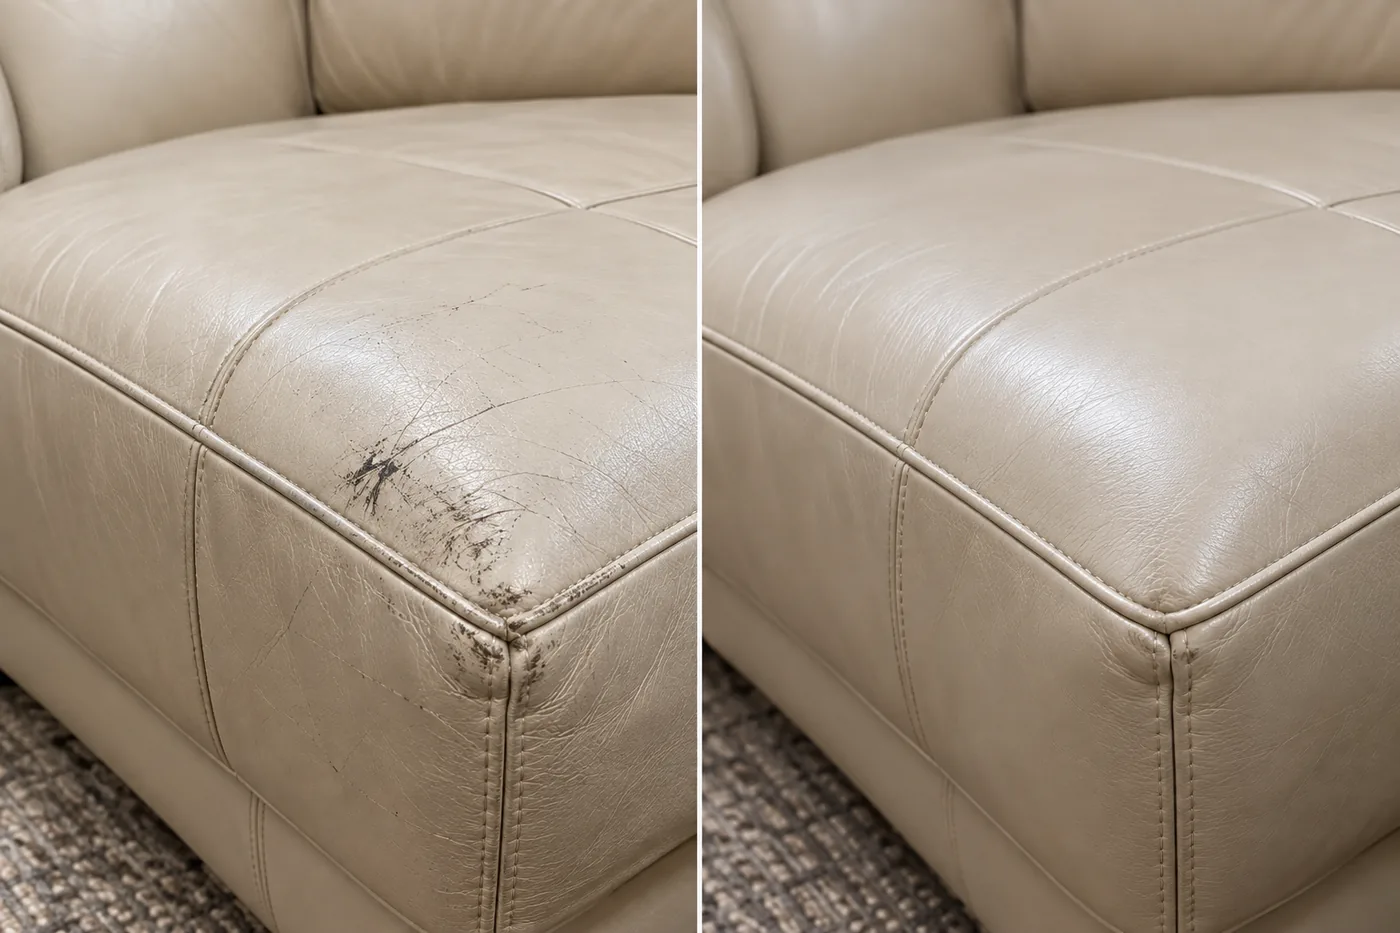
Cream cushion. Dark marks on the finish, lifted before any colour went on.
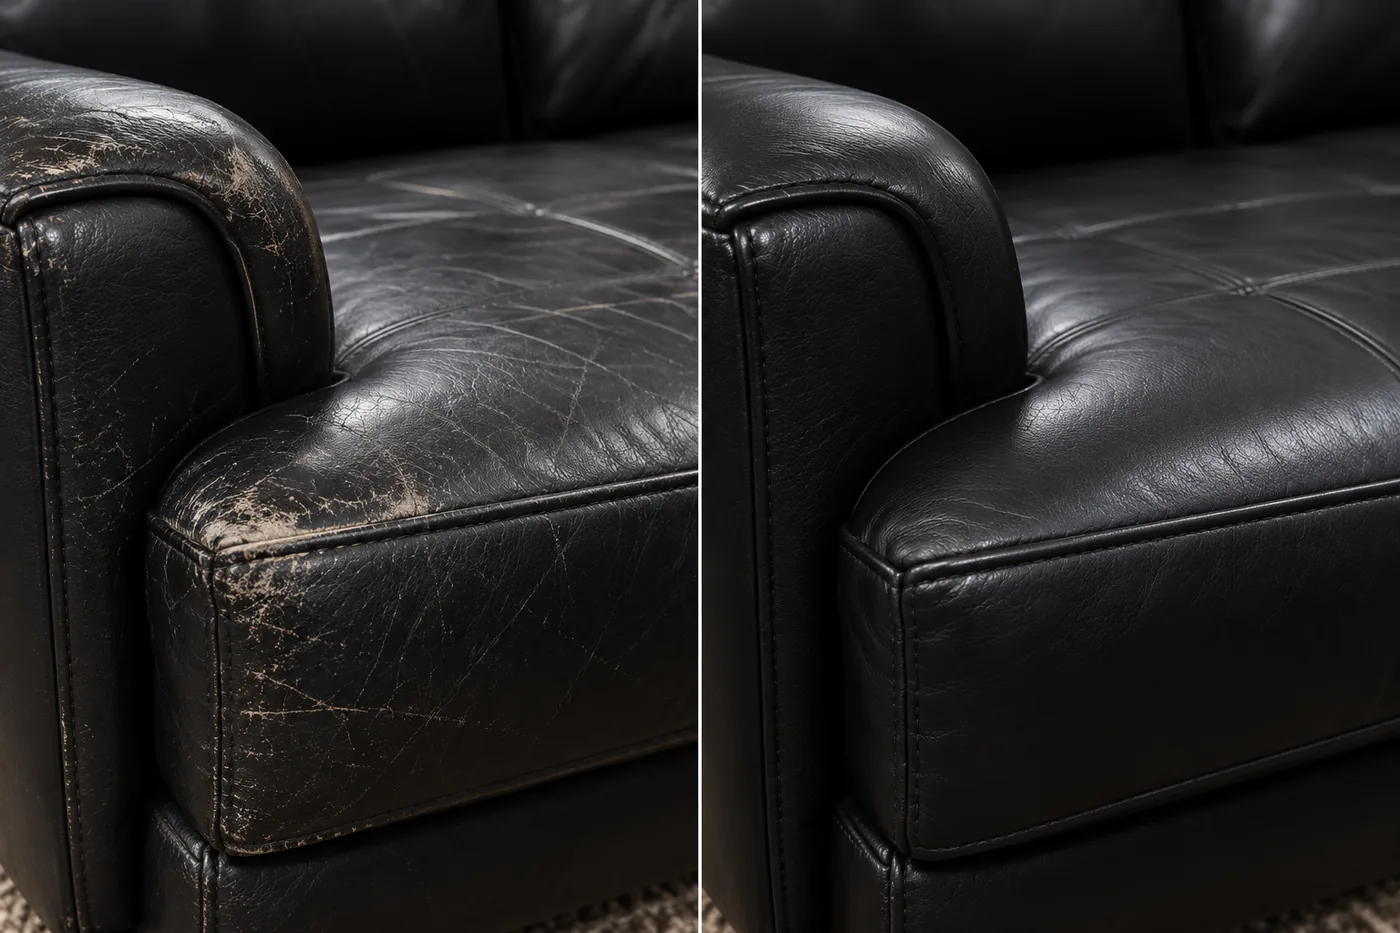
Black arm. Dark leather shows a rub worst: the fibre under it is white.
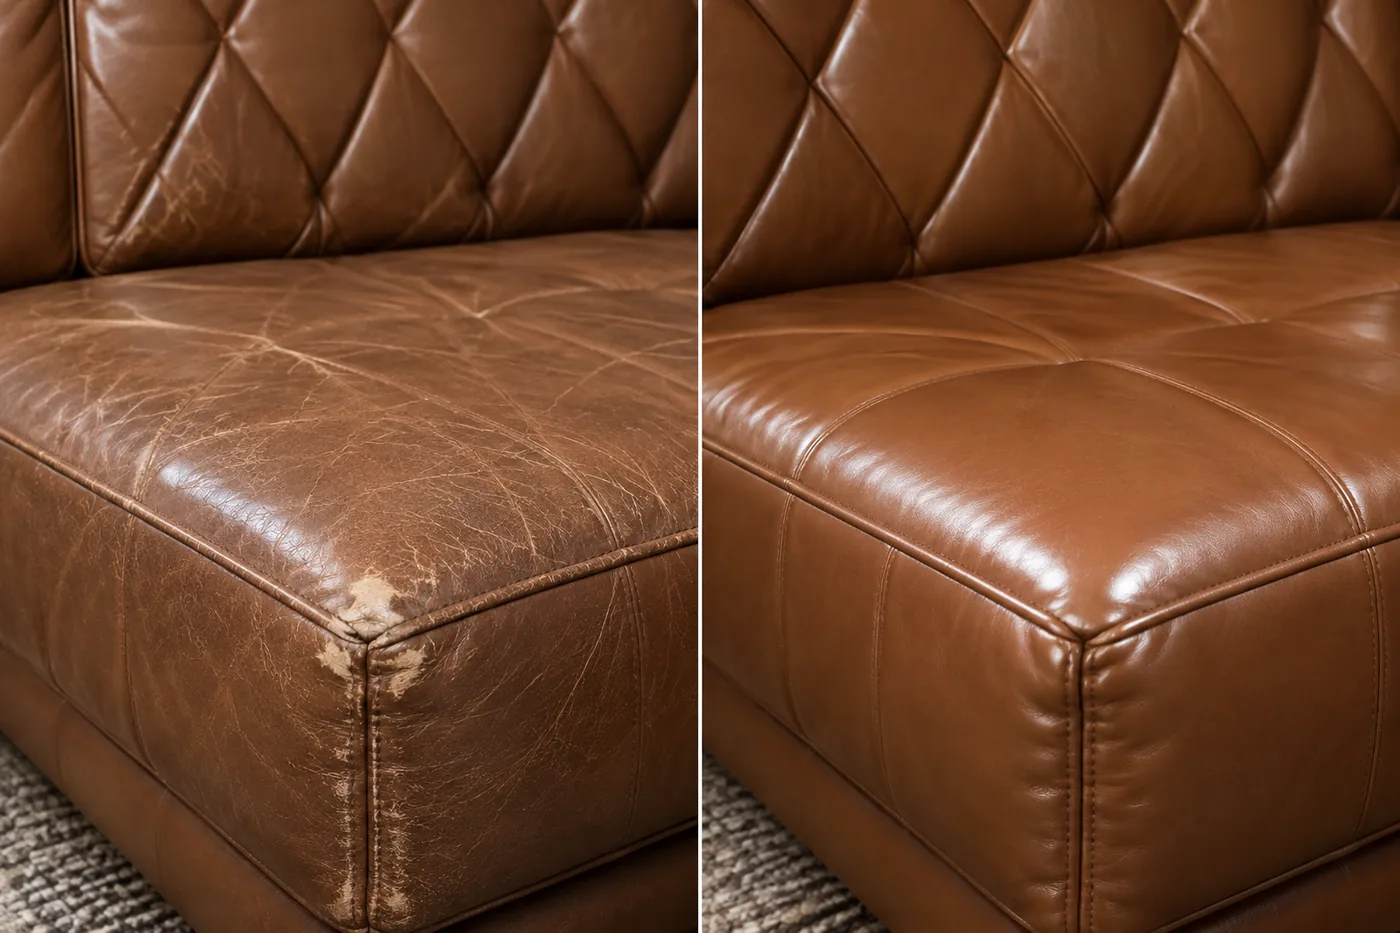
Tan tufted seat. A worn front corner, where legs swing past on the way out.
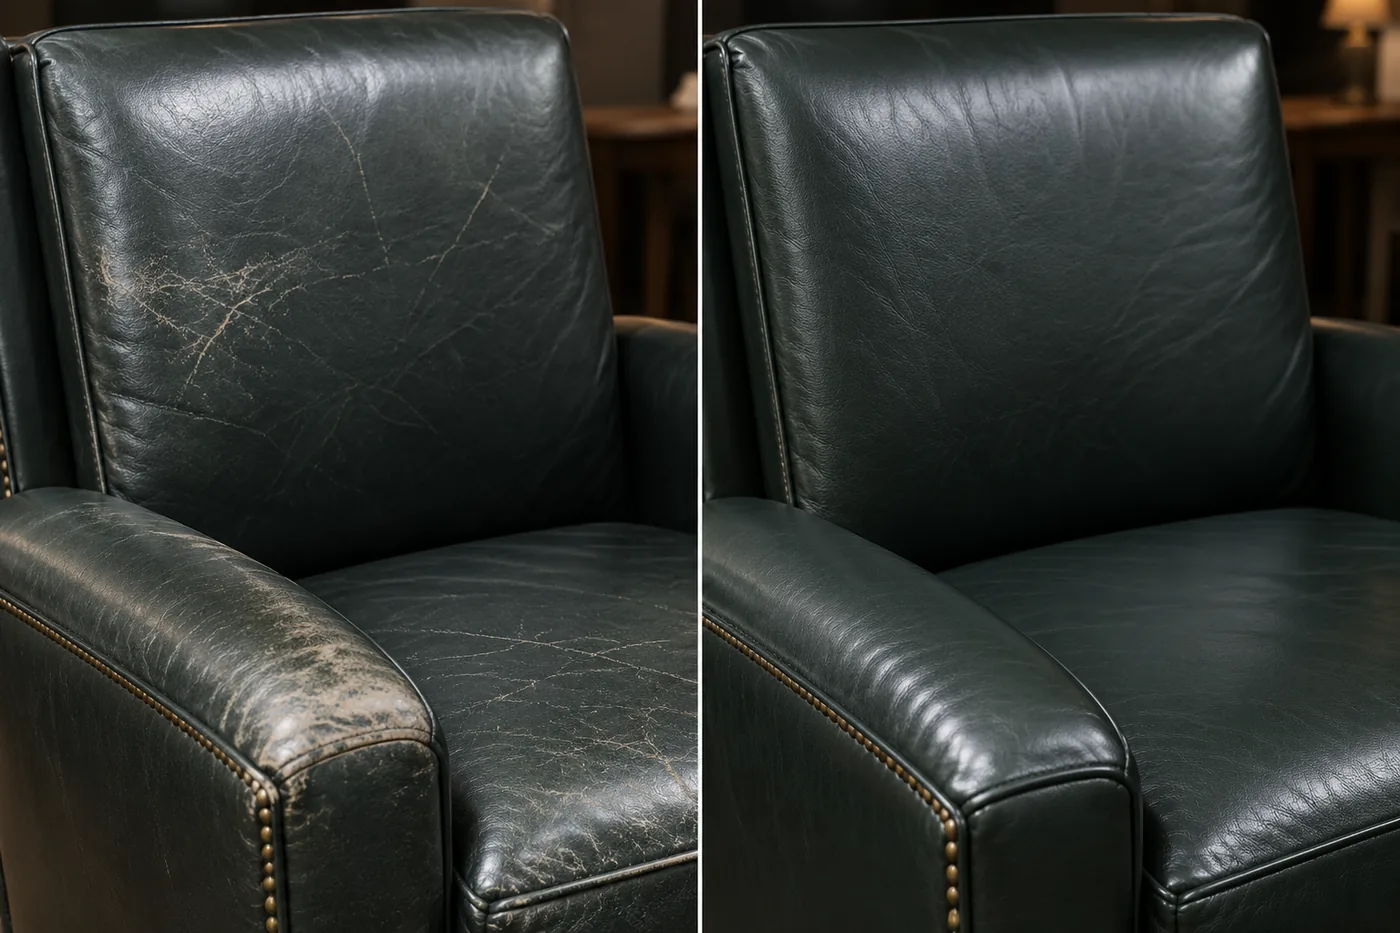
Dark green club chair. Arm and back recoloured together so the panels agree.
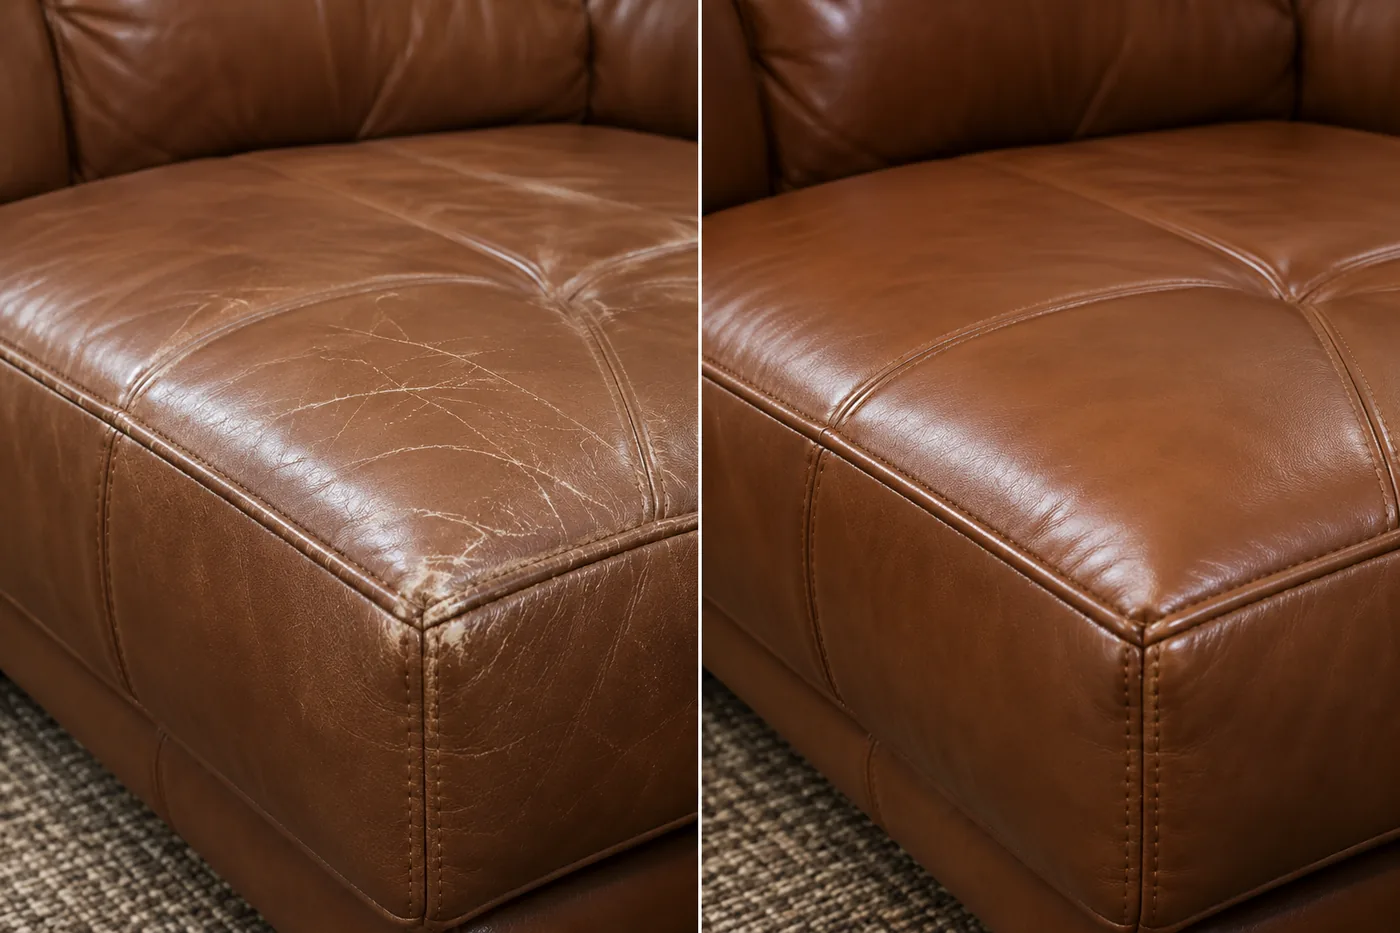
Caramel cushion. One pale patch at the front edge; that panel alone was worked.
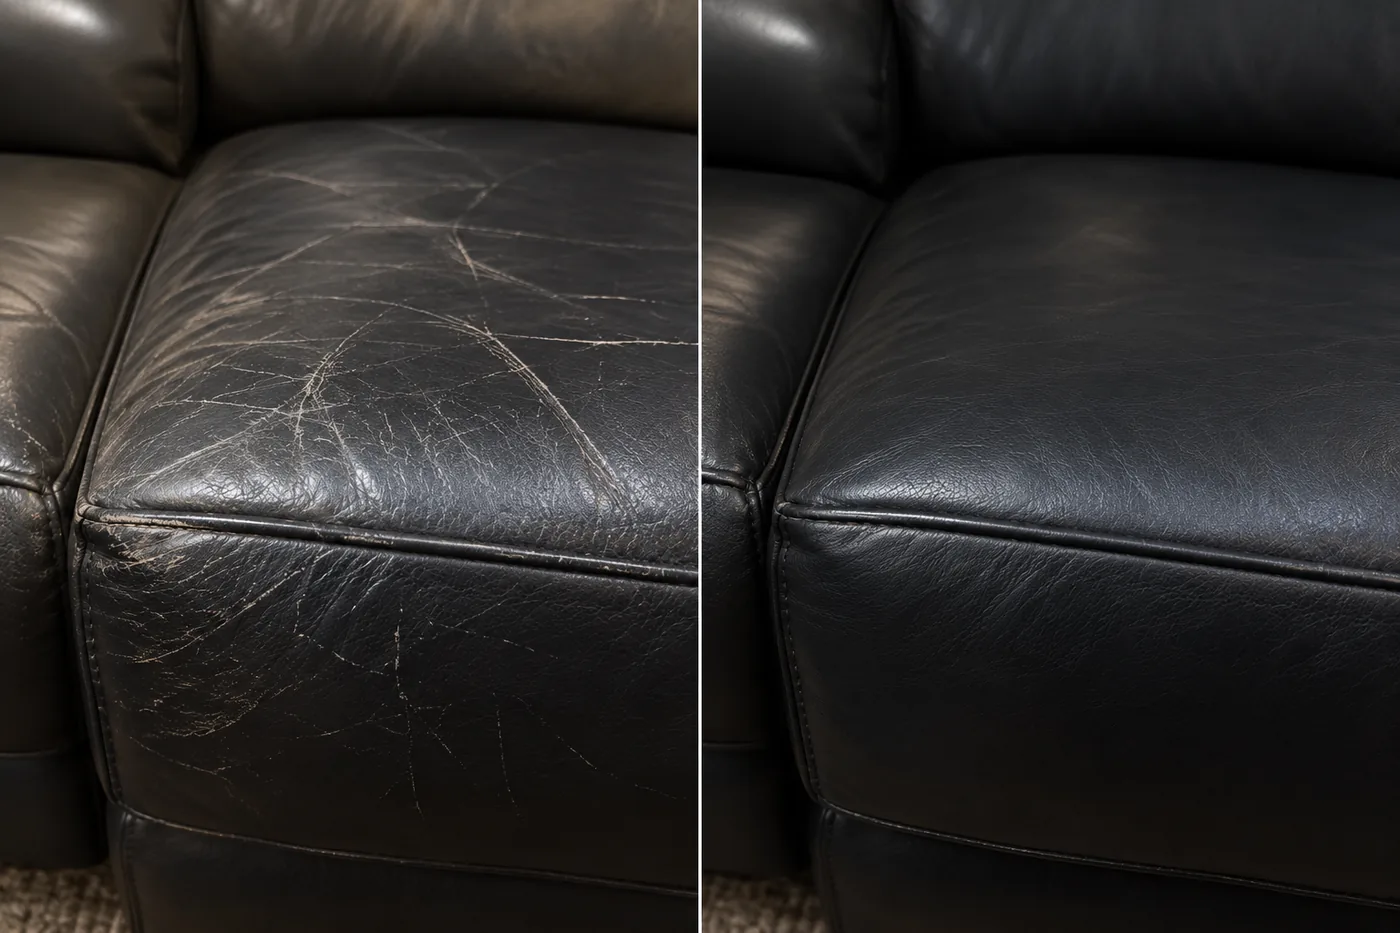
Black seat. Scuffing across the whole cushion, so the full panel was taken back.
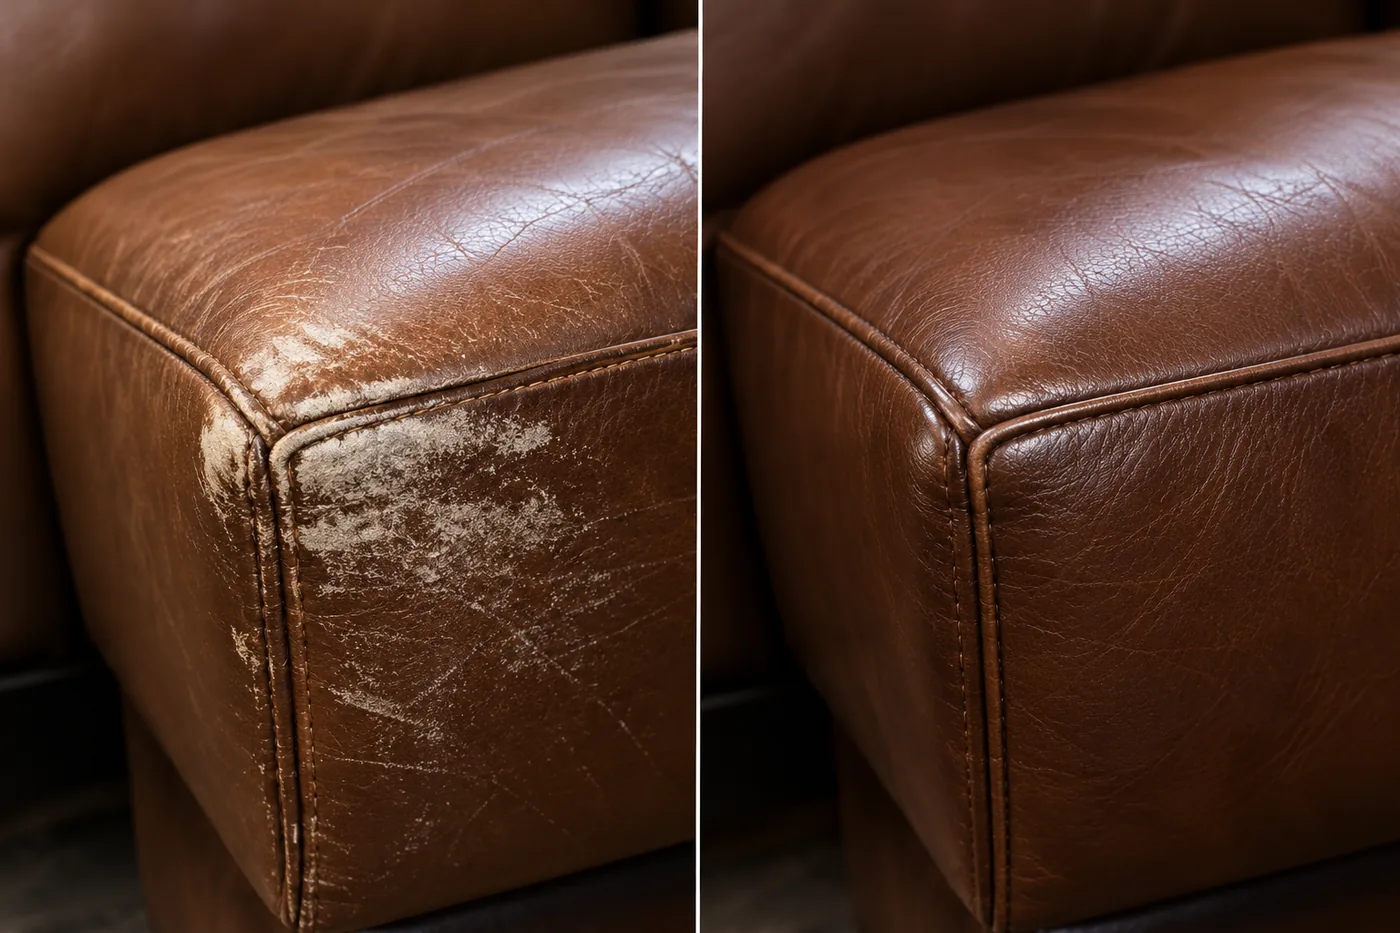
Brown corner. Grain torn open and chalky. Filled and re-grained, colour after.
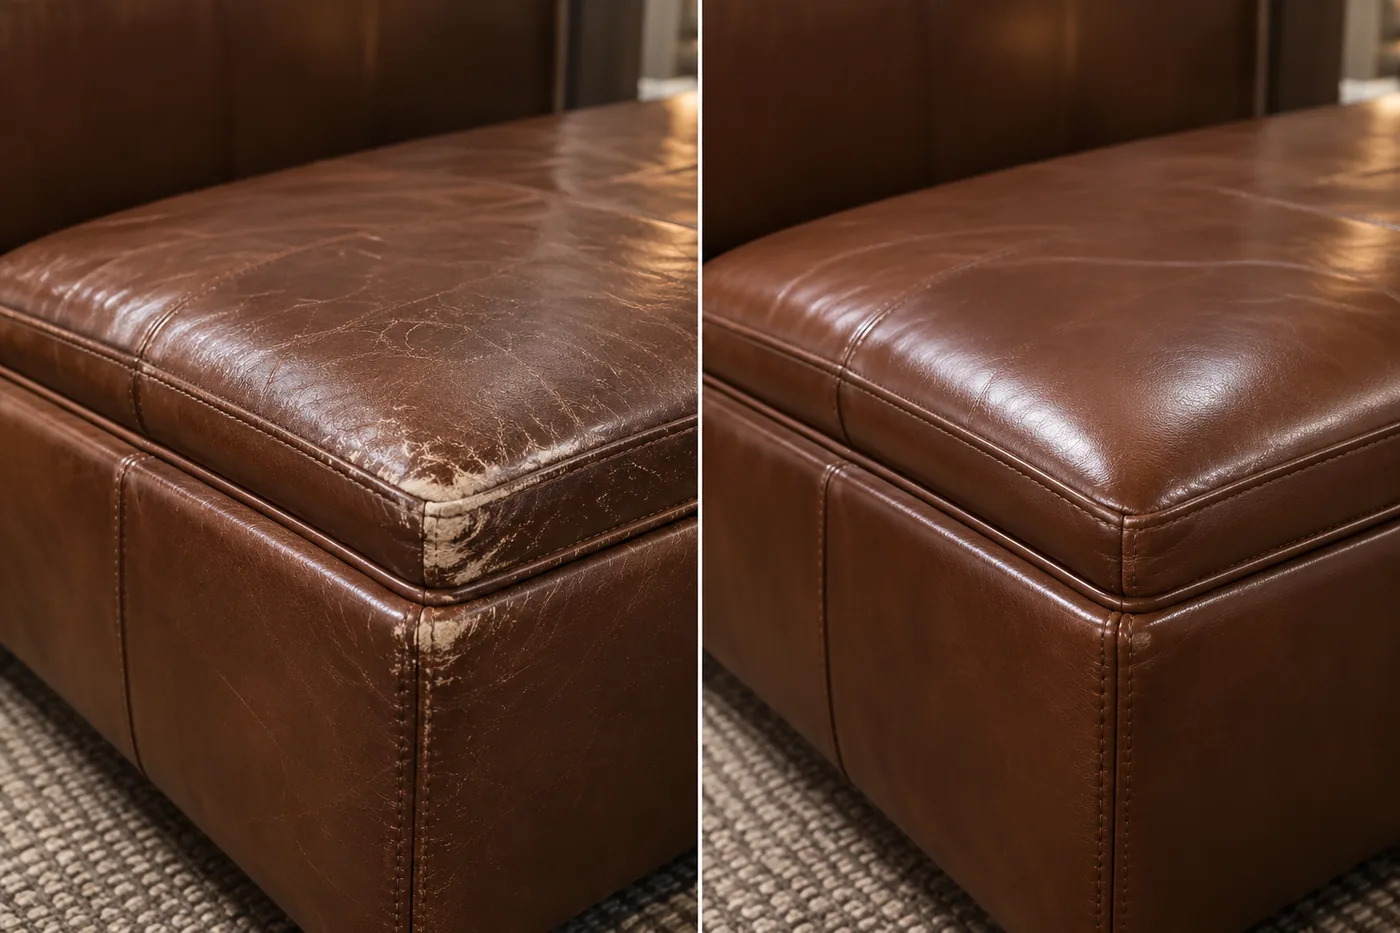
Brown bench. The front corner rubbed to fibre, the worst-hit point on any seat.
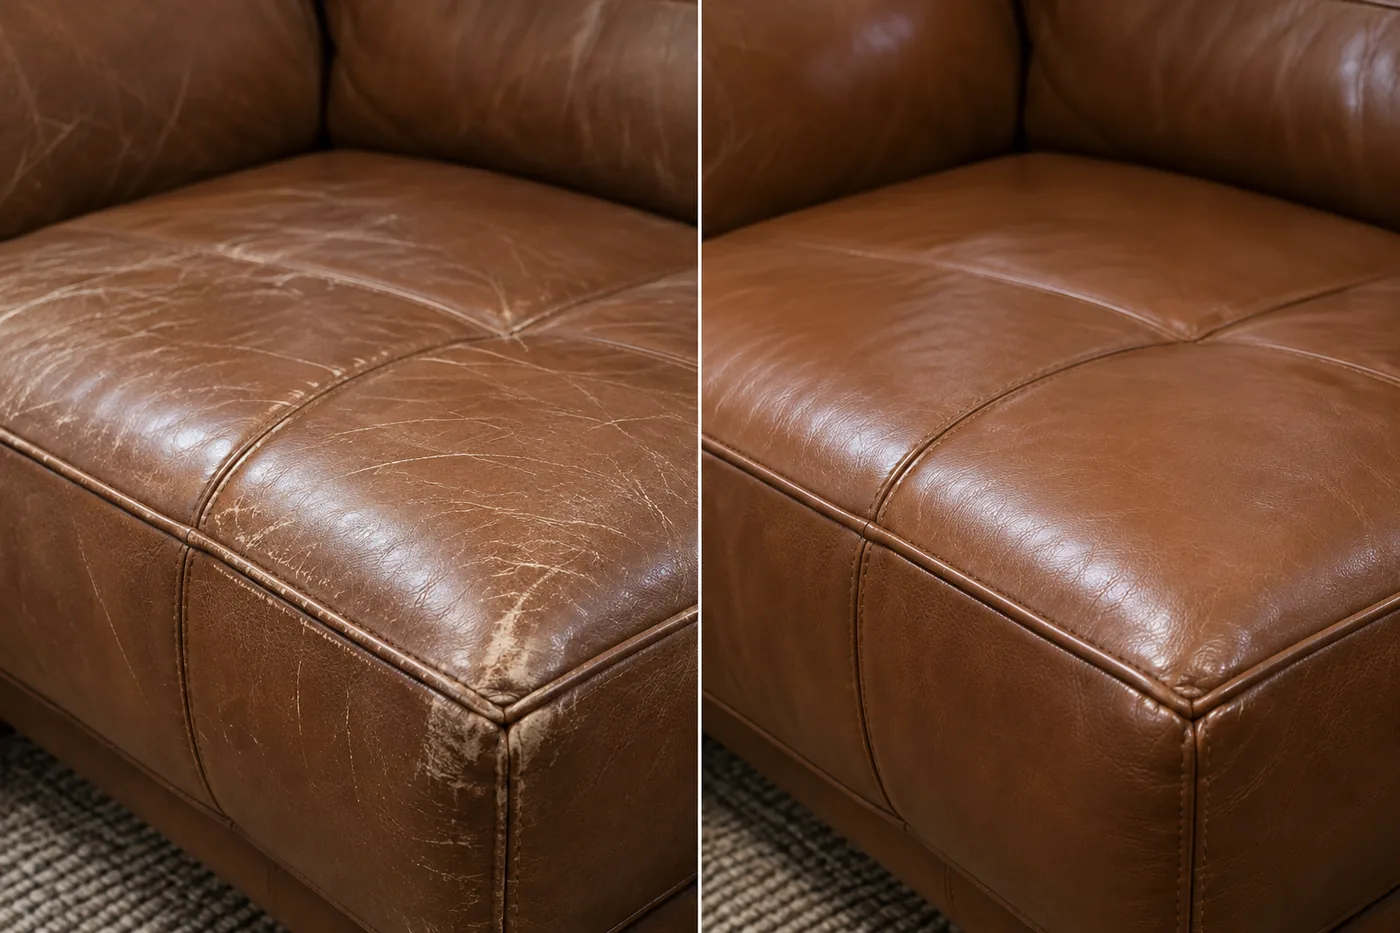
Brown seat. A burnished streak where the same spot takes the weight daily.
Illustrative fault types and finished condition, not photographs of a specific job.